
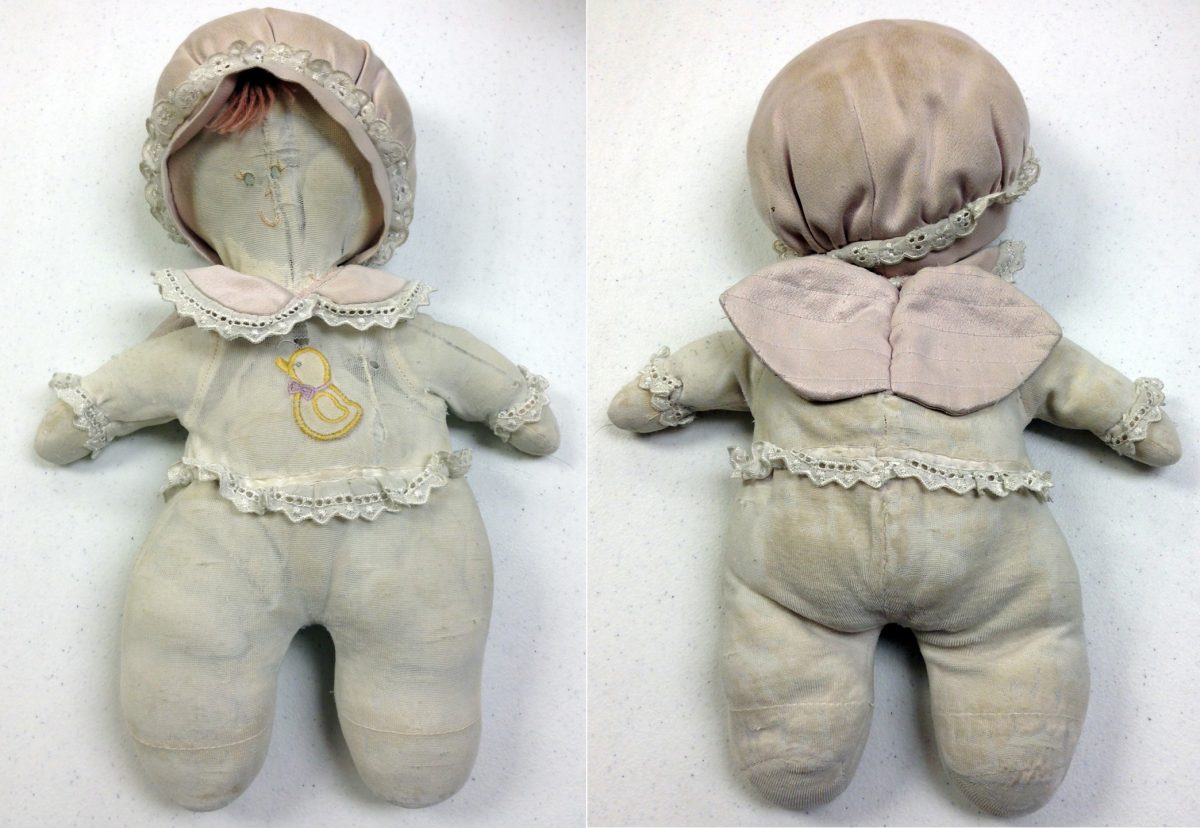
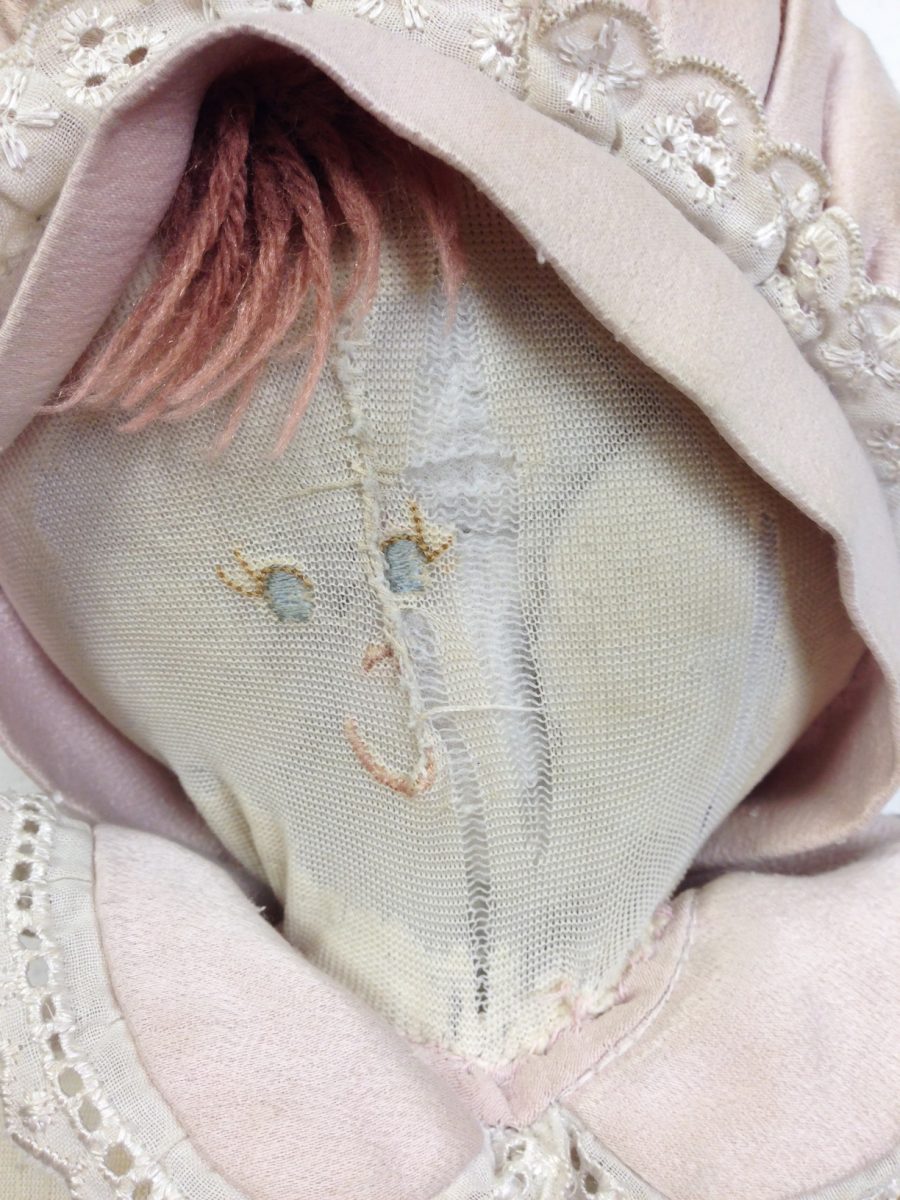
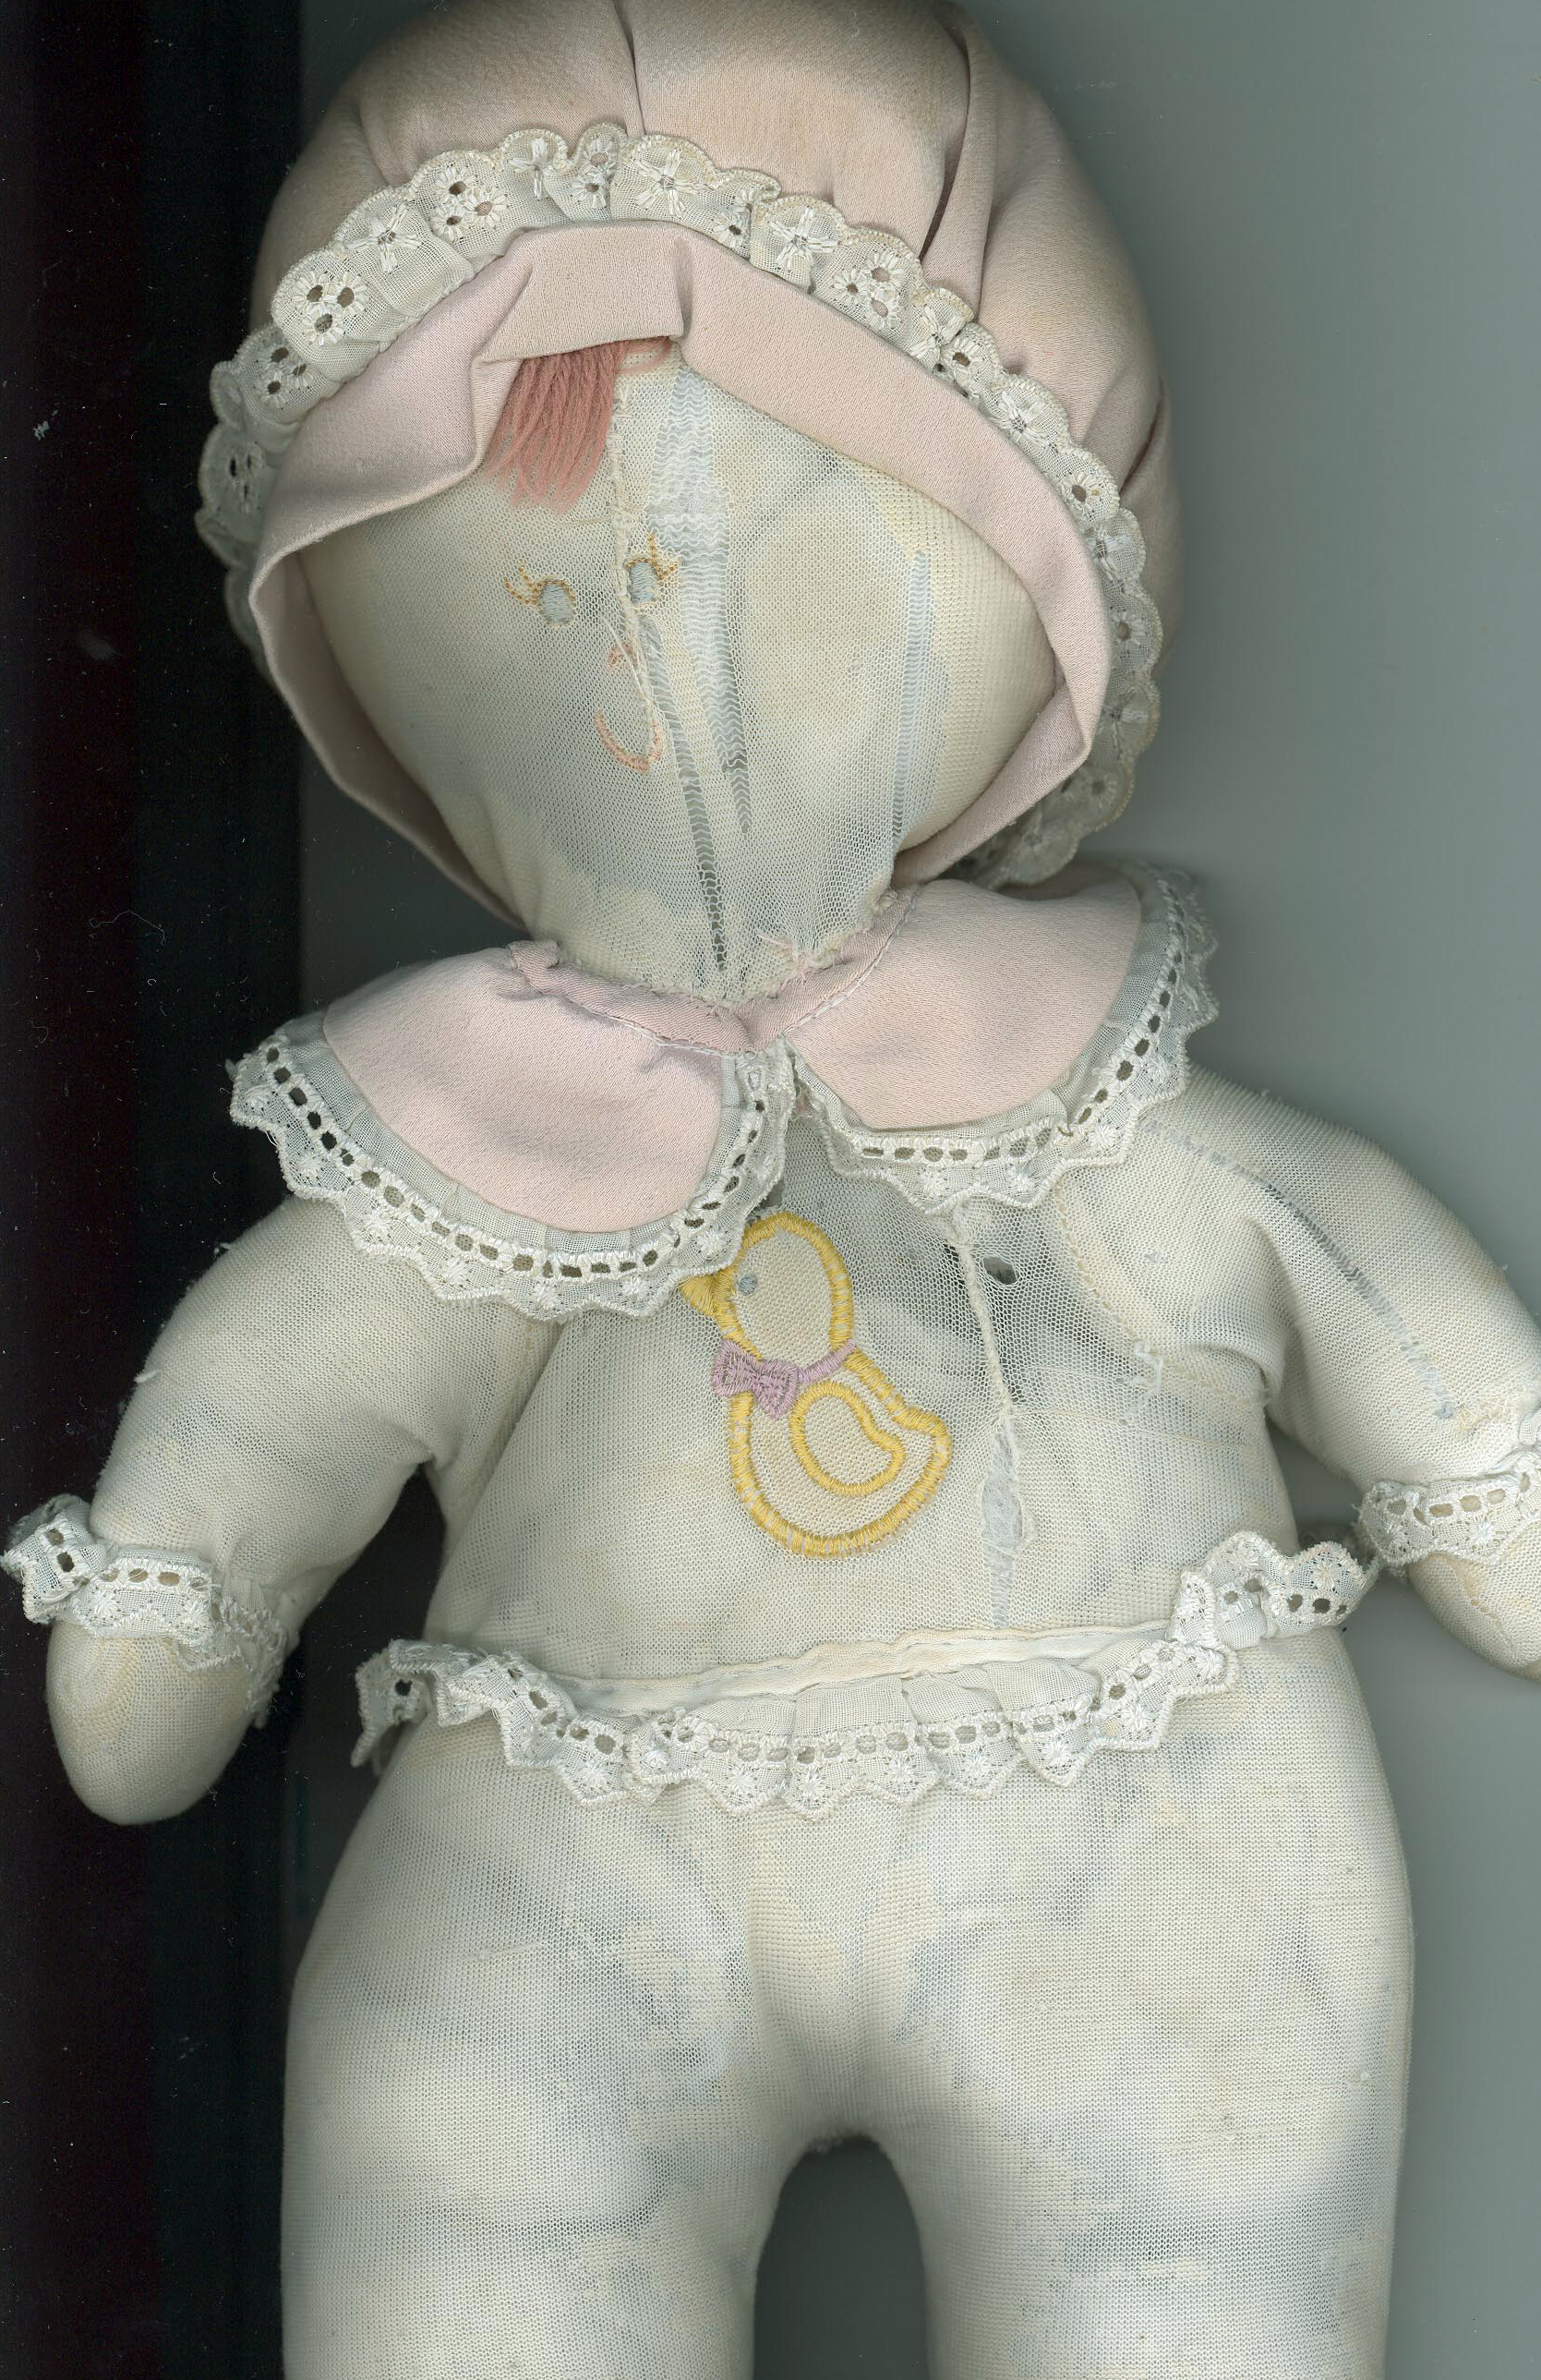
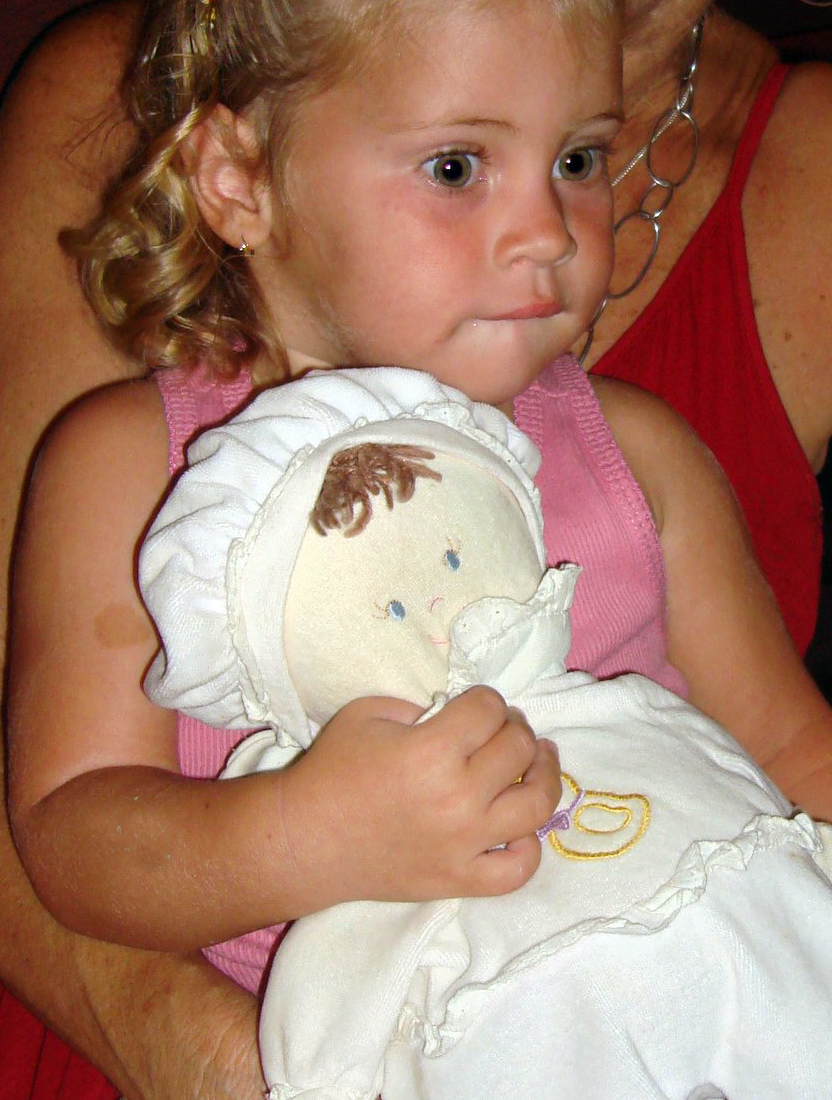
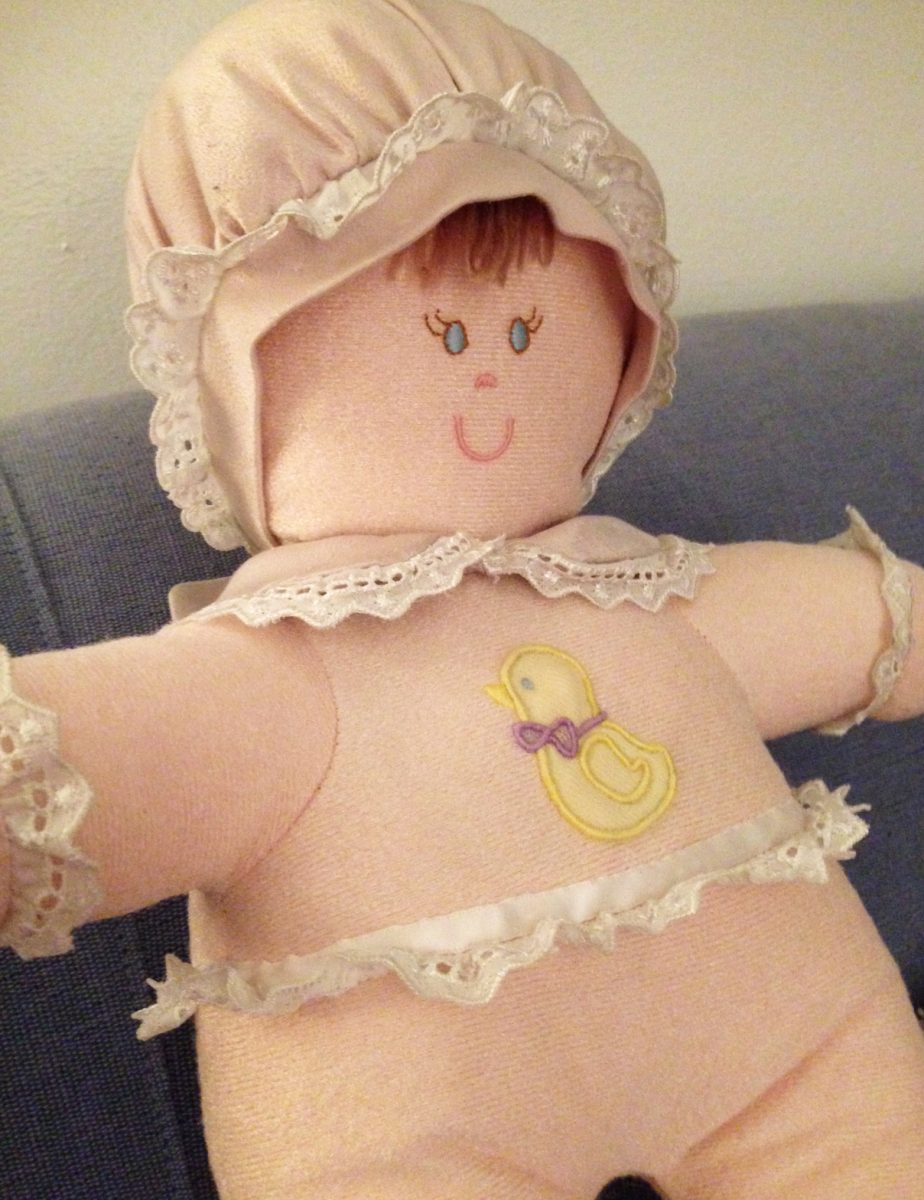
This sweet doll was originally made of the finest stretch velour and soft crepe-back satin and equipped with all the right components that any baby girl would love. Her soft velvety-smooth skin was carefully embroidered with a tiny duck appliqué and her facial features were sweet and gentle. Her little woolen bangs were covered by a sweet moppet style bonnet, edged in lace and her little sleeves were adorned with similar lace edging. Inside her was the subtle sound of a baby rattle and I thought my heart would melt when I discovered she had been altered many times as to last the lifetime of expectations from a baby girl into teenage dome. My mission was to restore her to her former beauty while keeping as much of the integrity of the original doll as possible. As I accepted the challenge, I asked God to give me the ability to meet the high standard of the challenge, a prayer I make before all commissions.
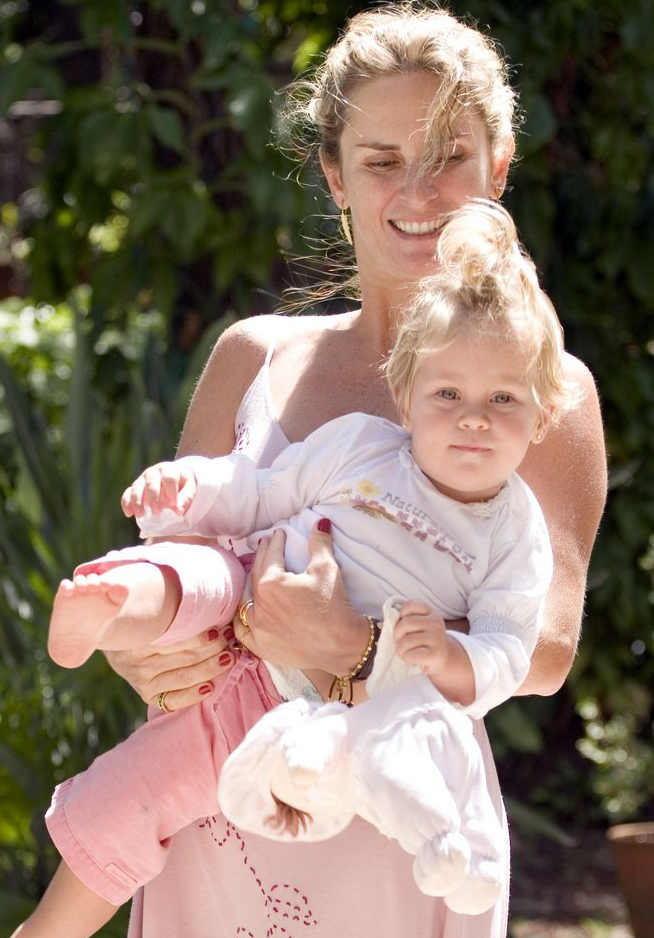
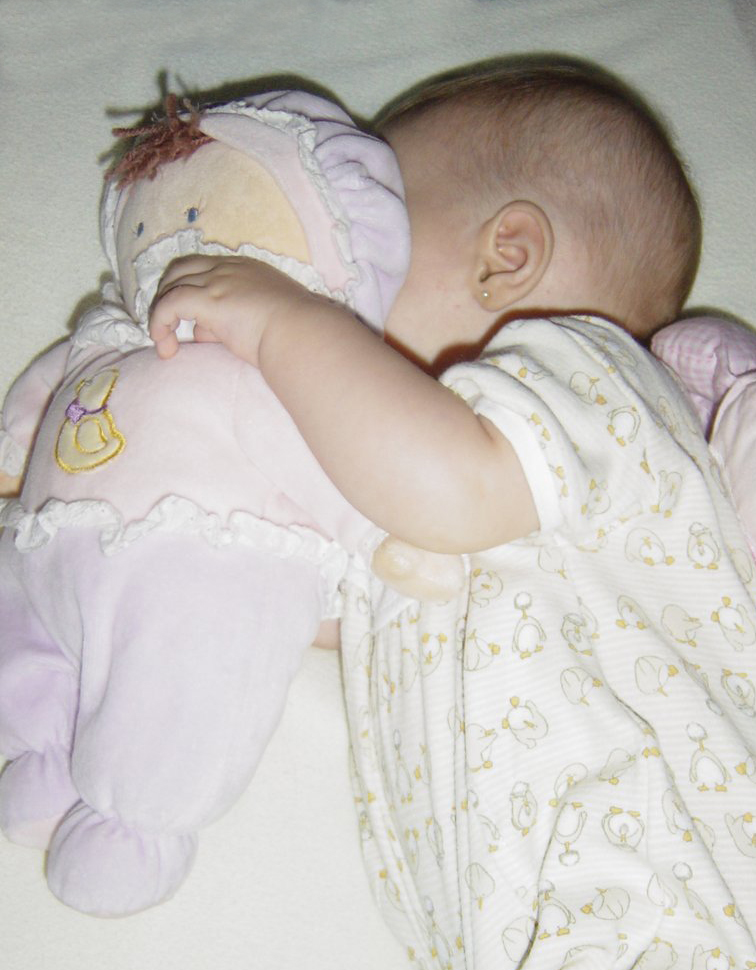
Allegra is the prize possession of Luana, one of my summer camp students. Luana is very grown up young girl now but still cherishes her favorite baby toy. Although Allegra is still very cherished, Luana decided it was time to restore her to original glory so I was called in to do the job. This task turned out to be my most daunting challenge of all time. As I examined the well-worn doll in disbelief, I listened intently as Luana carefully explained in detail how she wanted me to change out the stuffing so her head didn’t bobble but to preserve the rattle inside her body, fix her face so the rip didn’t show, re-sew or replace her lace edging, and clean her collar and bonnet so it looked like new again. Then Luana asked me to replace the fuzzy texture of her skin so her soft skin would feel smooth again. My son had a blanket that was his lovey and as it was loved to death, he often told me not to wash it because it wouldn’t feel or smell right, so I knew texture was just as important as visual image.
The most challenging aspect of any restoration is finding the proper materials. I scanned myriad websites to find a pale pink velour stretch fabric and the best I could find was something called “doll skin”. I set out to find the best color and type and held my breath until the packages arrived.
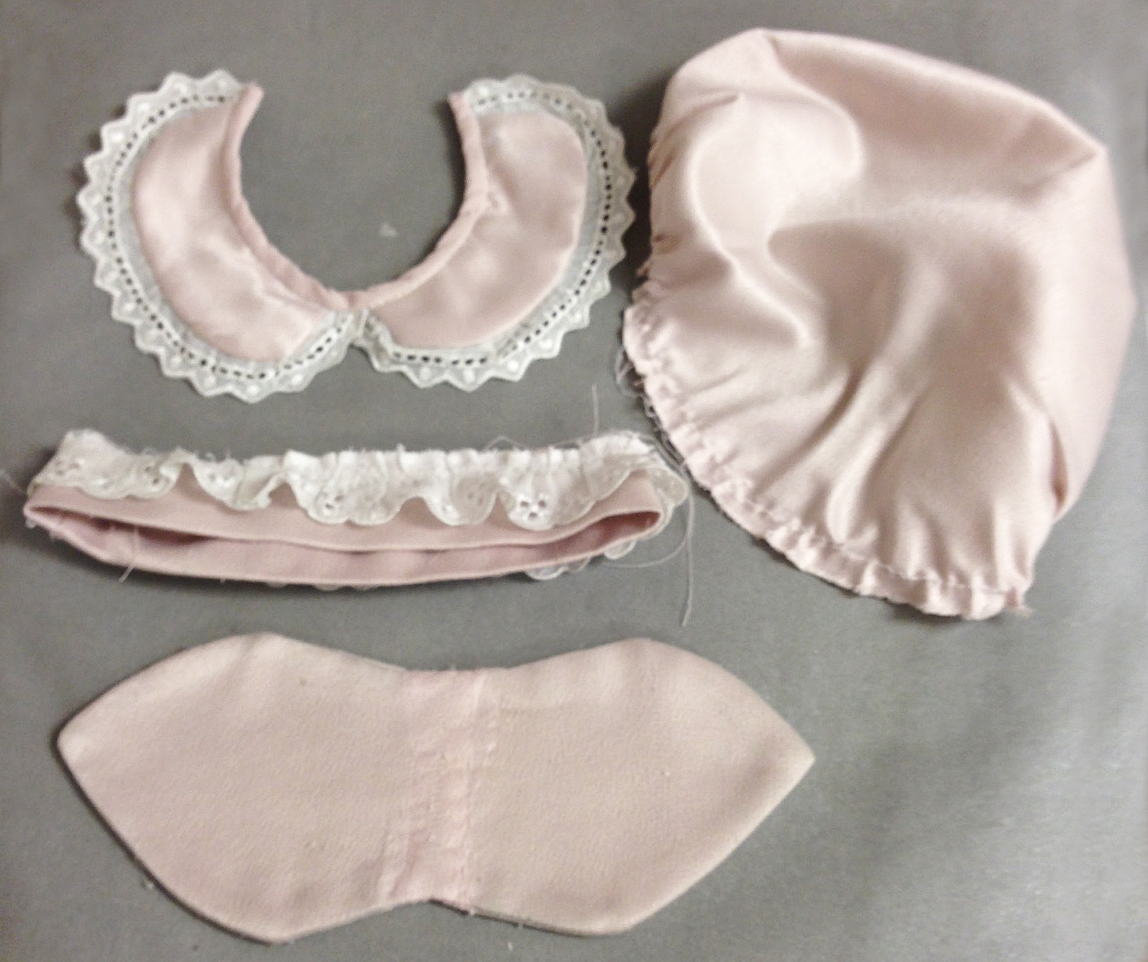
Next, I decided it was pointless to try and rescue the original doll to a reasonable fact simile, so I started out dissecting the specimen. Very carefully I cut away the old stitches and separated the satin elements such as the collar, hat and laces aside to be soaked until the years of dust and smudges disappeared. As usual, I used my favorite cold water soak, Delicare by Arm and Hammer*. It took almost three days to wash away the years of handling, leaving only a glimmer of loving. Then, I let the pieces dry completely and they were ironed smoothly.
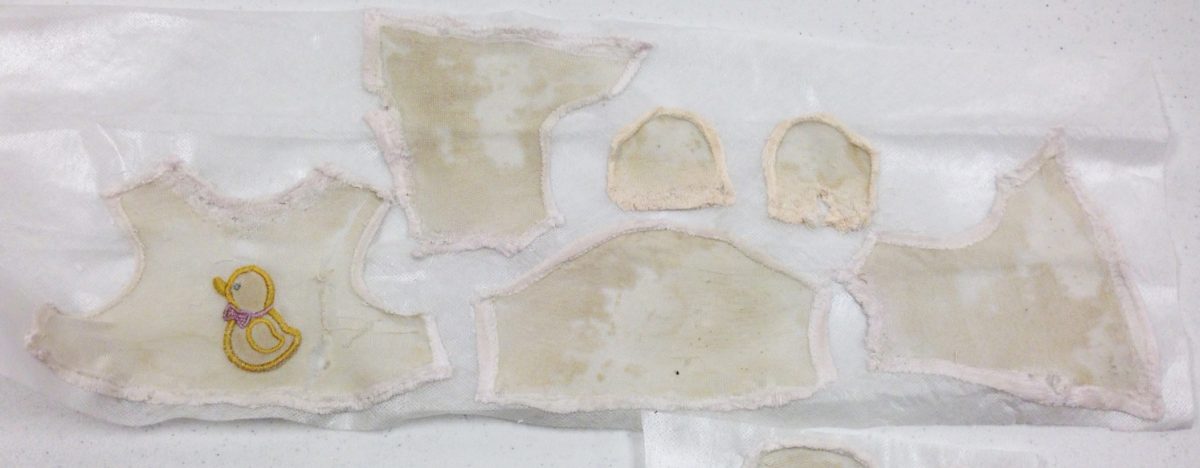
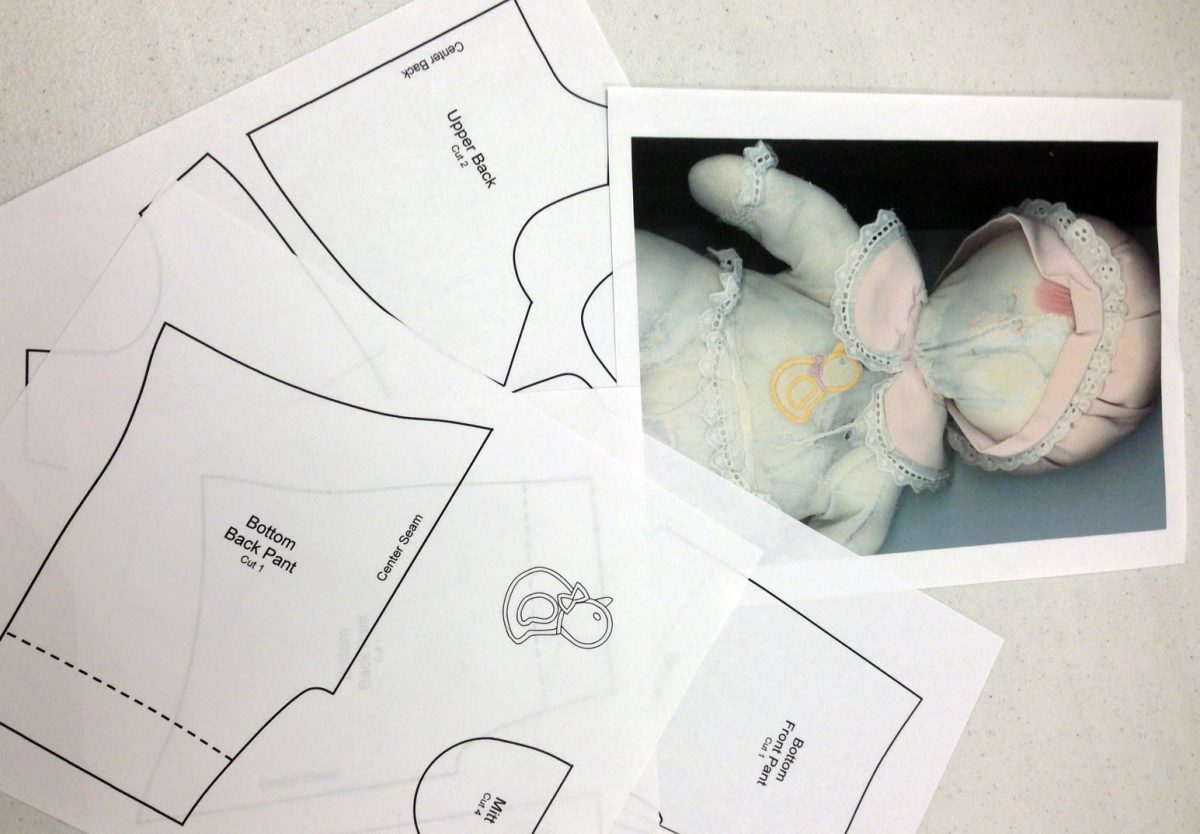
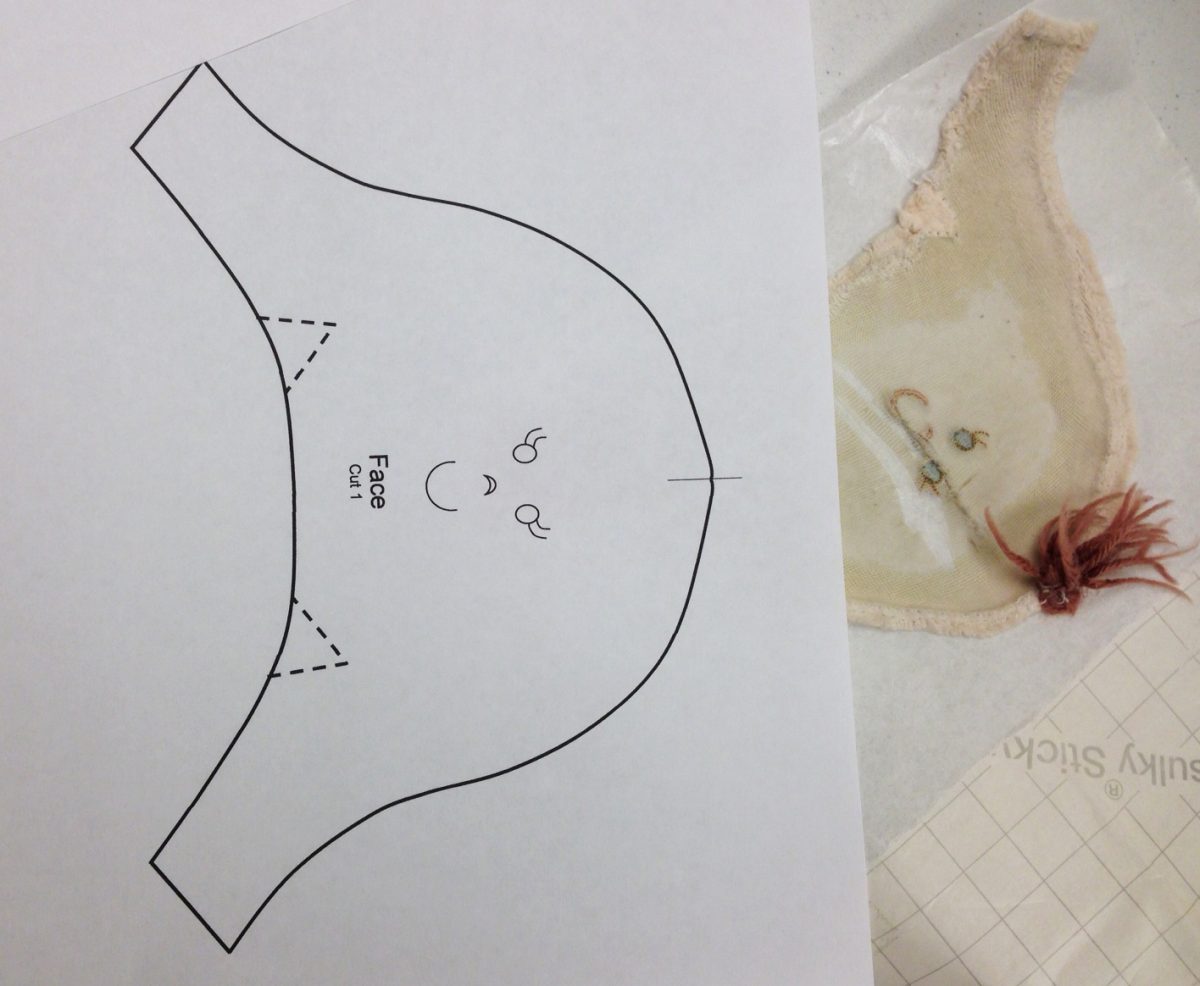
The body sections were in terrible shape so I decided to reproduce them entirely. I carefully labeled and laid each section out on sticky stabilizer so I could get an accurate measurement for pattern reconstruction. Once all the pieced were separated and carefully placed, I scanned the images into my computer so I could create a master pattern of the doll’s body. I pulled the scans into my drawing program and re-traced the outlines of the original body parts. I also made an exact template of the facial features and ducky applique.
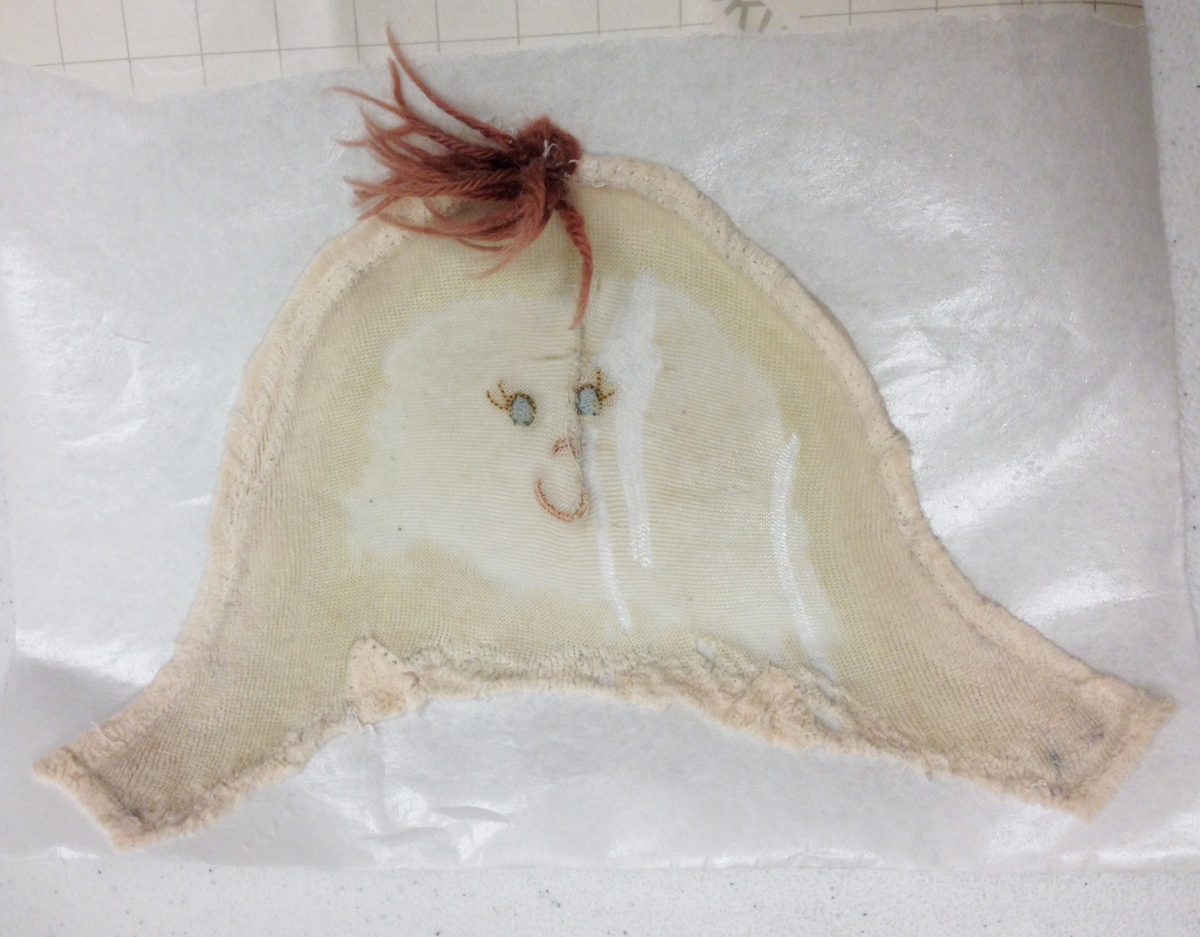
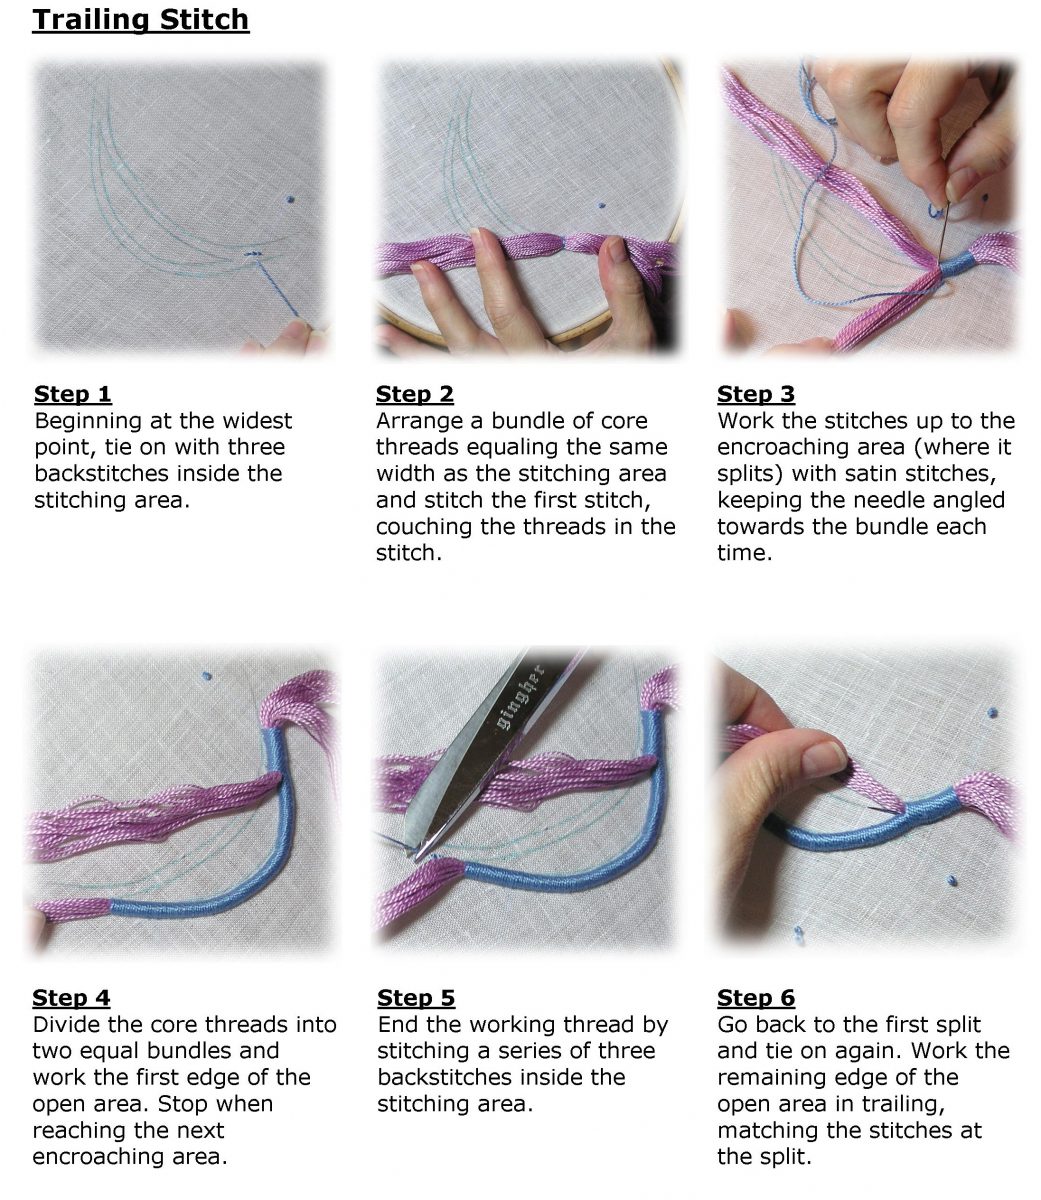
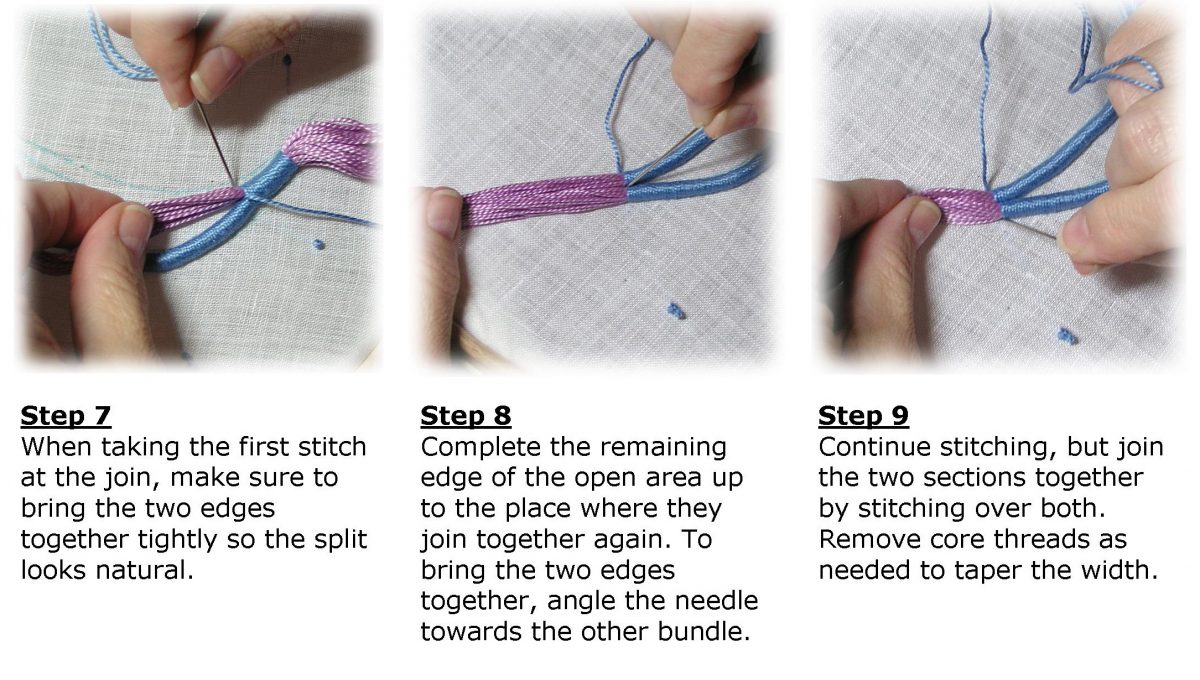
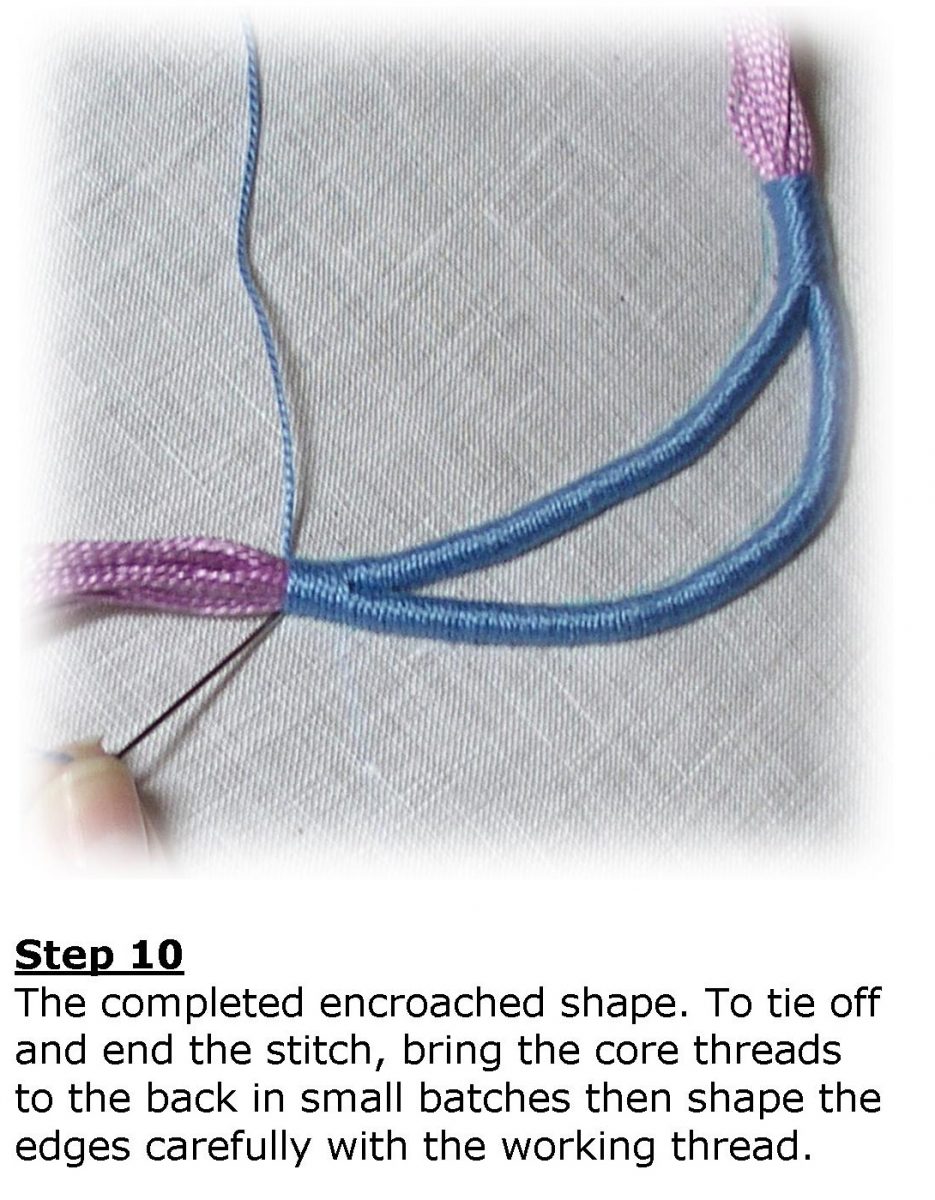
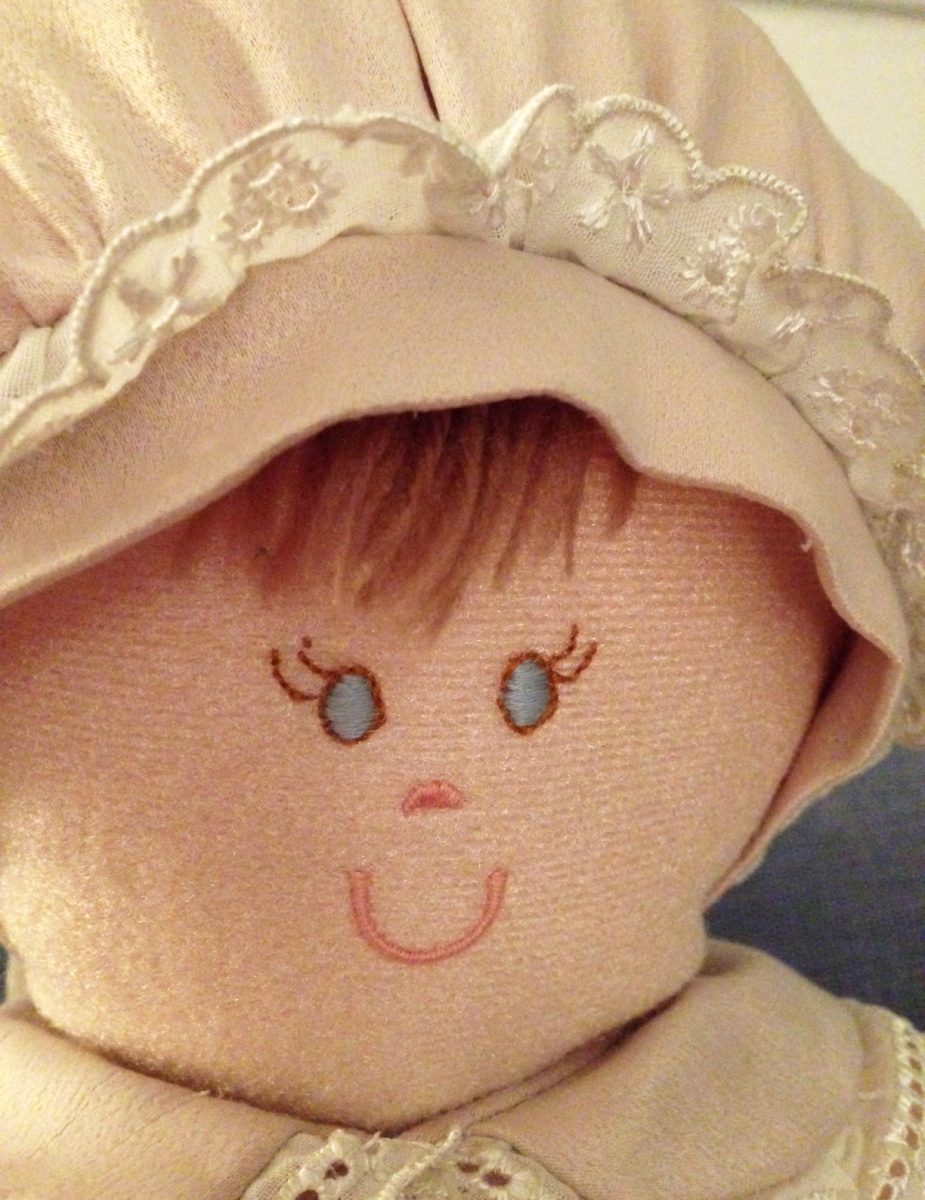
It was now time to transfer the facial features and re-create the embroidered parts. I used fusible water soluble stabilizer such as “Wet ‘N Gone Fusible” to trace the facial features then fused them onto the right side of the velour fabric. I was careful to use a large enough piece of stabilizer and fabric with which to fit entirely inside my embroidery hoop. Because the fabric was stretchy, I knew it would be more stable if I fused the entire face while embroidering. It worked beautifully. I used Floche to do all of the facial features. On the bodice front, I recreated the ducky appliqué using a scrap of pale yellow wool I had in my stash, outlining the shape in “trailing” stitch. (See stitch guide).
Next, I soaked the embroidered pieces to remove the fusible stabilizer. With a deep breath, I boldly cut out the pattern pieces and began to re-construct the cherished doll. I have to admit, I was almost distraught at the thought of the pieces not fitting but I powered through it. In the end the pieces fit well except for the mitts and boots which had to be adjusted slightly because they didn’t quite fit the body correctly. Thankfully, I purchased extra fabric to prevent undue stress which proved to be an excellent idea. I also made a small stuffed heart from the original body pieces and placed it inside the new doll so at least a small bit of the original doll was remembered.
Allegra was beginning to take shape and become her old self again and I began to worry if I had taken the “restoration” a bit too far. Doubts crowded my mind as Christmas approached and the due date leered. I decided it was time to call in the professionals, so I scheduled a quick trip to the North Pole to confer with his Excellency, Santa Clause. On my arrival and after my hot chocolate, the elves inspected my work and matched against the original documents of Allegra’s birth, and only then could a reliable decision be made. It was the general consensus that I had done the correct thing and Allegra was given the stamp of approval by the experts at Santa’s workshop. After a few small nips and tucks, Allegra was ready for her cameo appearance. With a wink and nod, I was on my way back to my studio to deliver the most important commission I had ever undertaken.

I wasn’t around when Luana unwrapped the new Allegra but I was told she was delighted with the result and her old friend had made a huge comeback. And so my Christmas t’was complete.