A Chatelaine for Andrea

Hi Folks,
It’s been way too long since I last posted on my blog. Truthfully, I just haven’t felt up to sharing with you, mostly due to my father’s illness and death. Okay, that’s been 4 years ago, but I swear, it takes a long time to get over some things, and this one threw me for a loop! I can honestly say that this past year has been the happiest and most wonderful ever. Of course there were some setbacks but at least I’m not in that deep hole as I was before. Enough of that! Here’s the great news: I’m Back!

I was so fortunate to be able to teach for SAGA this past September. With shaky feet and a slow start, I managed to have good results and I had a wonderful experience. Seeing everyone again (after 8 years) was terrific! I’m so thankful for being asked and even happier to have done it.

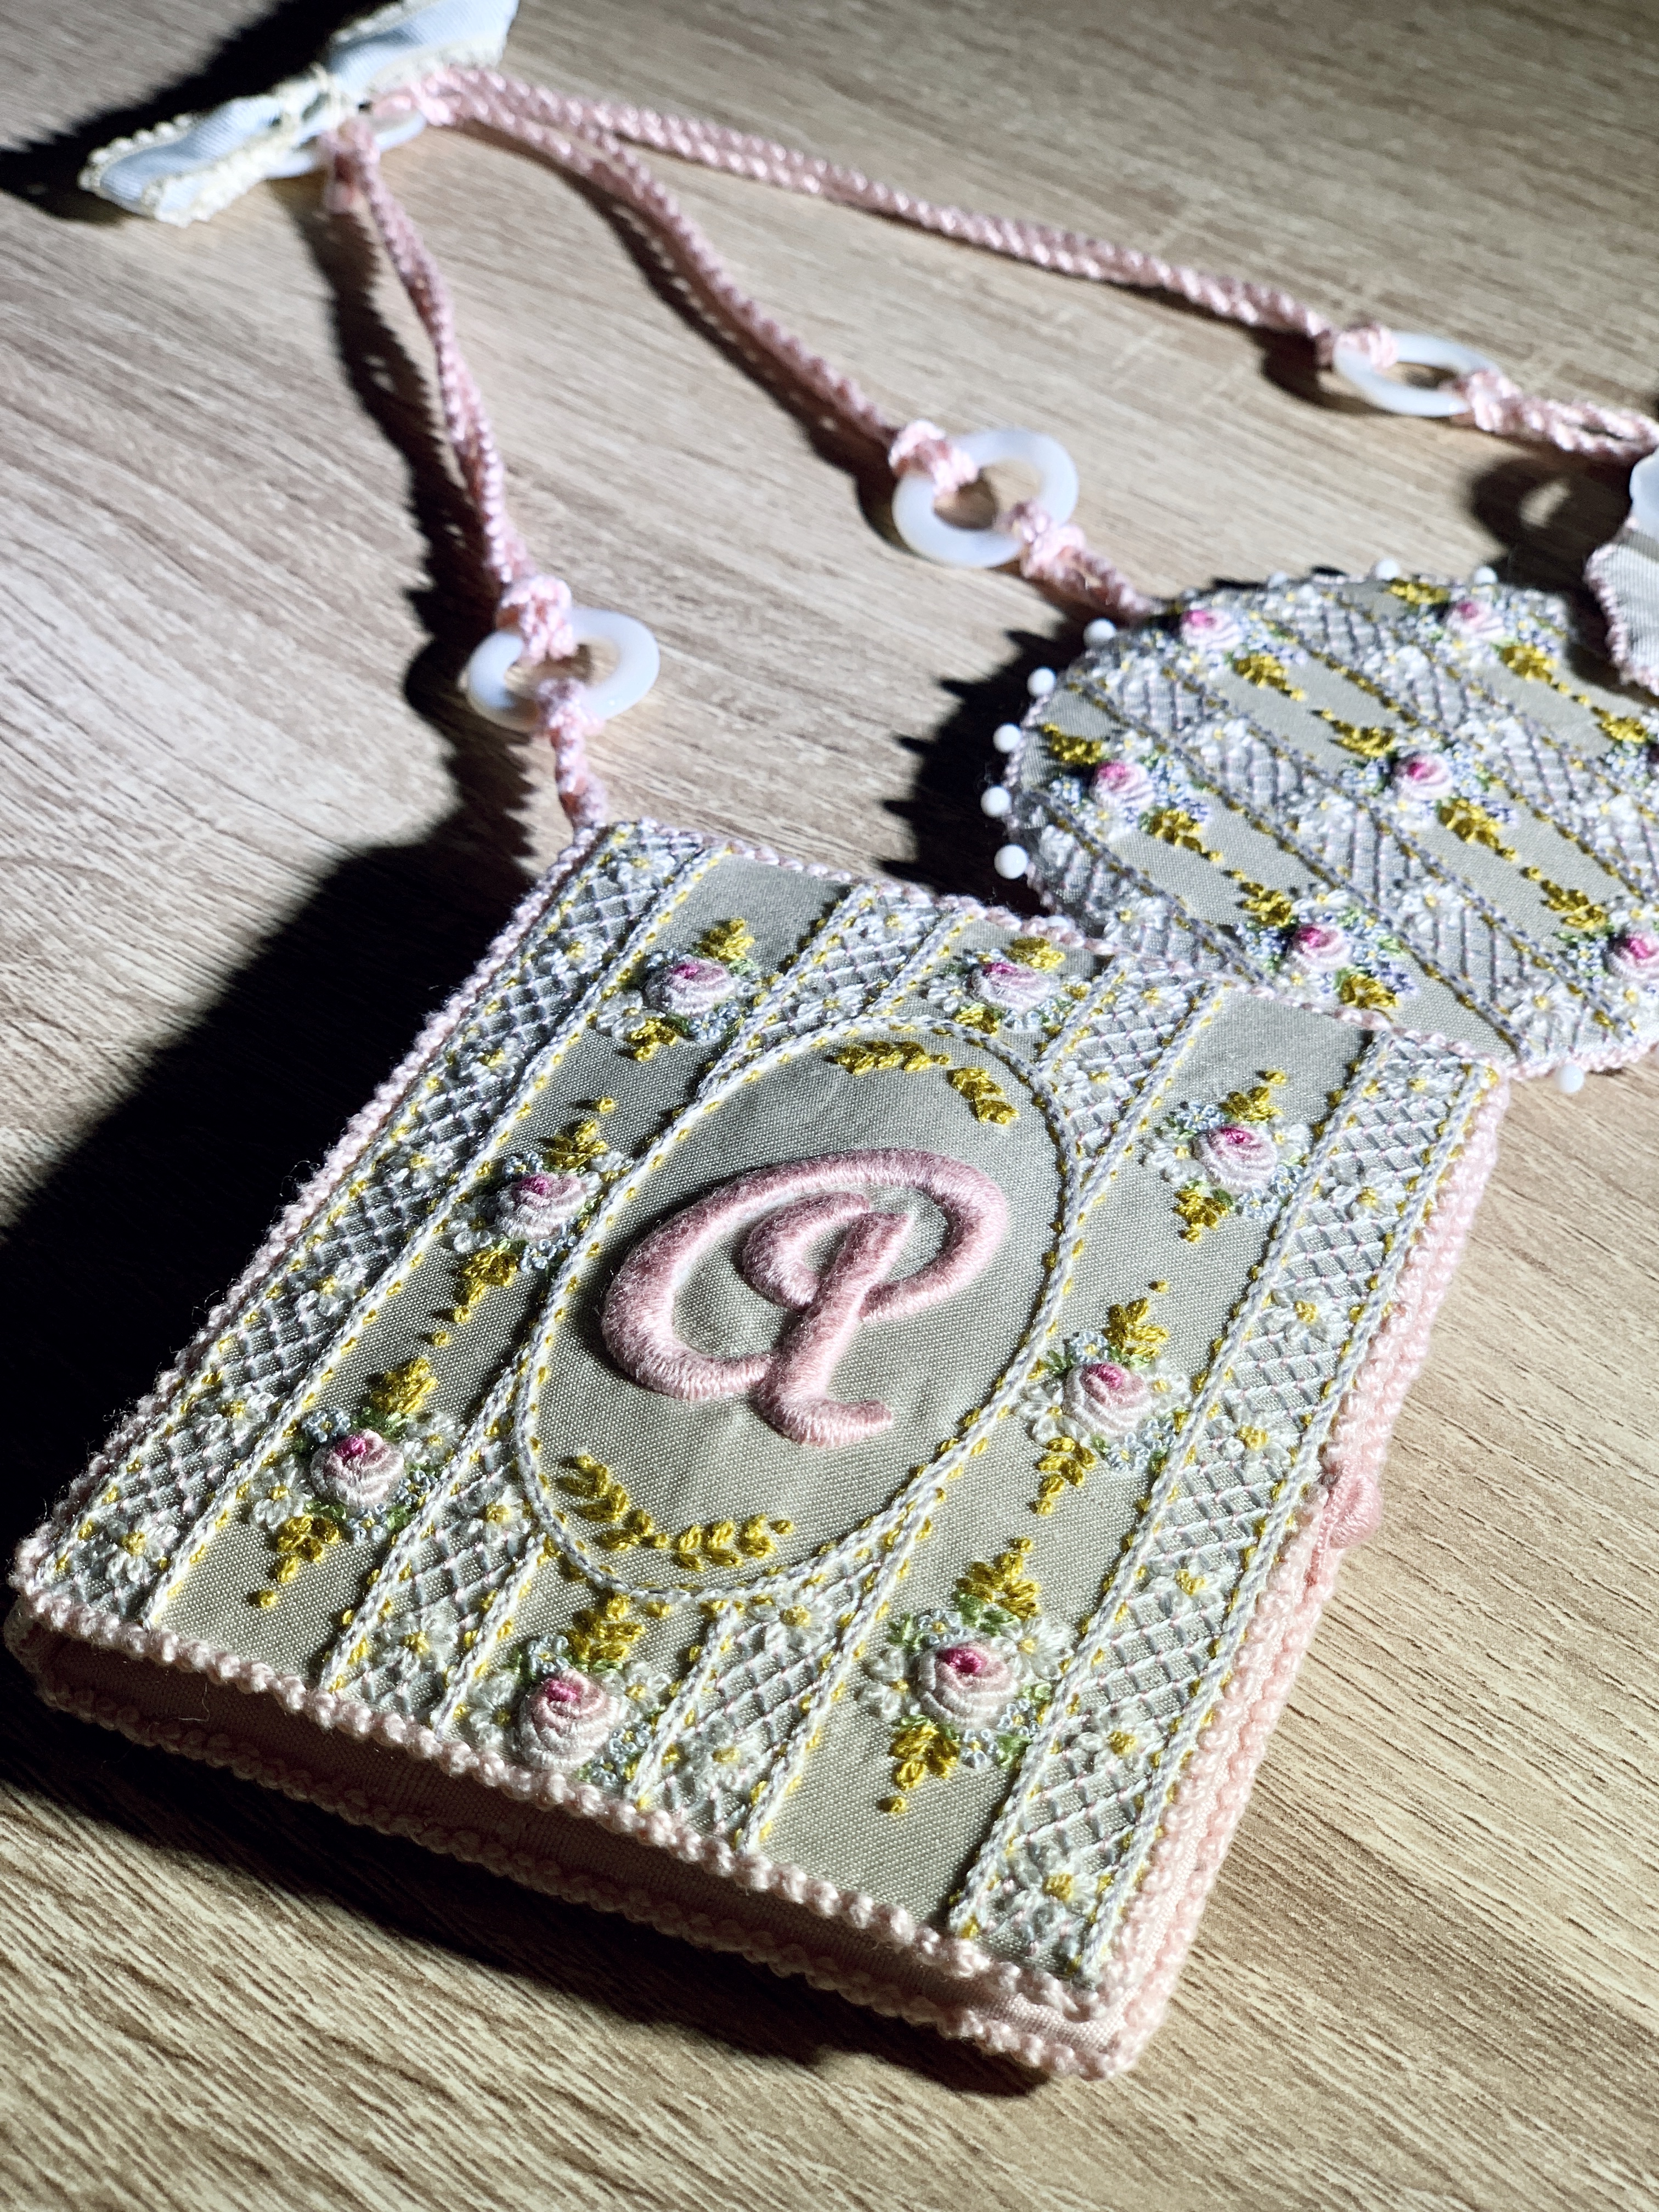
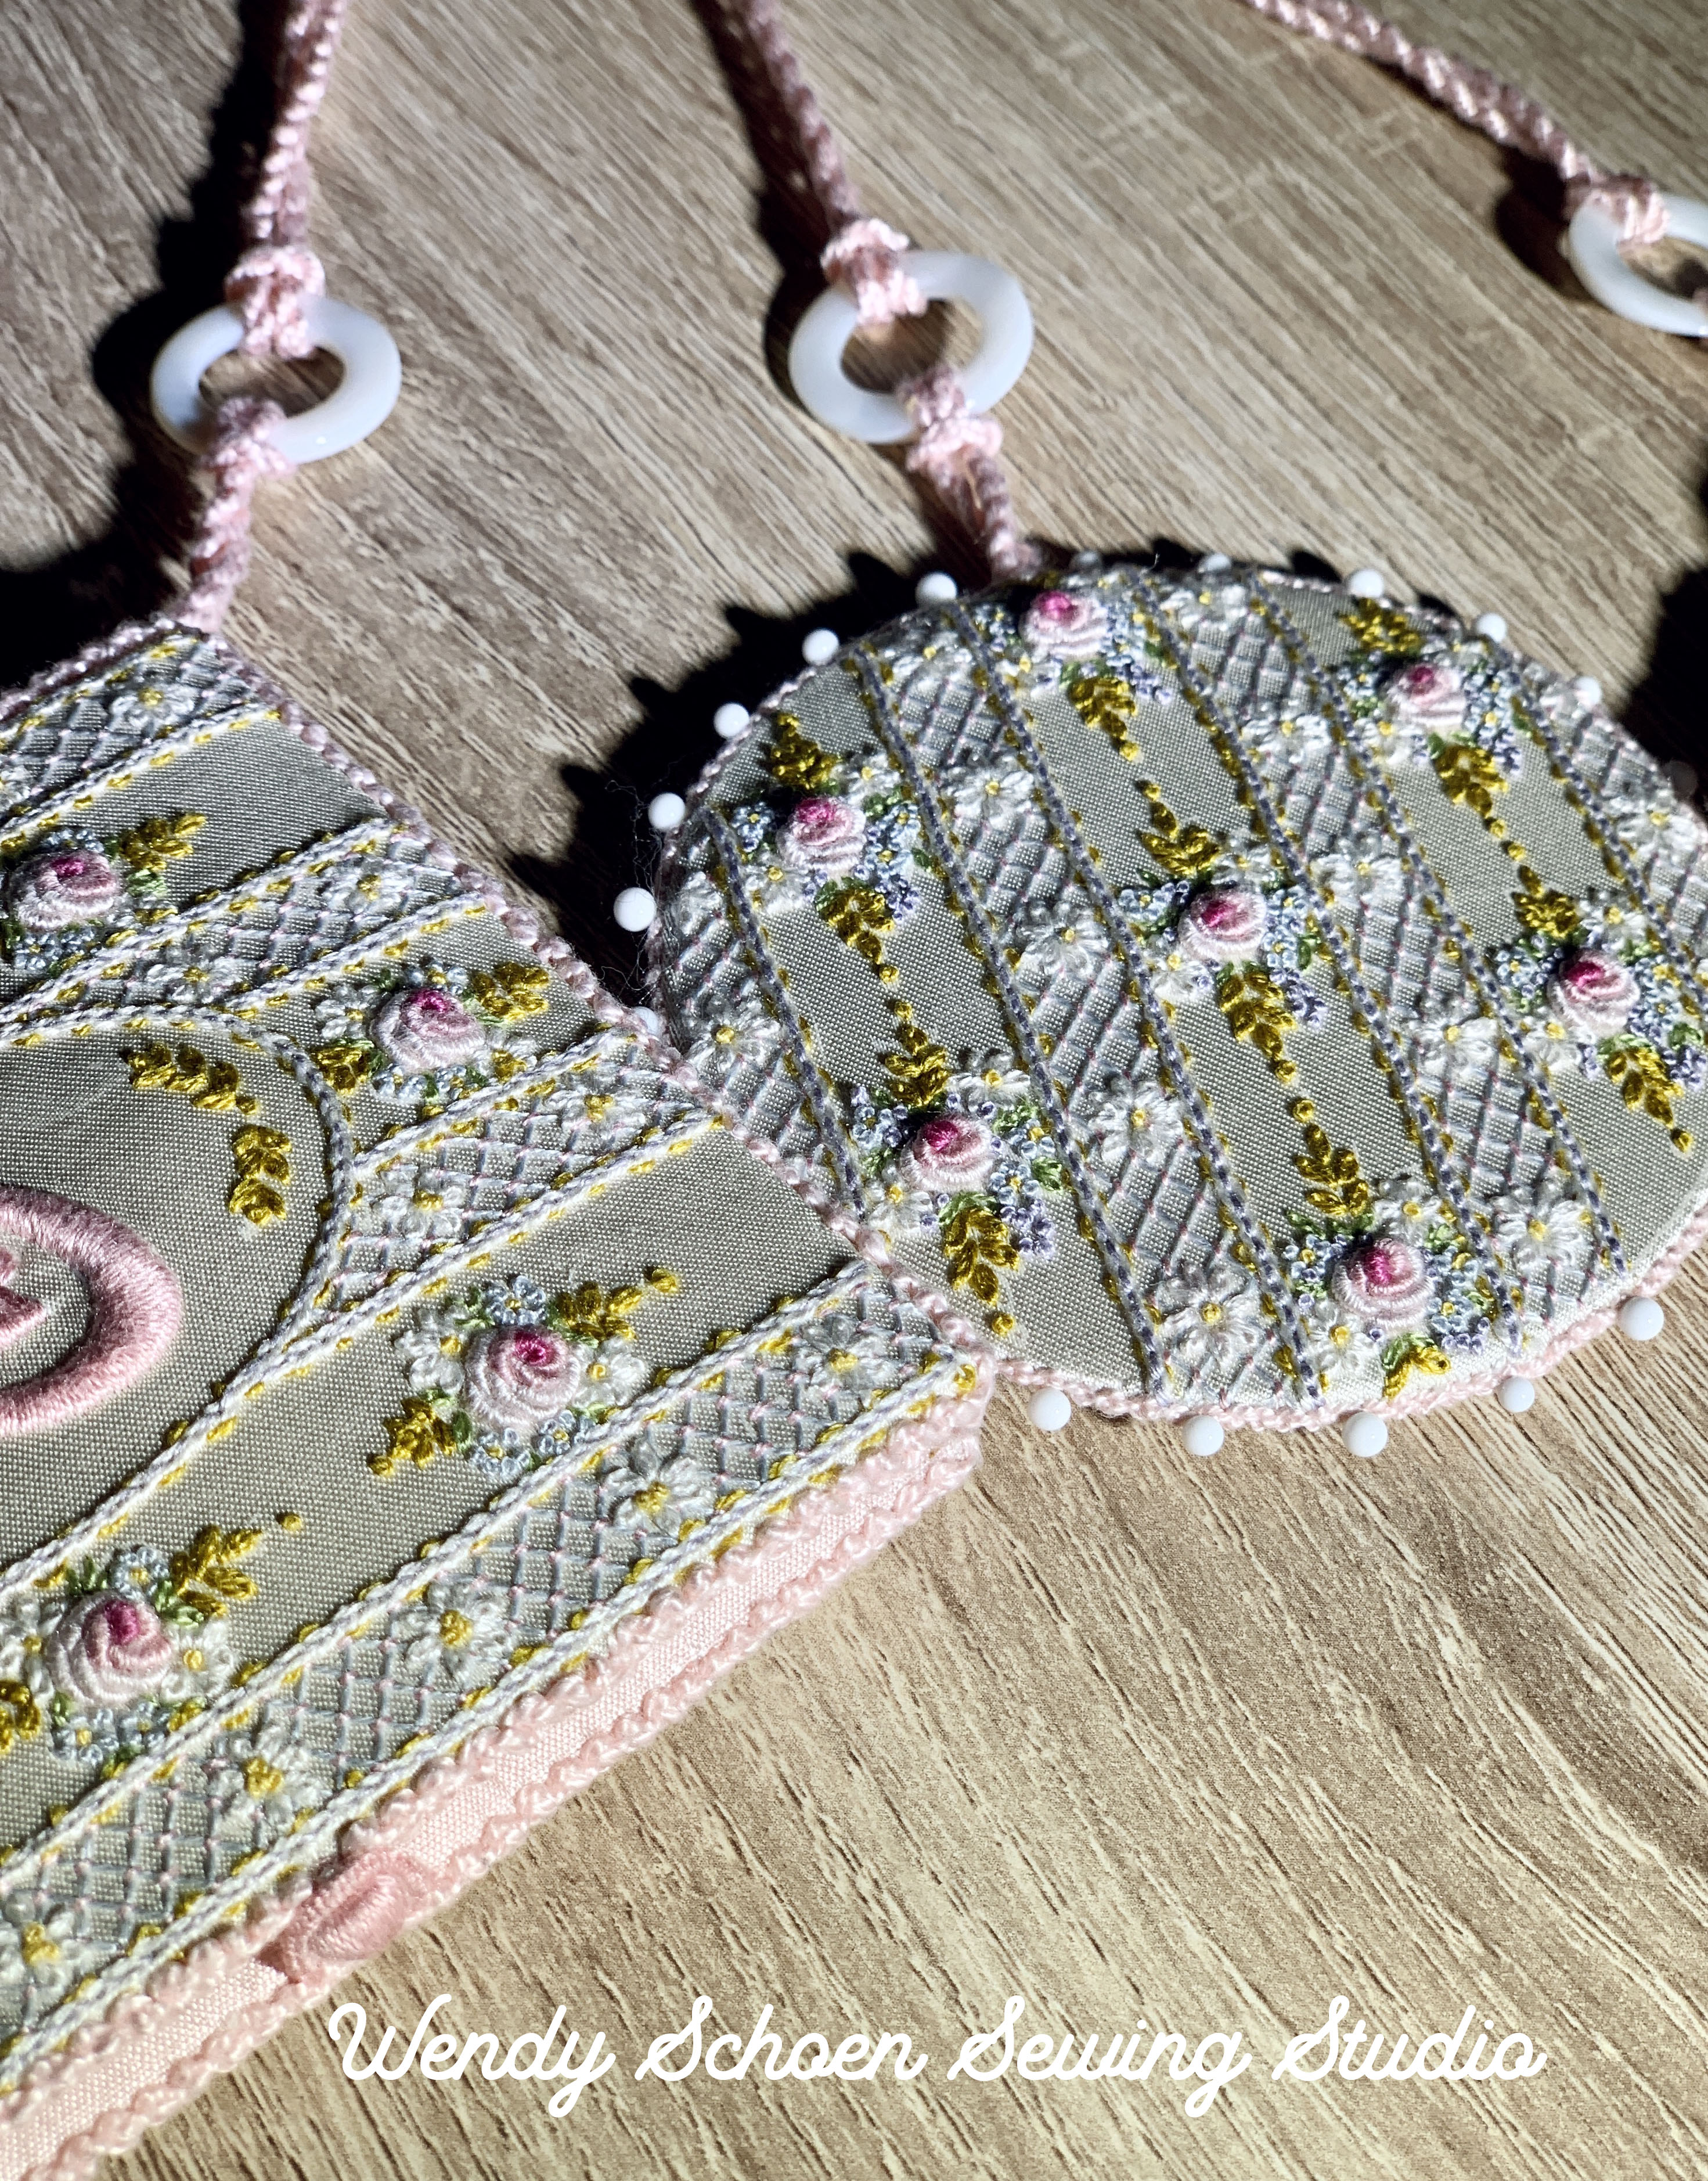
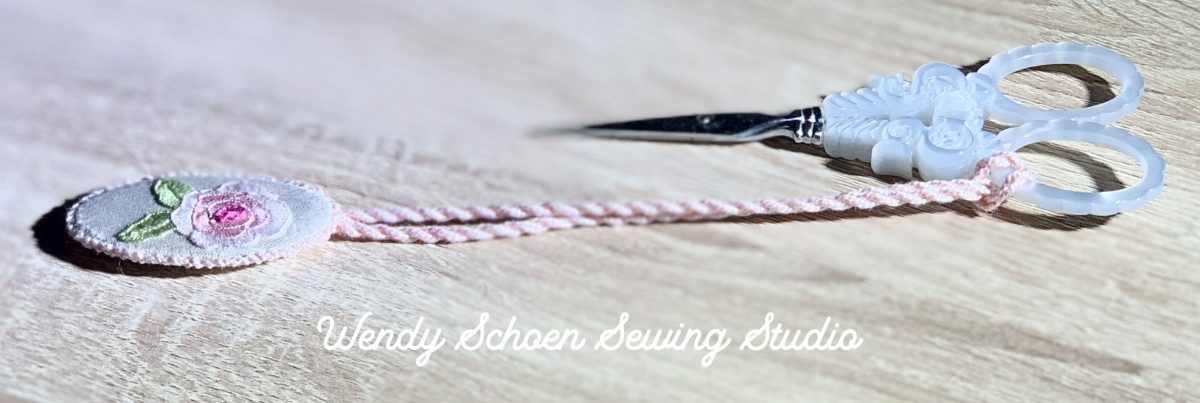
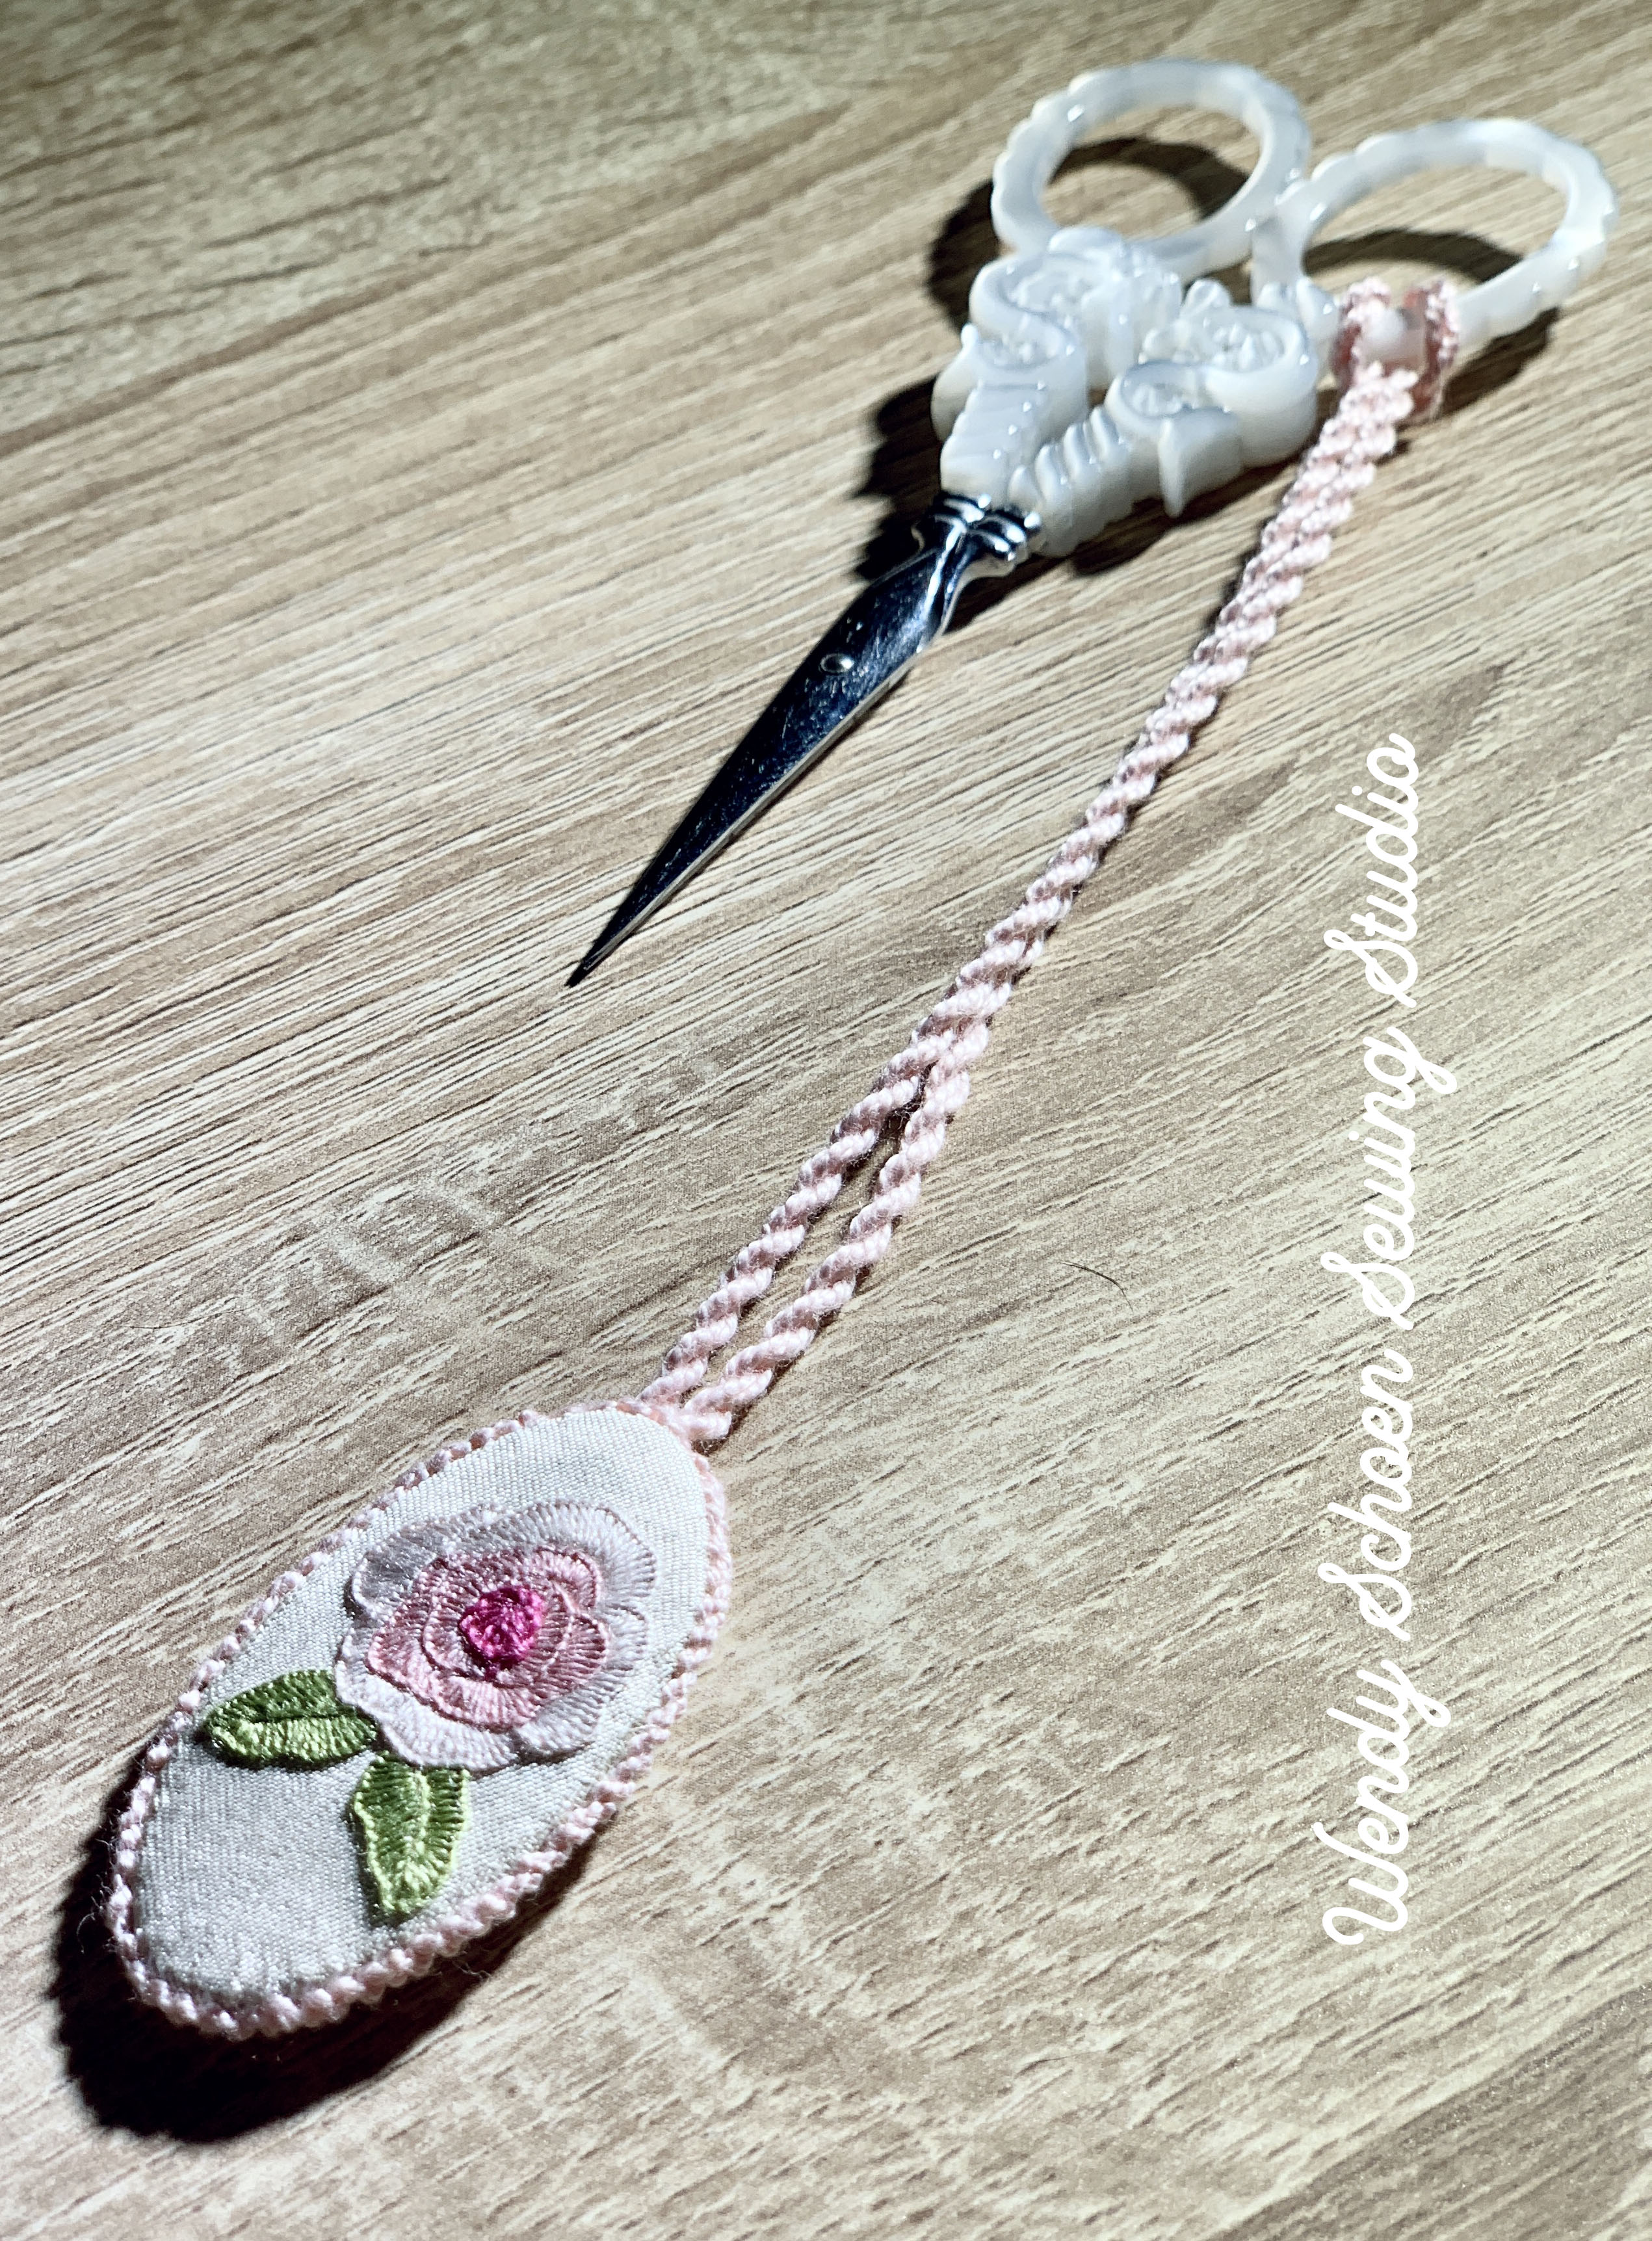
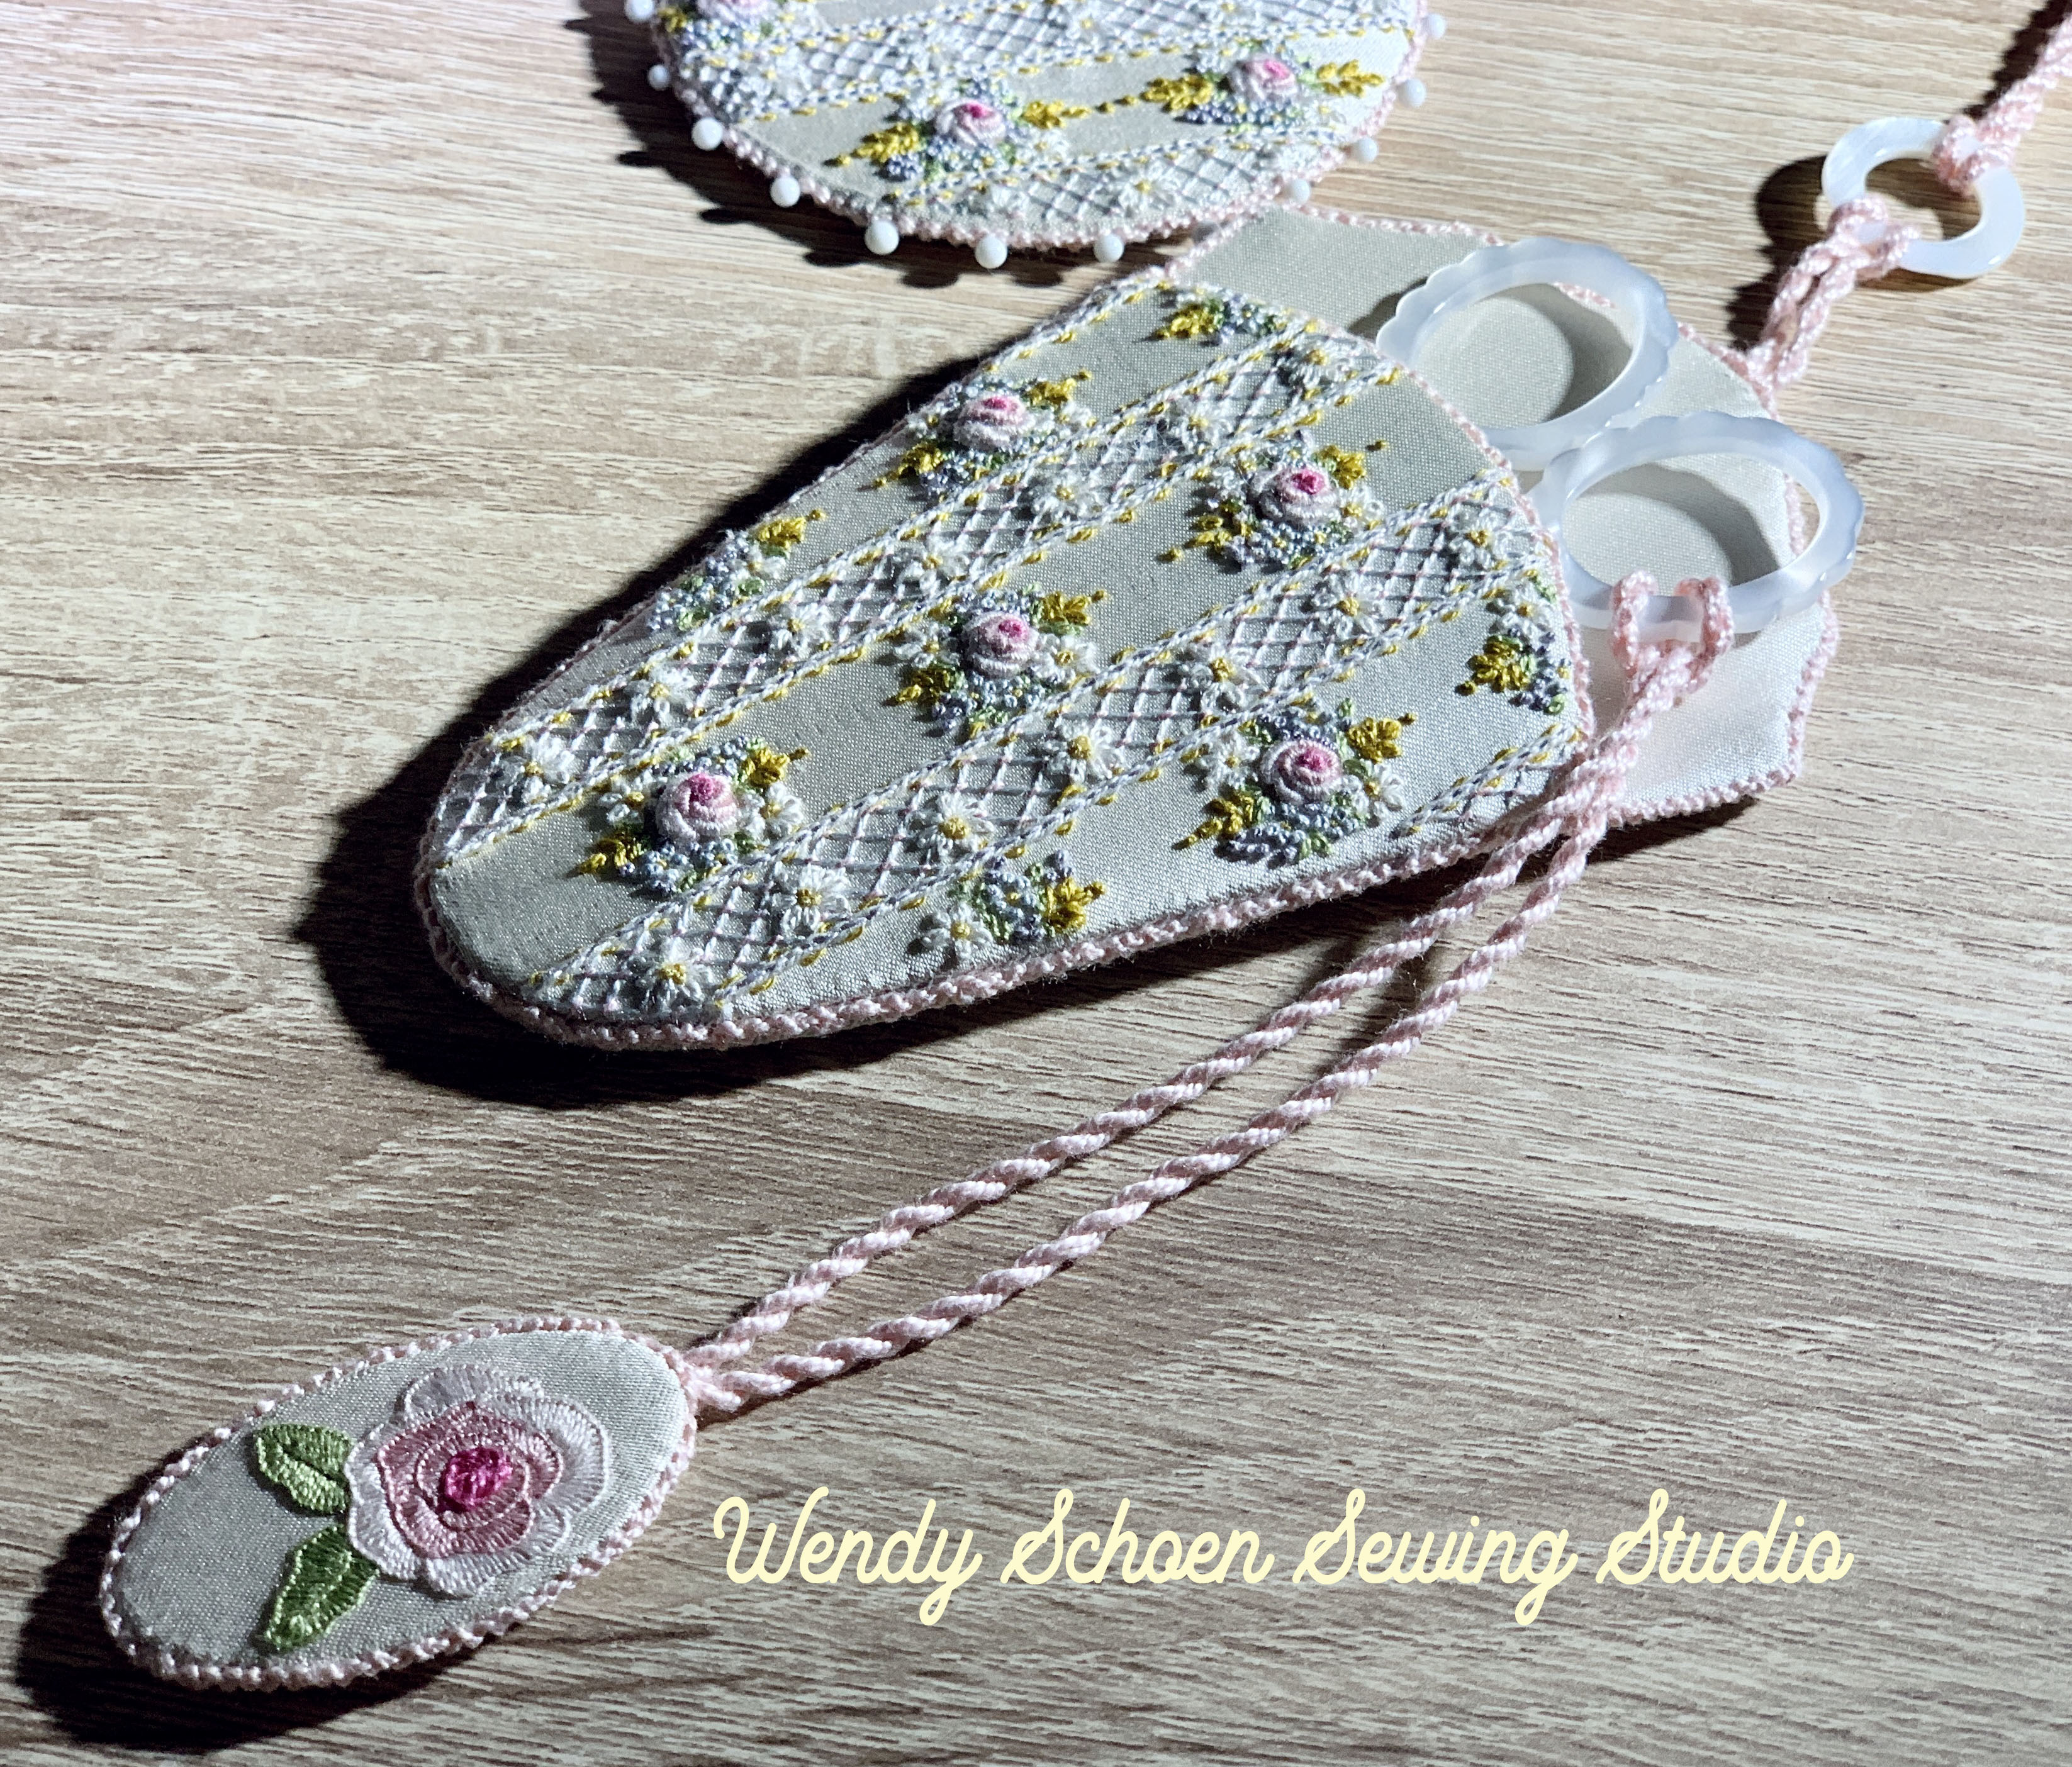
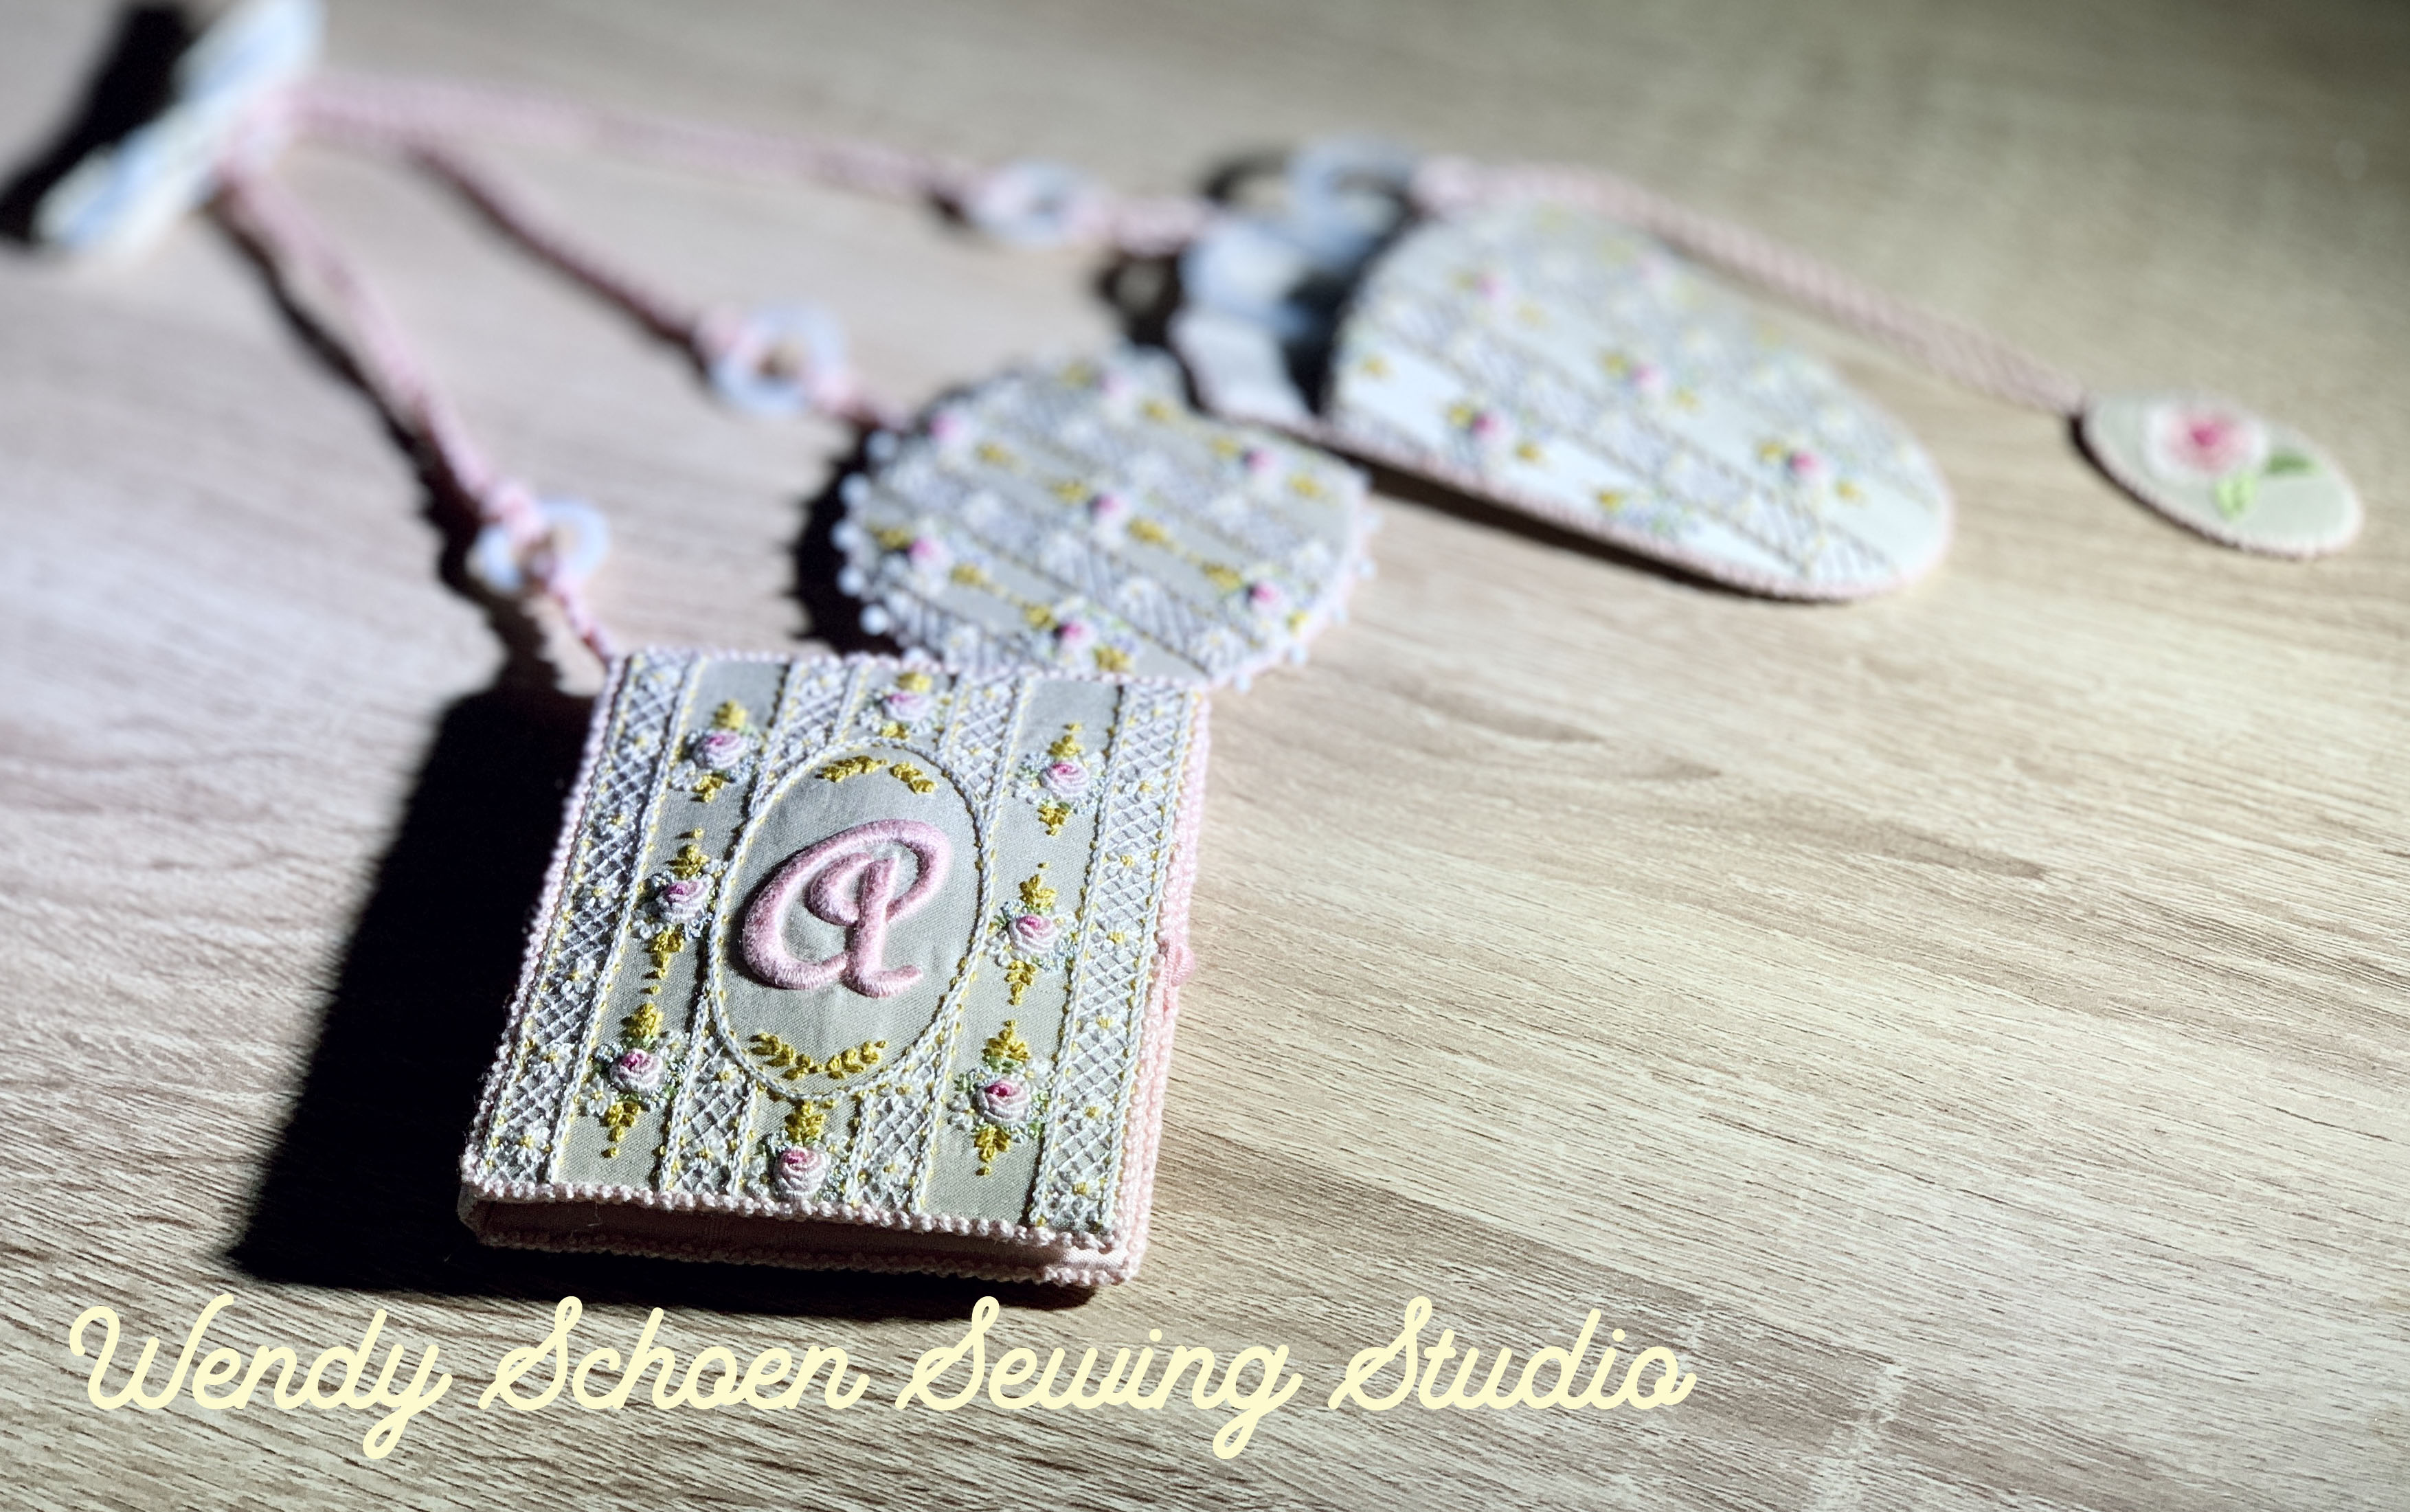
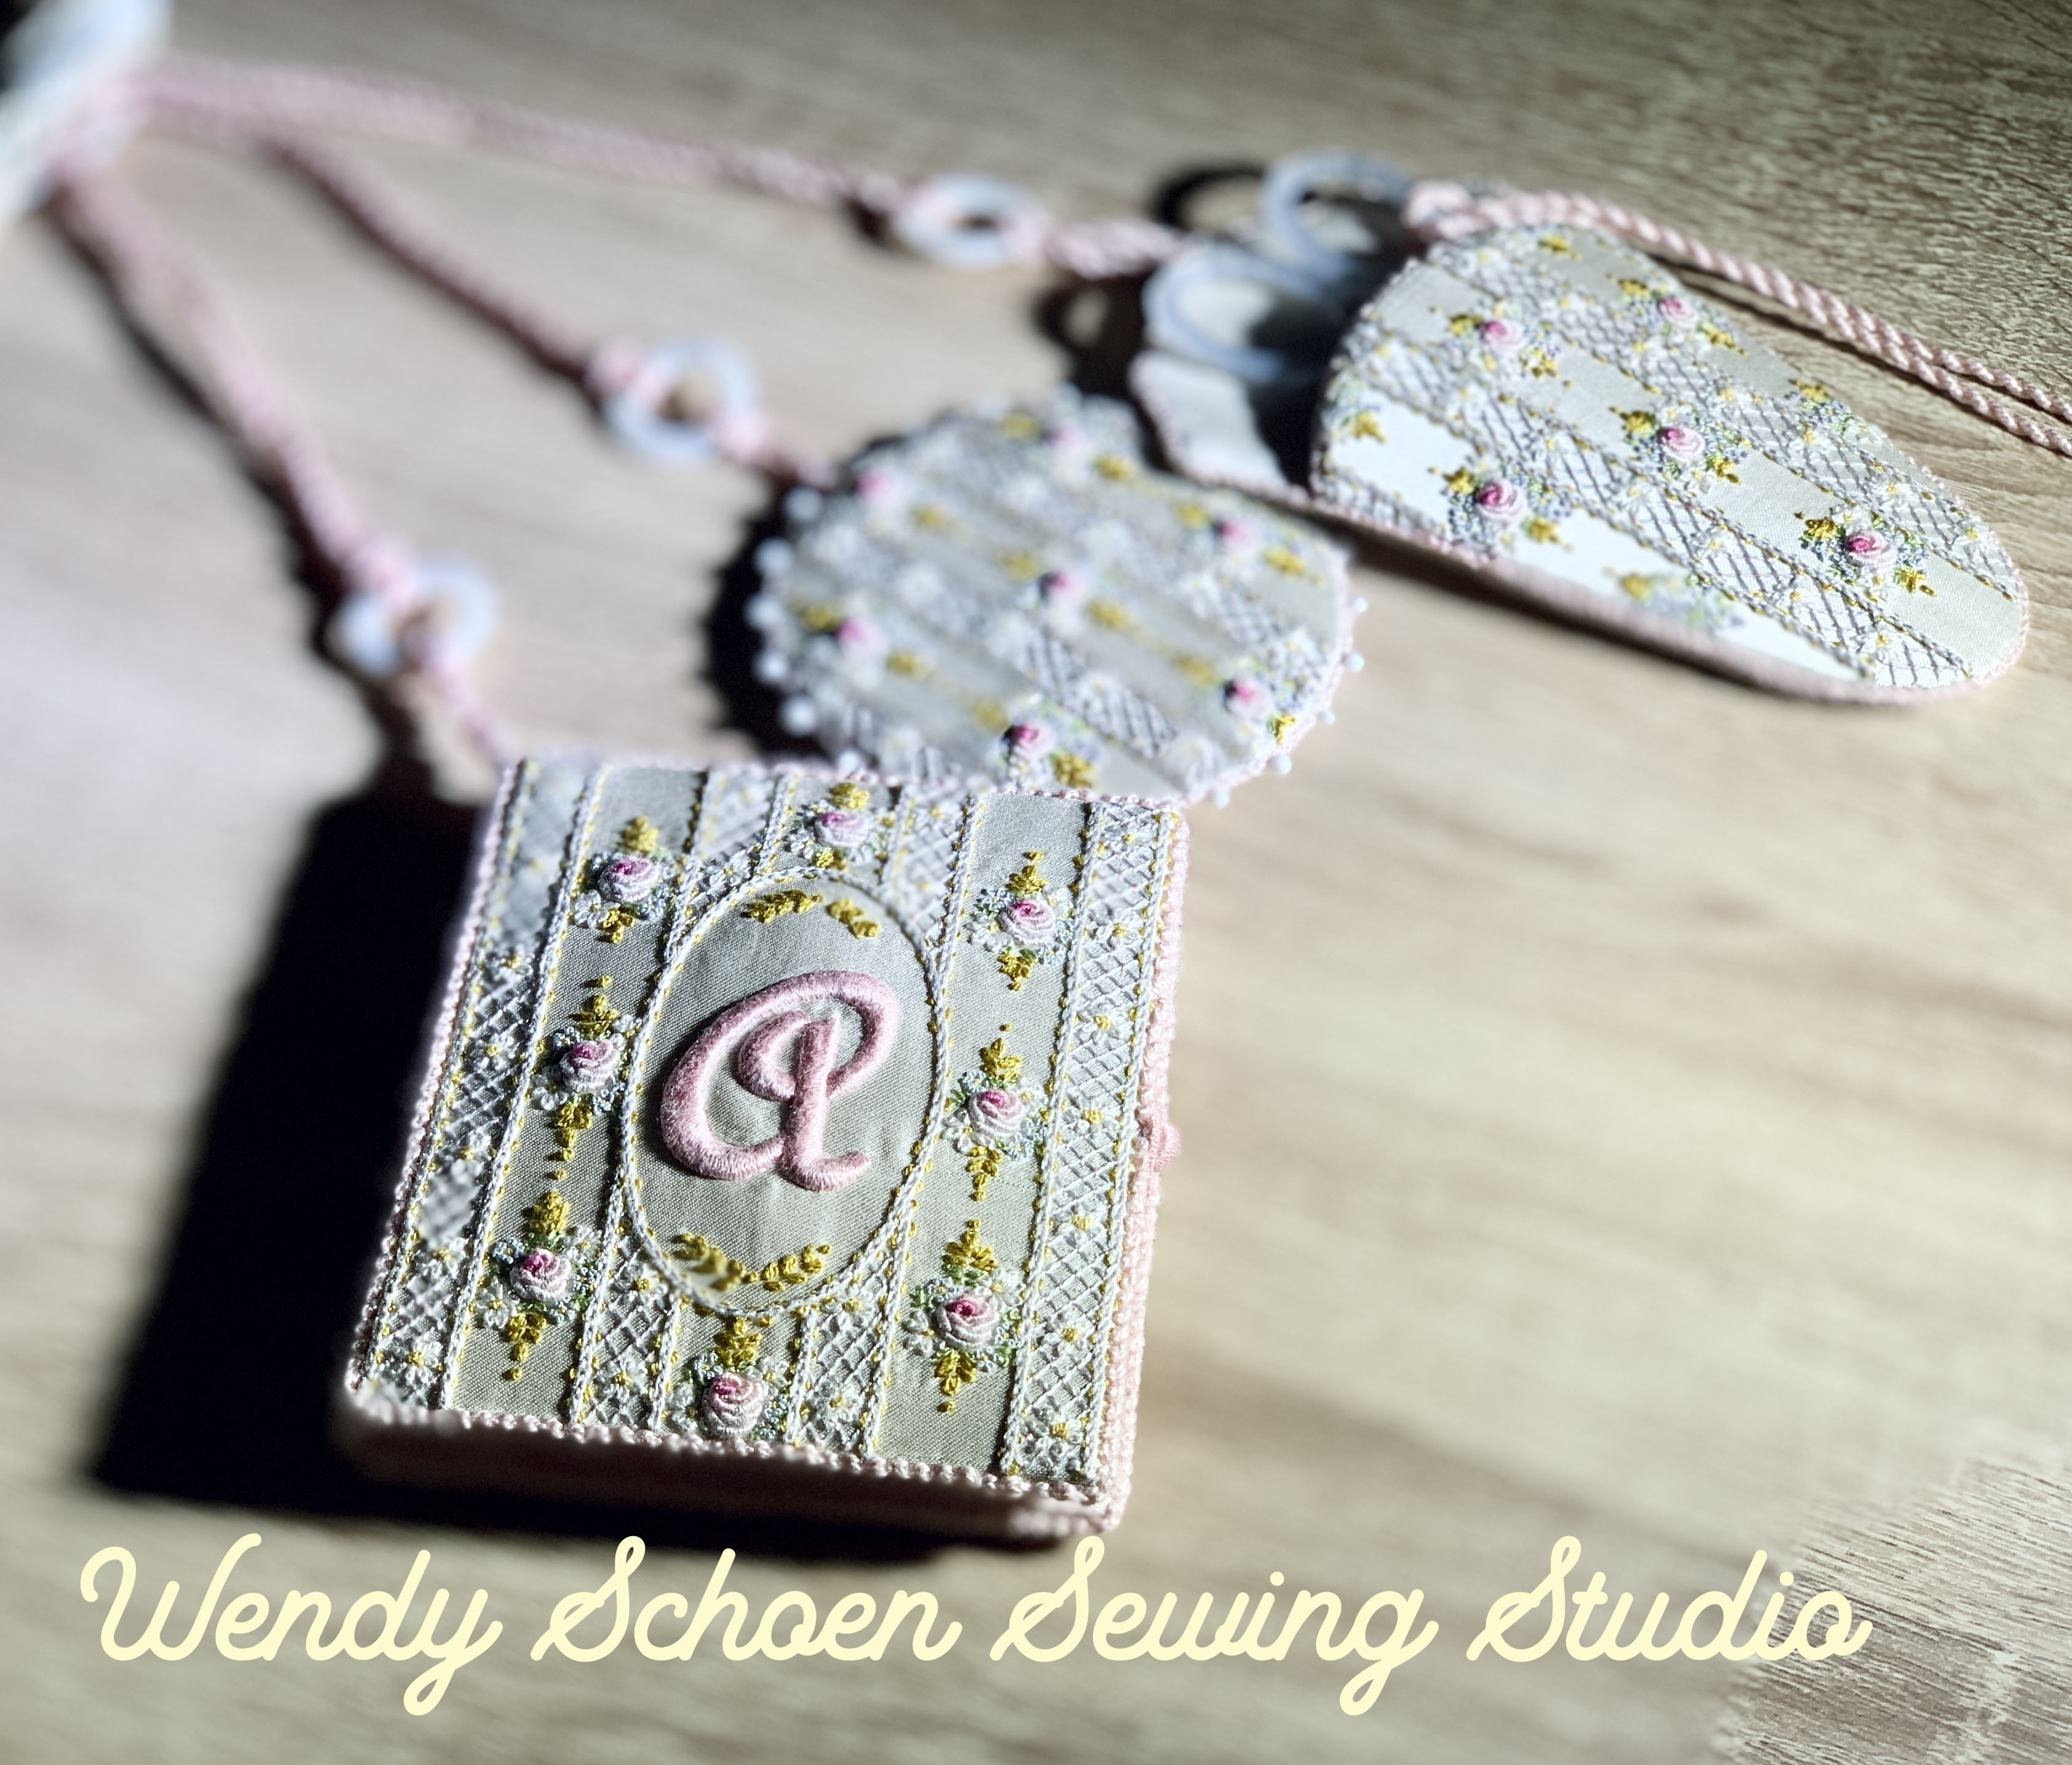
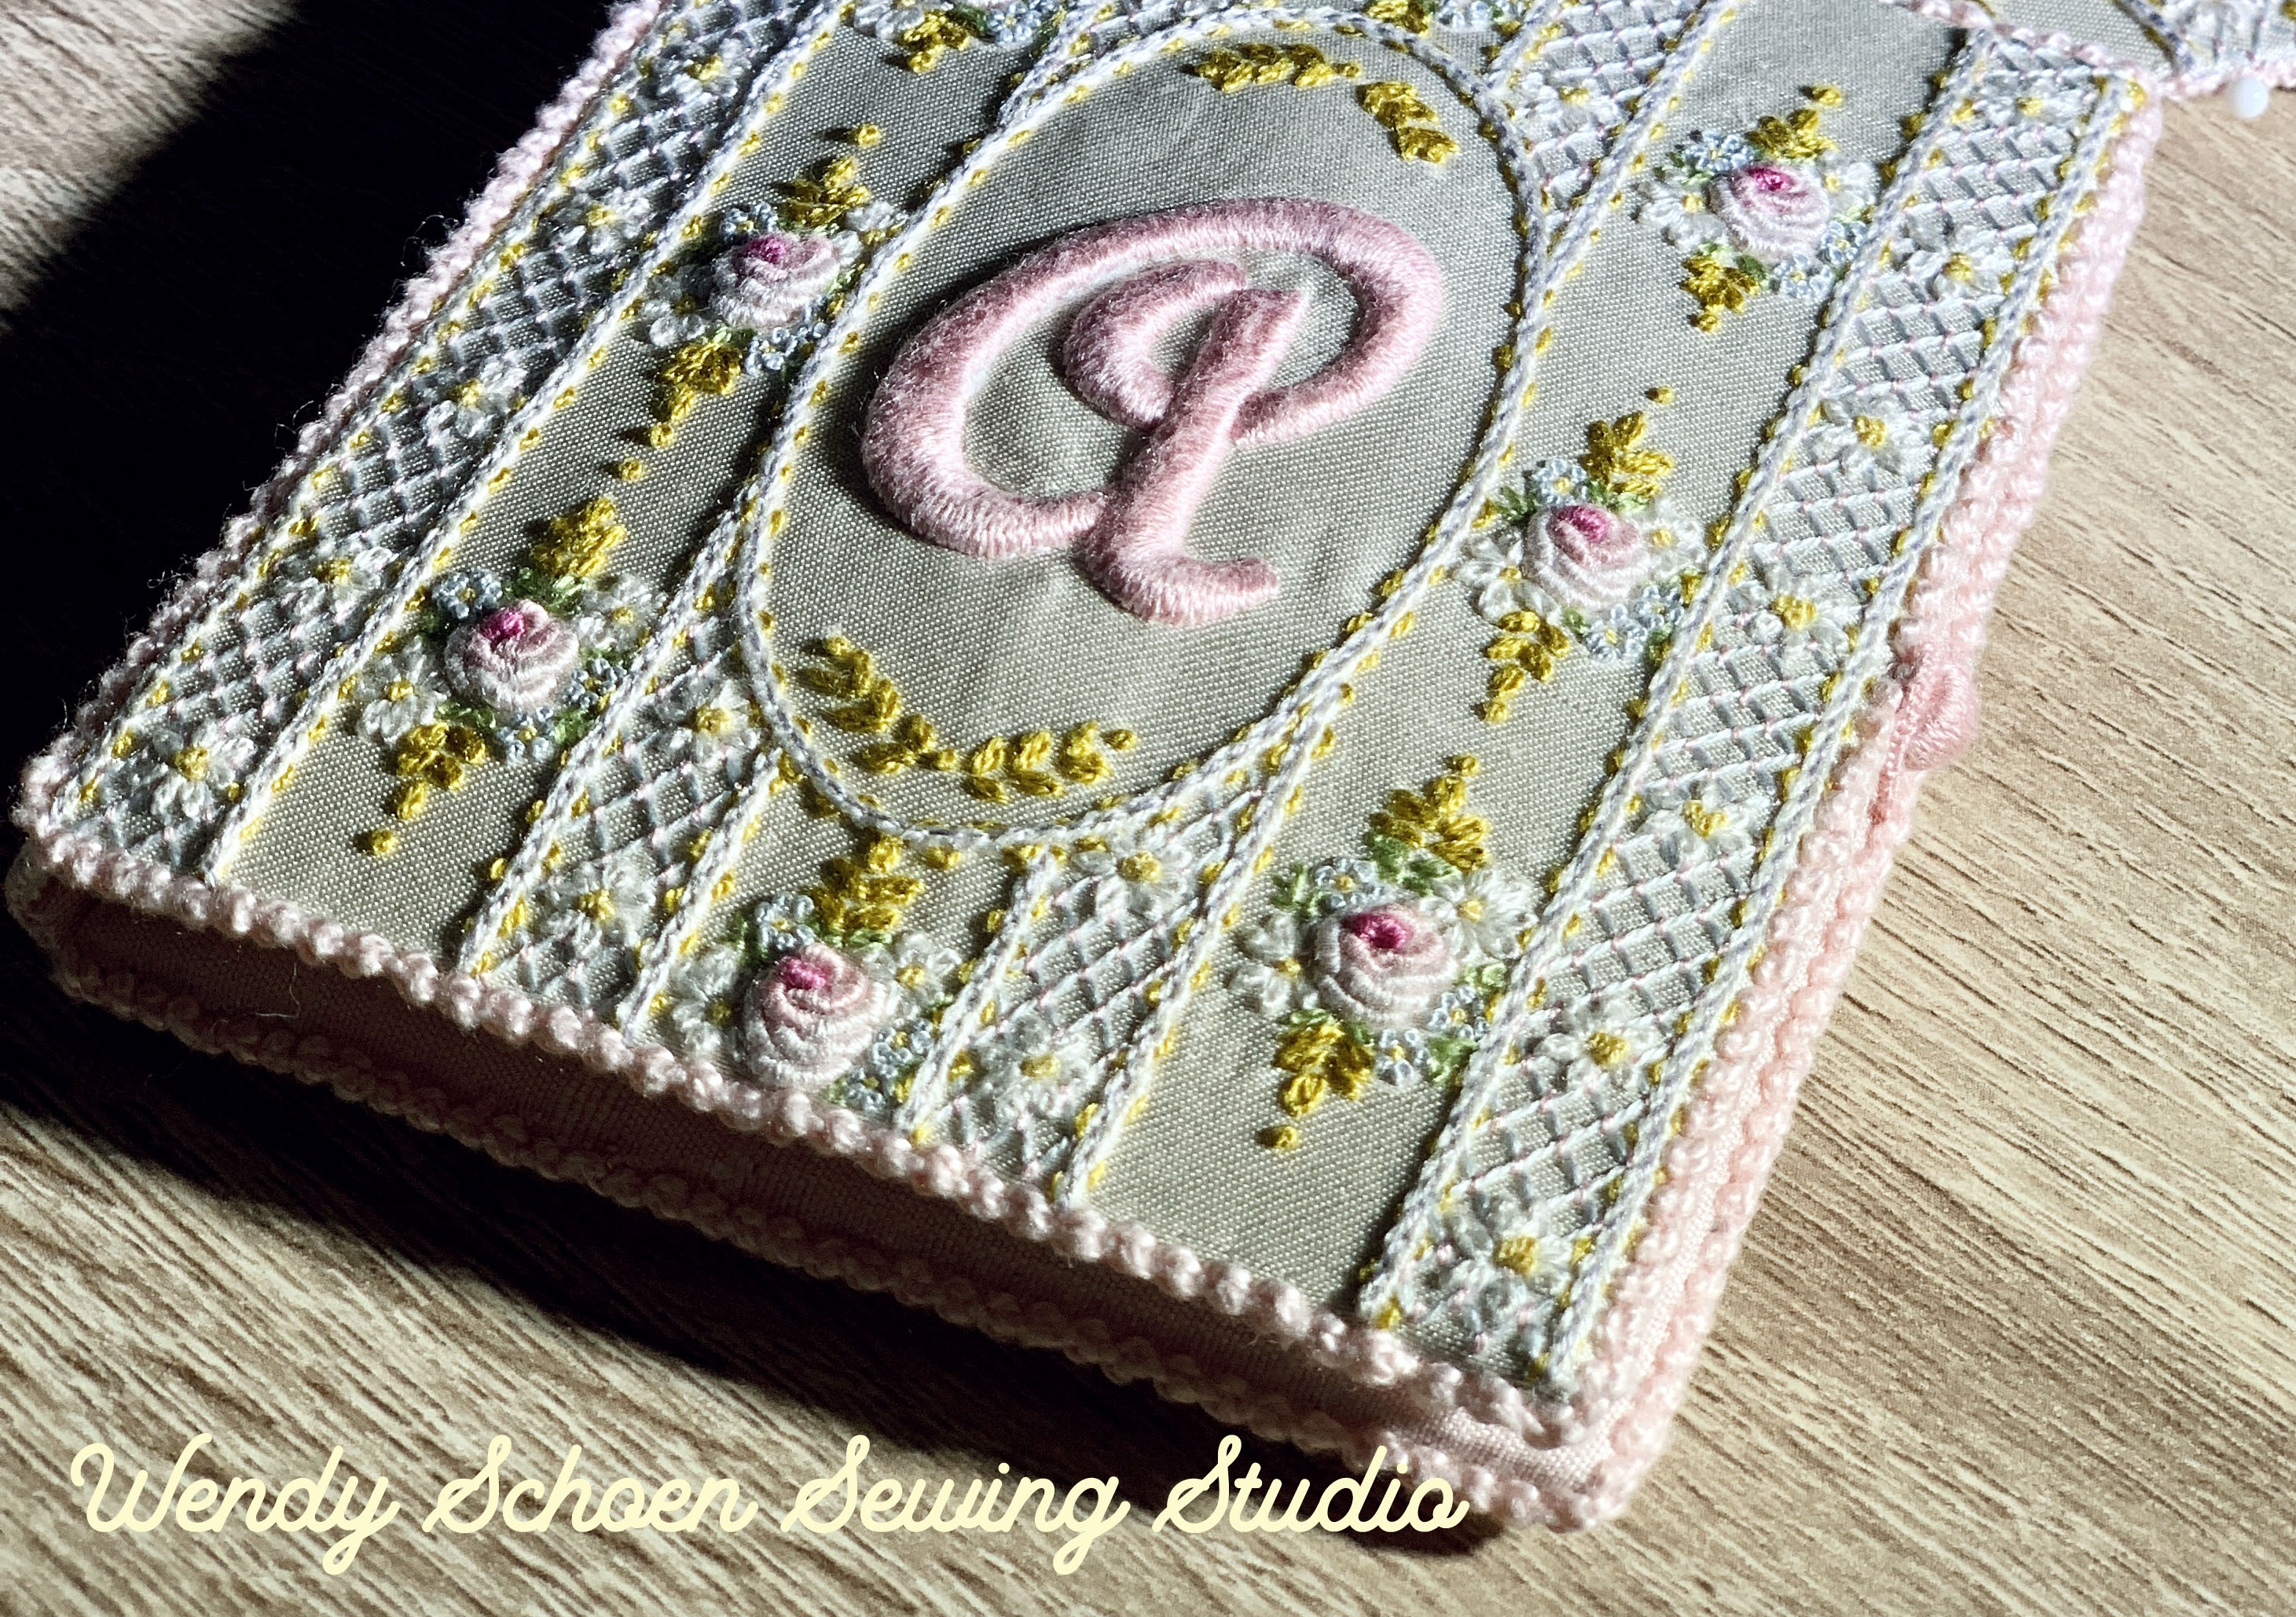
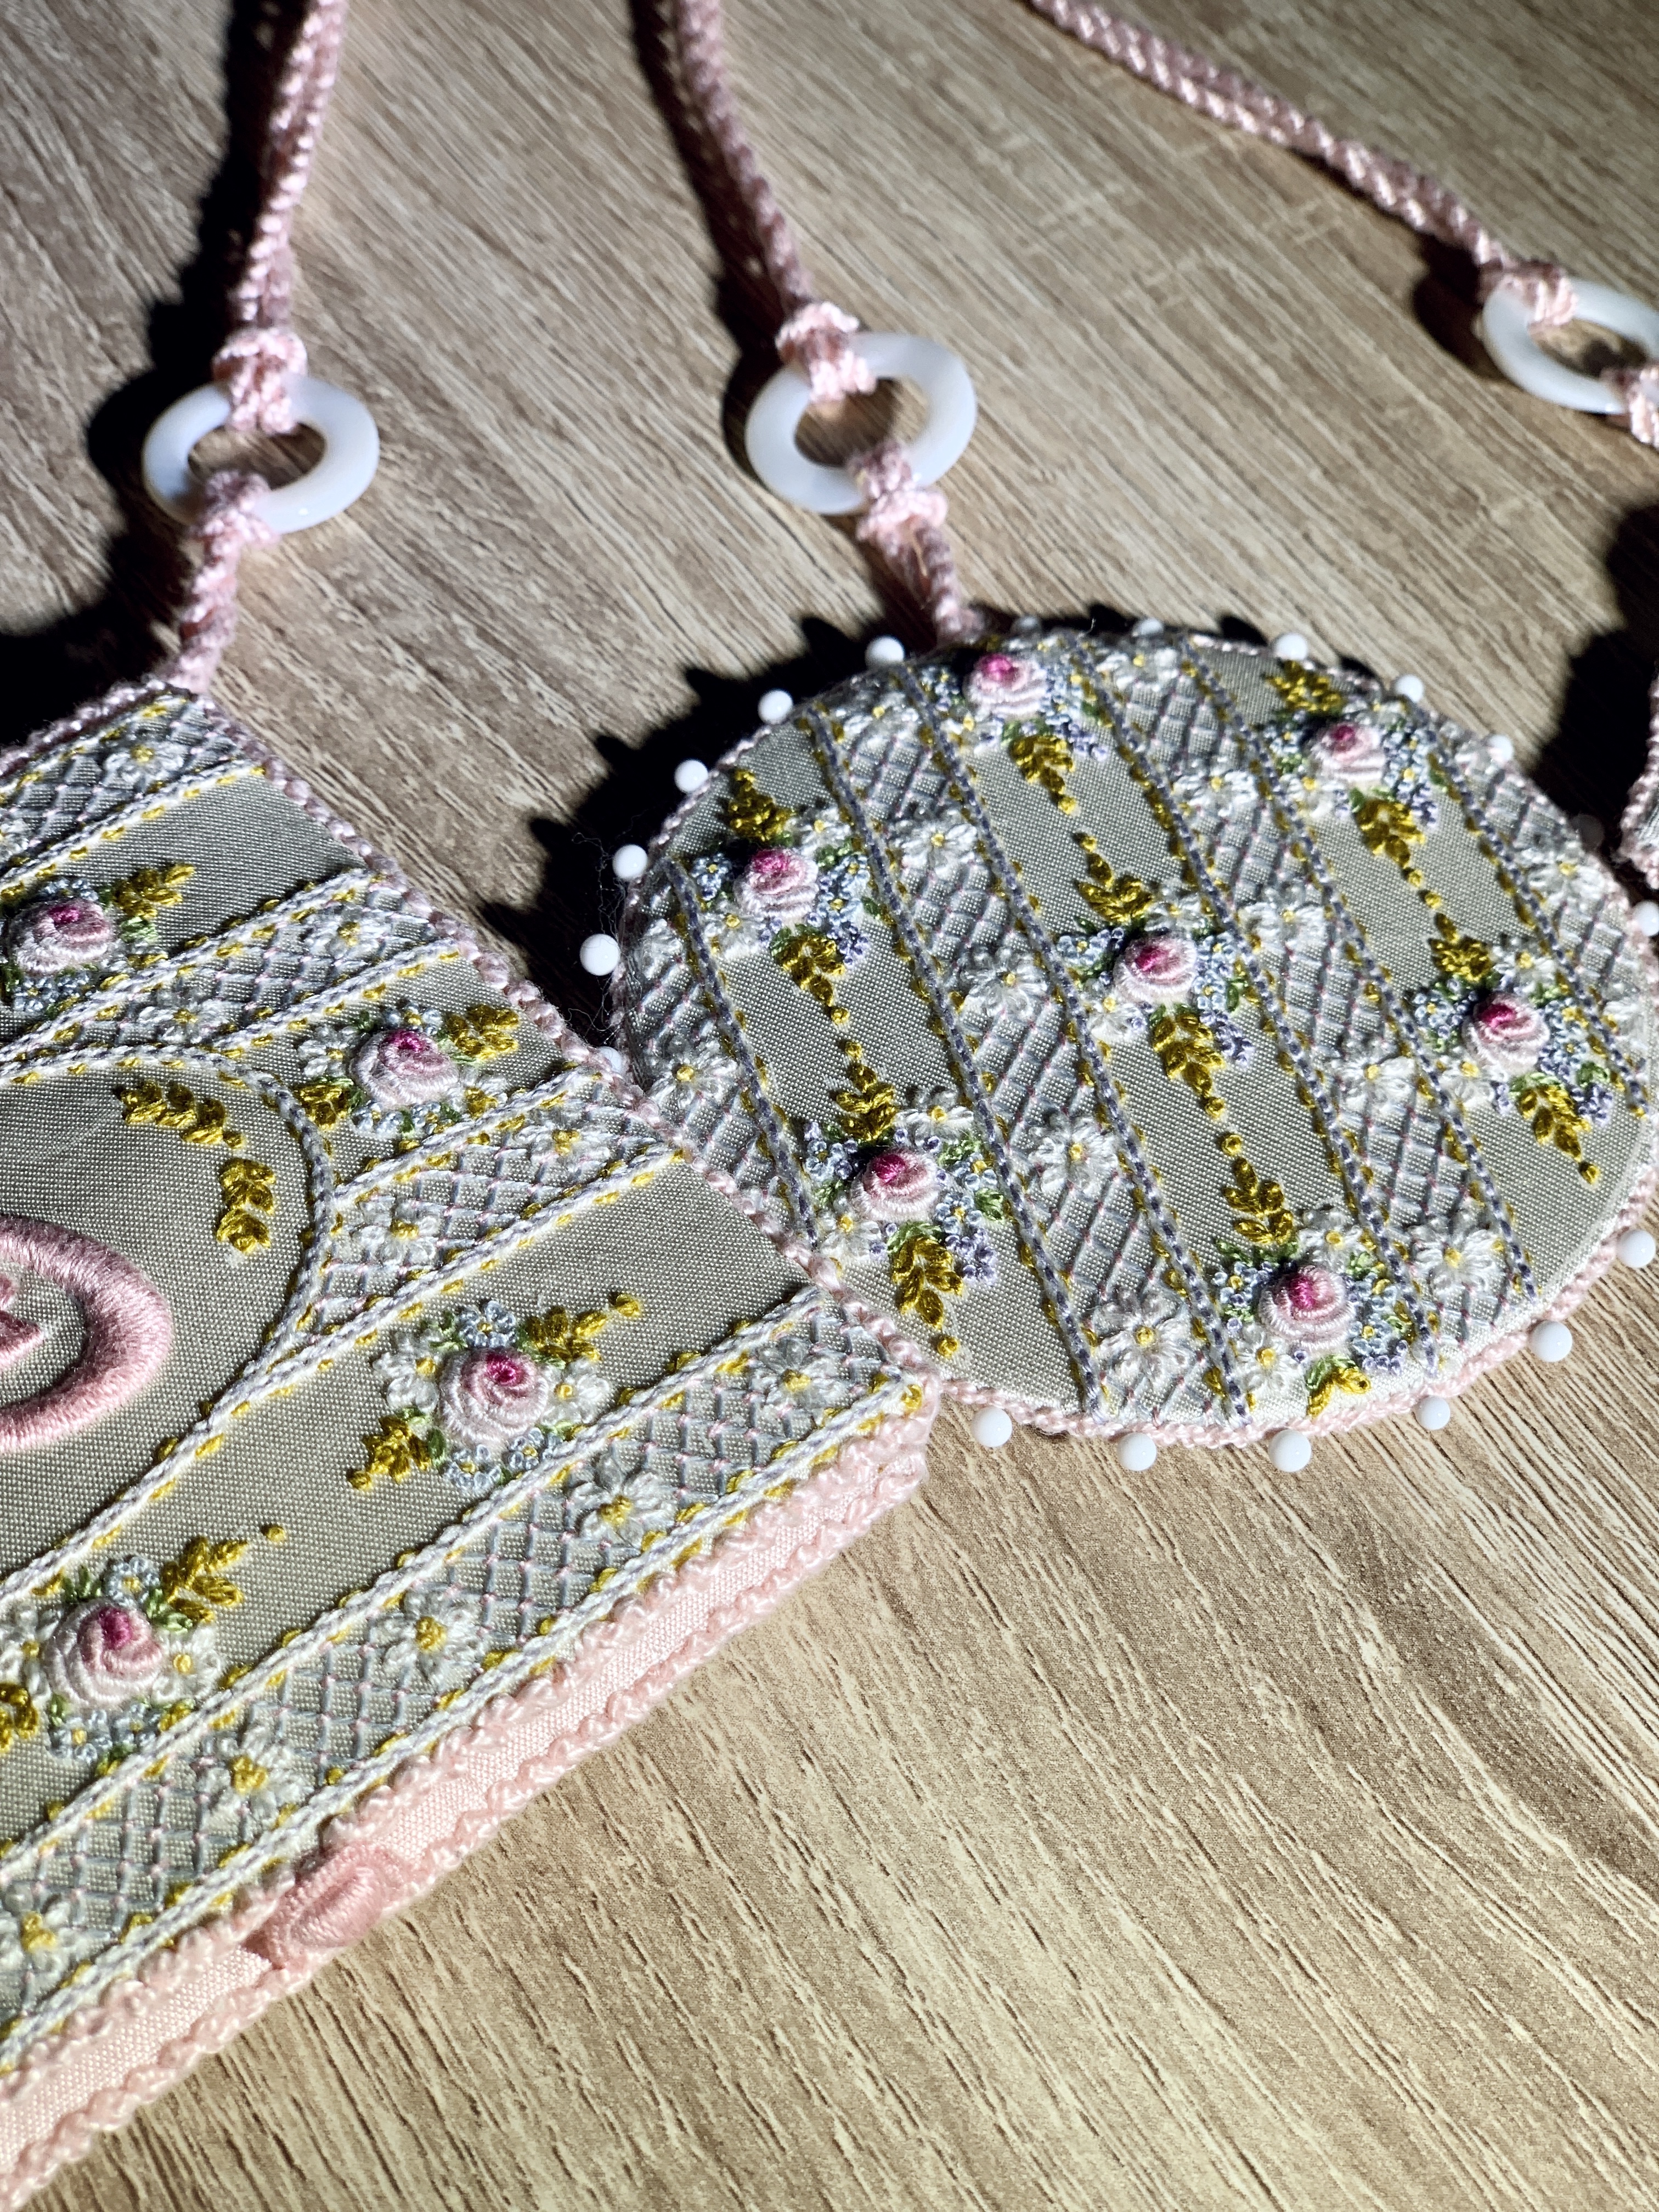
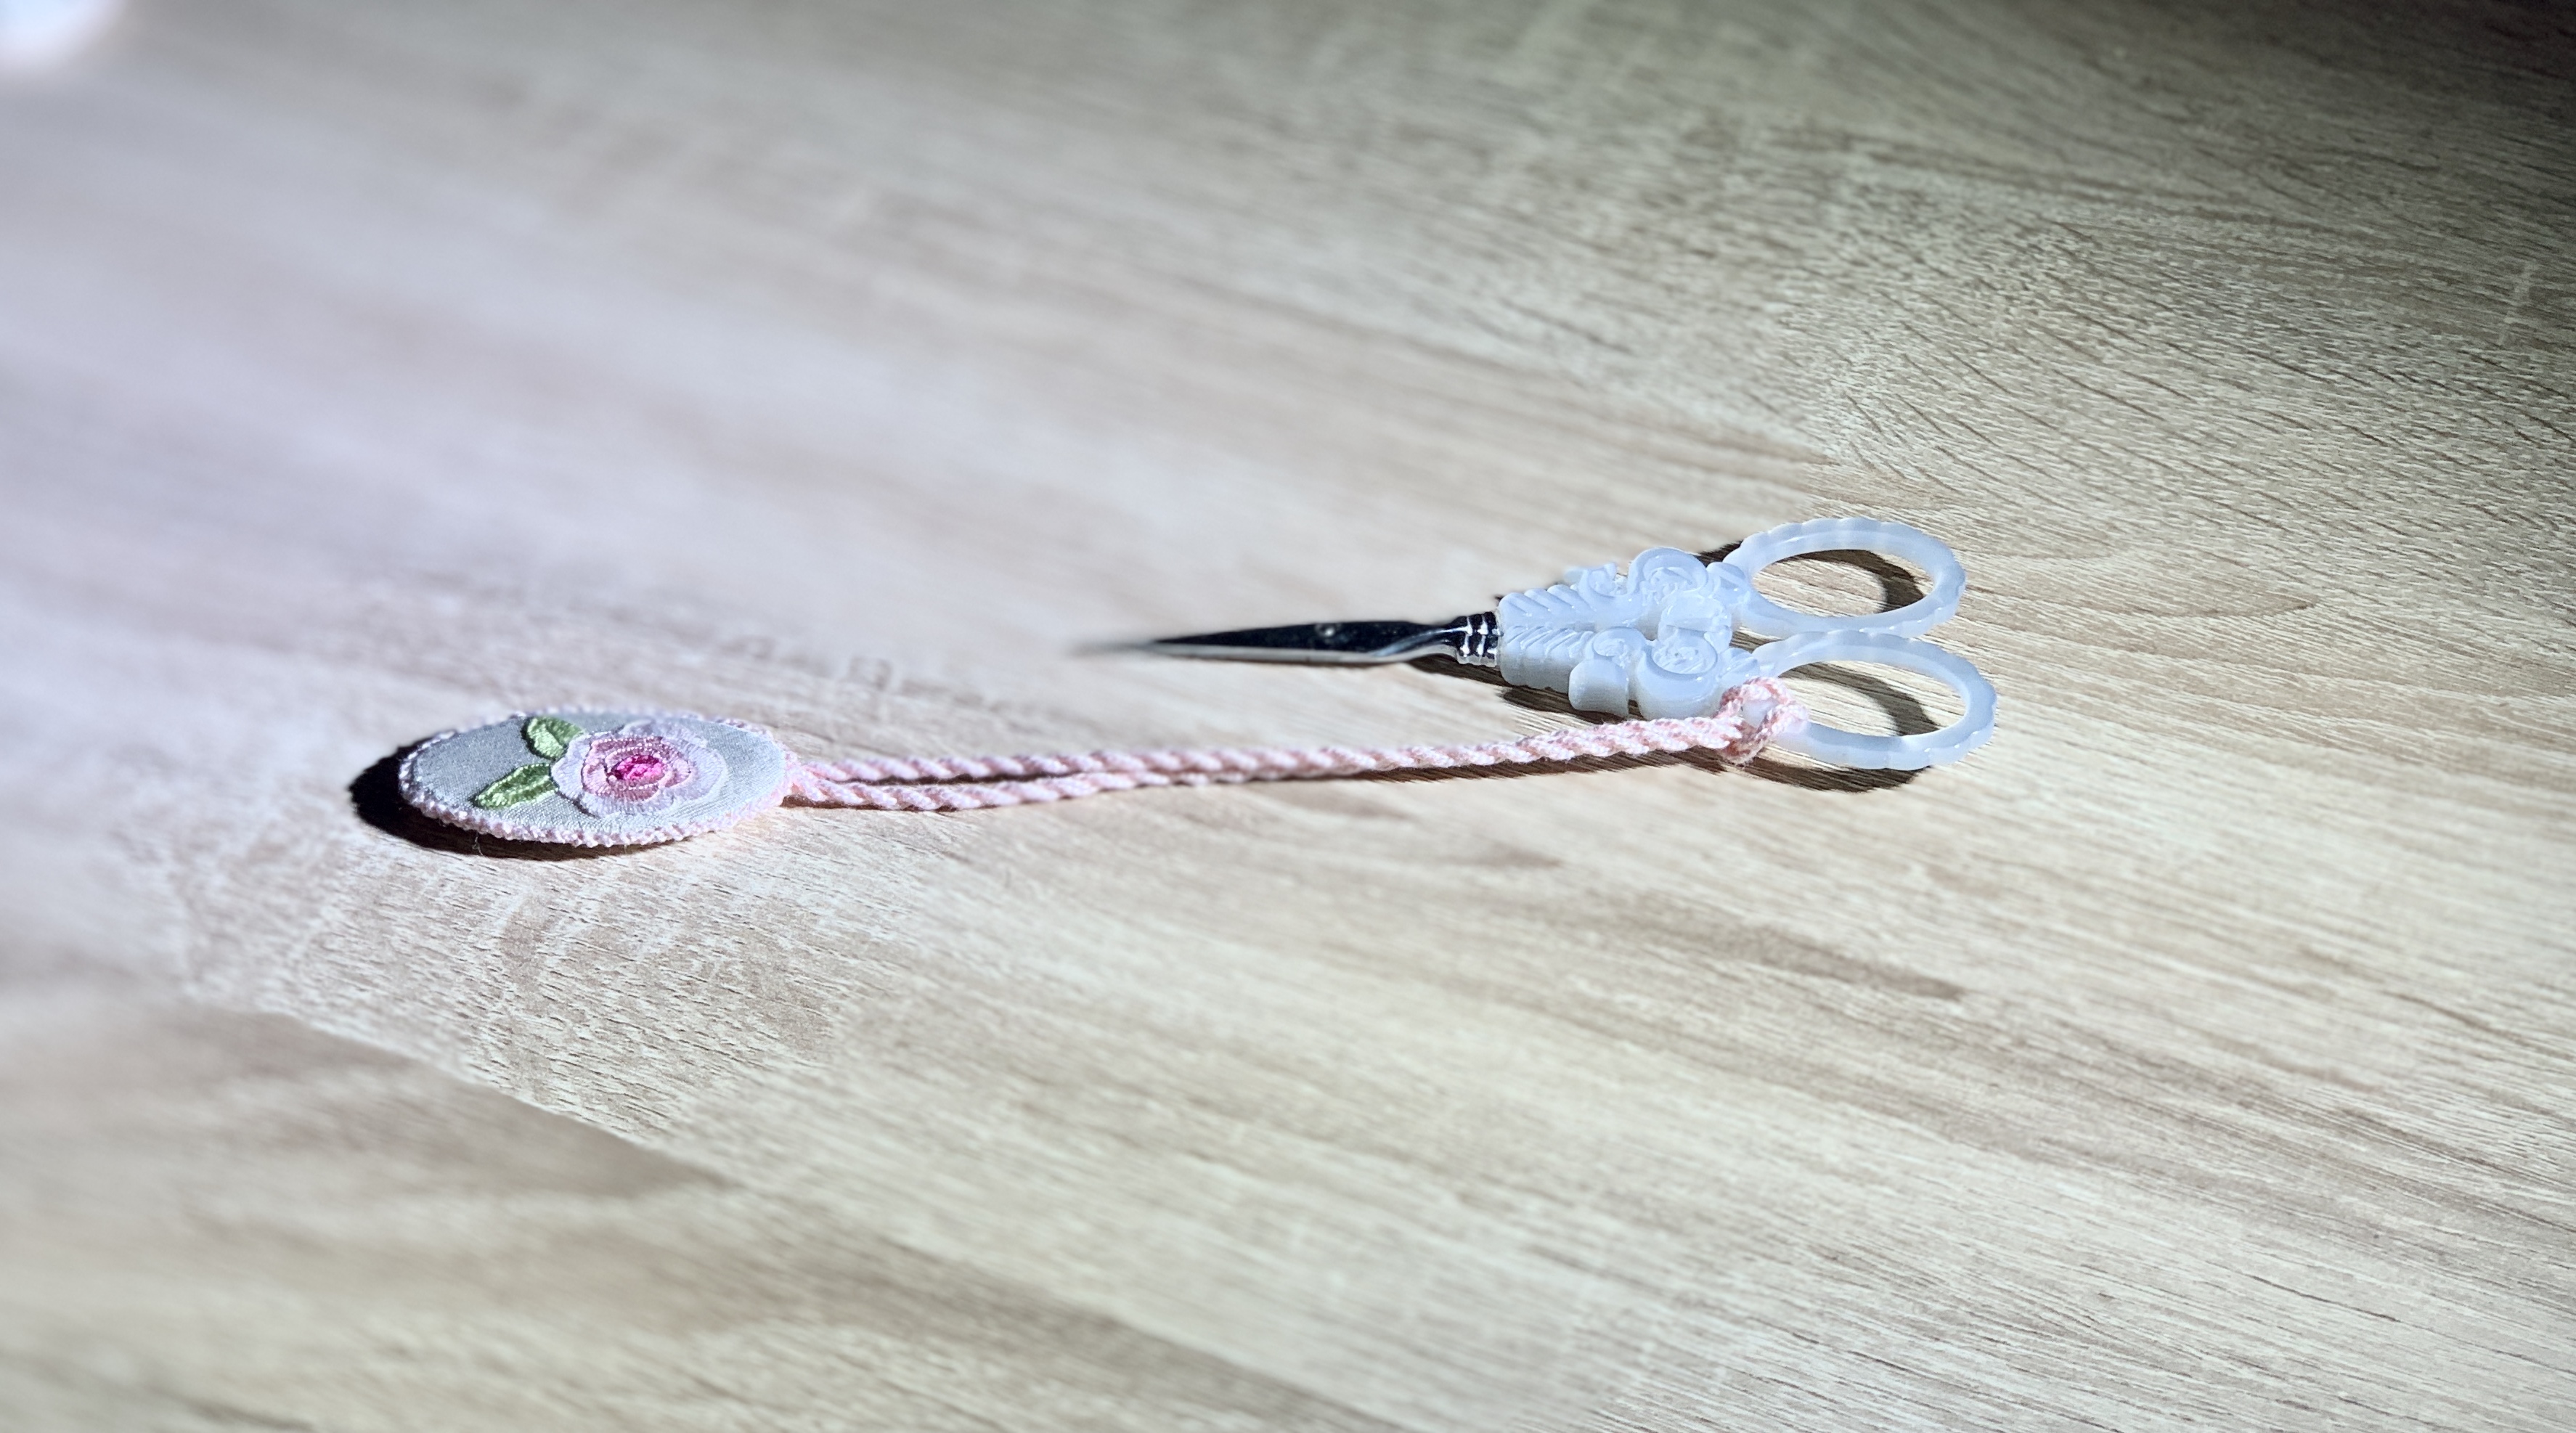
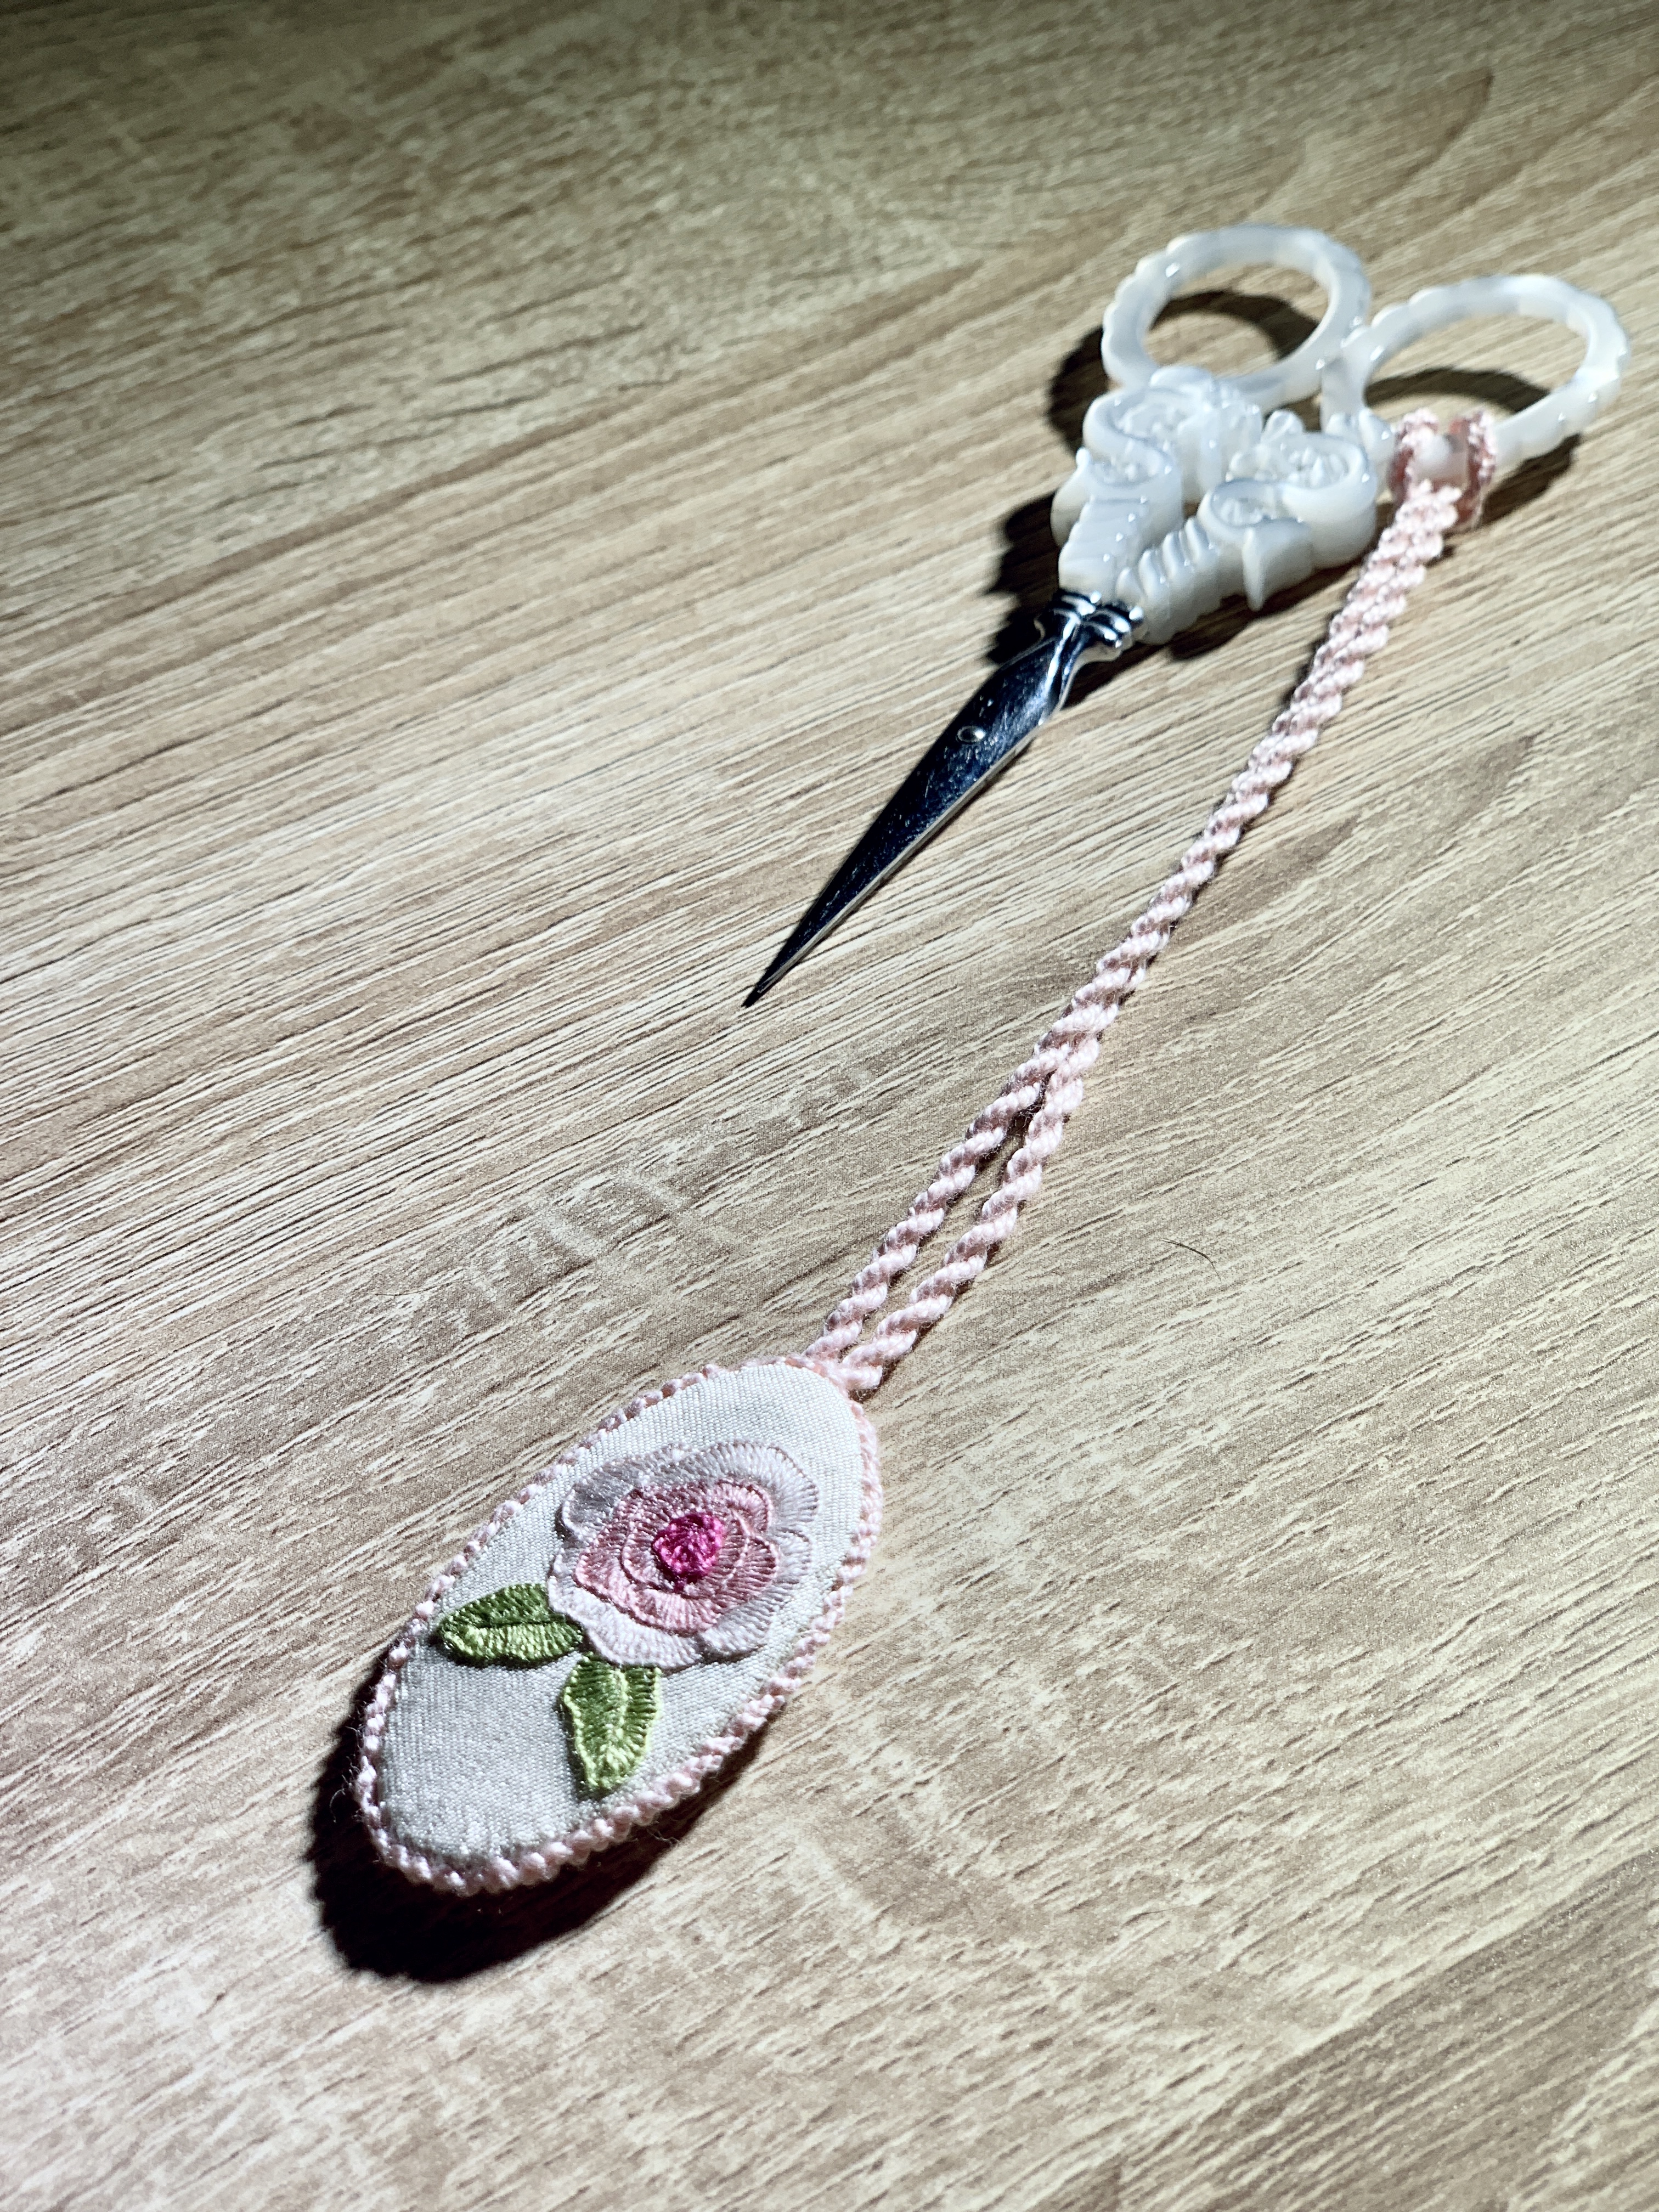
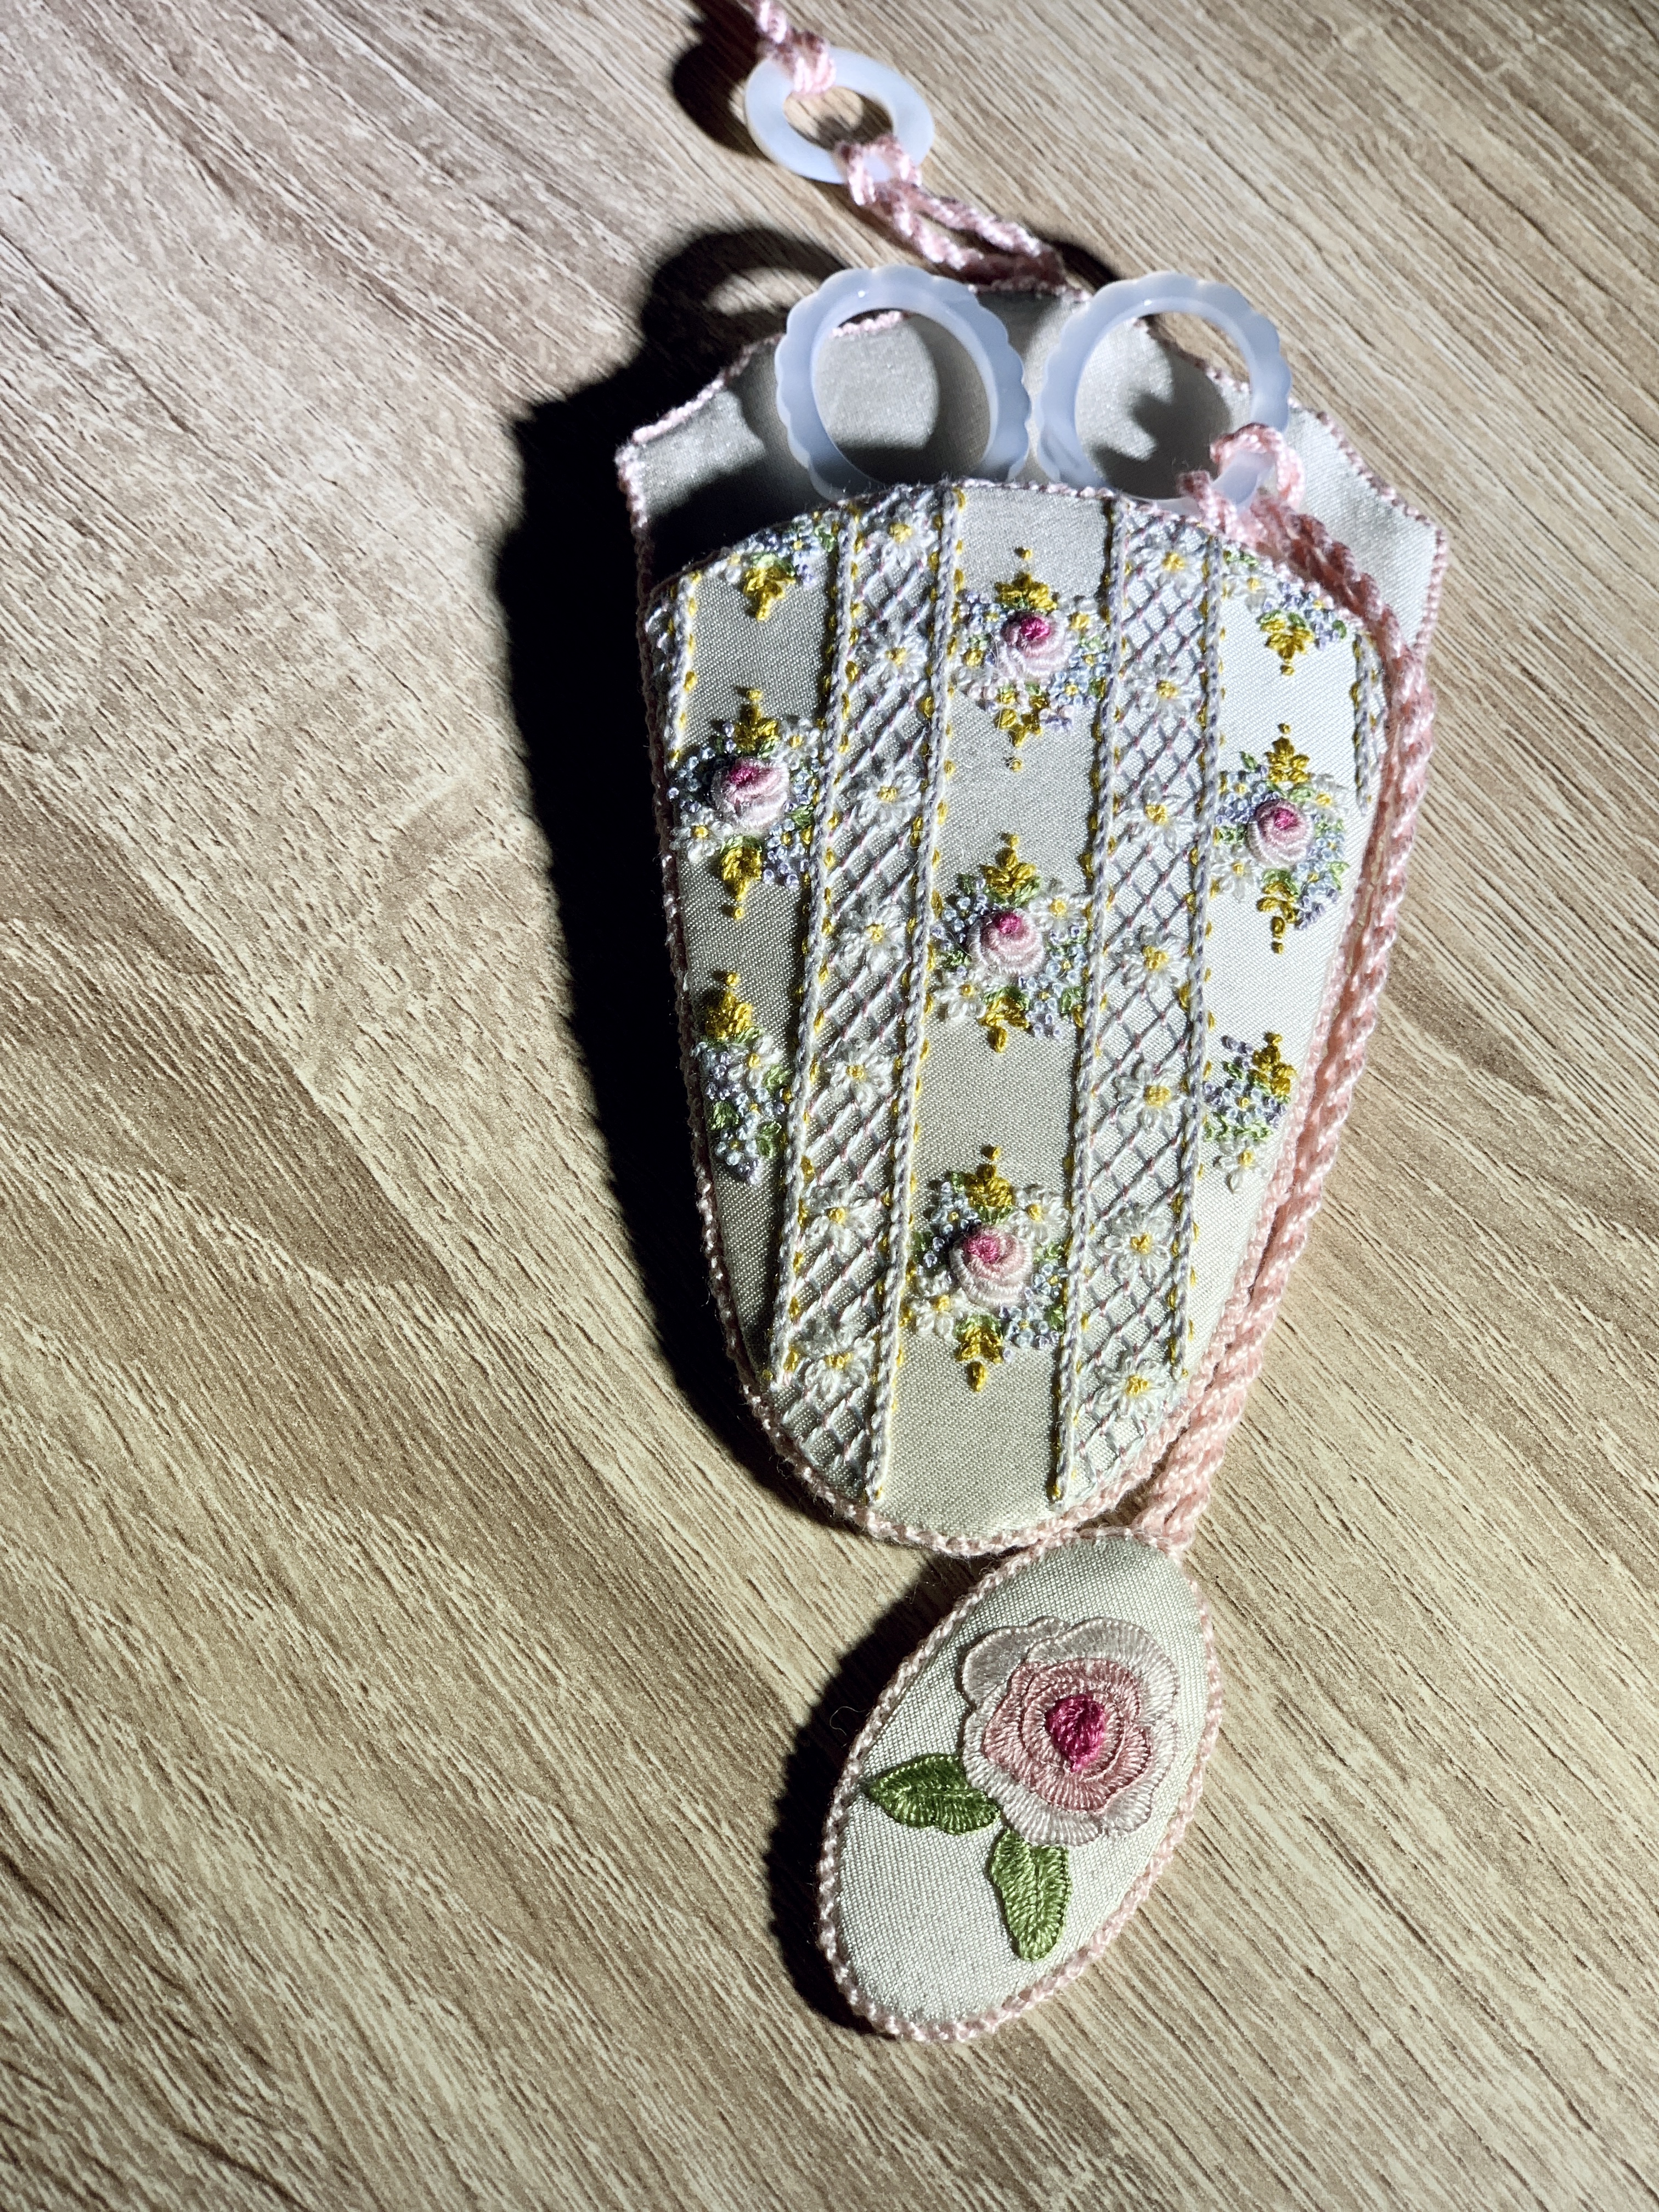
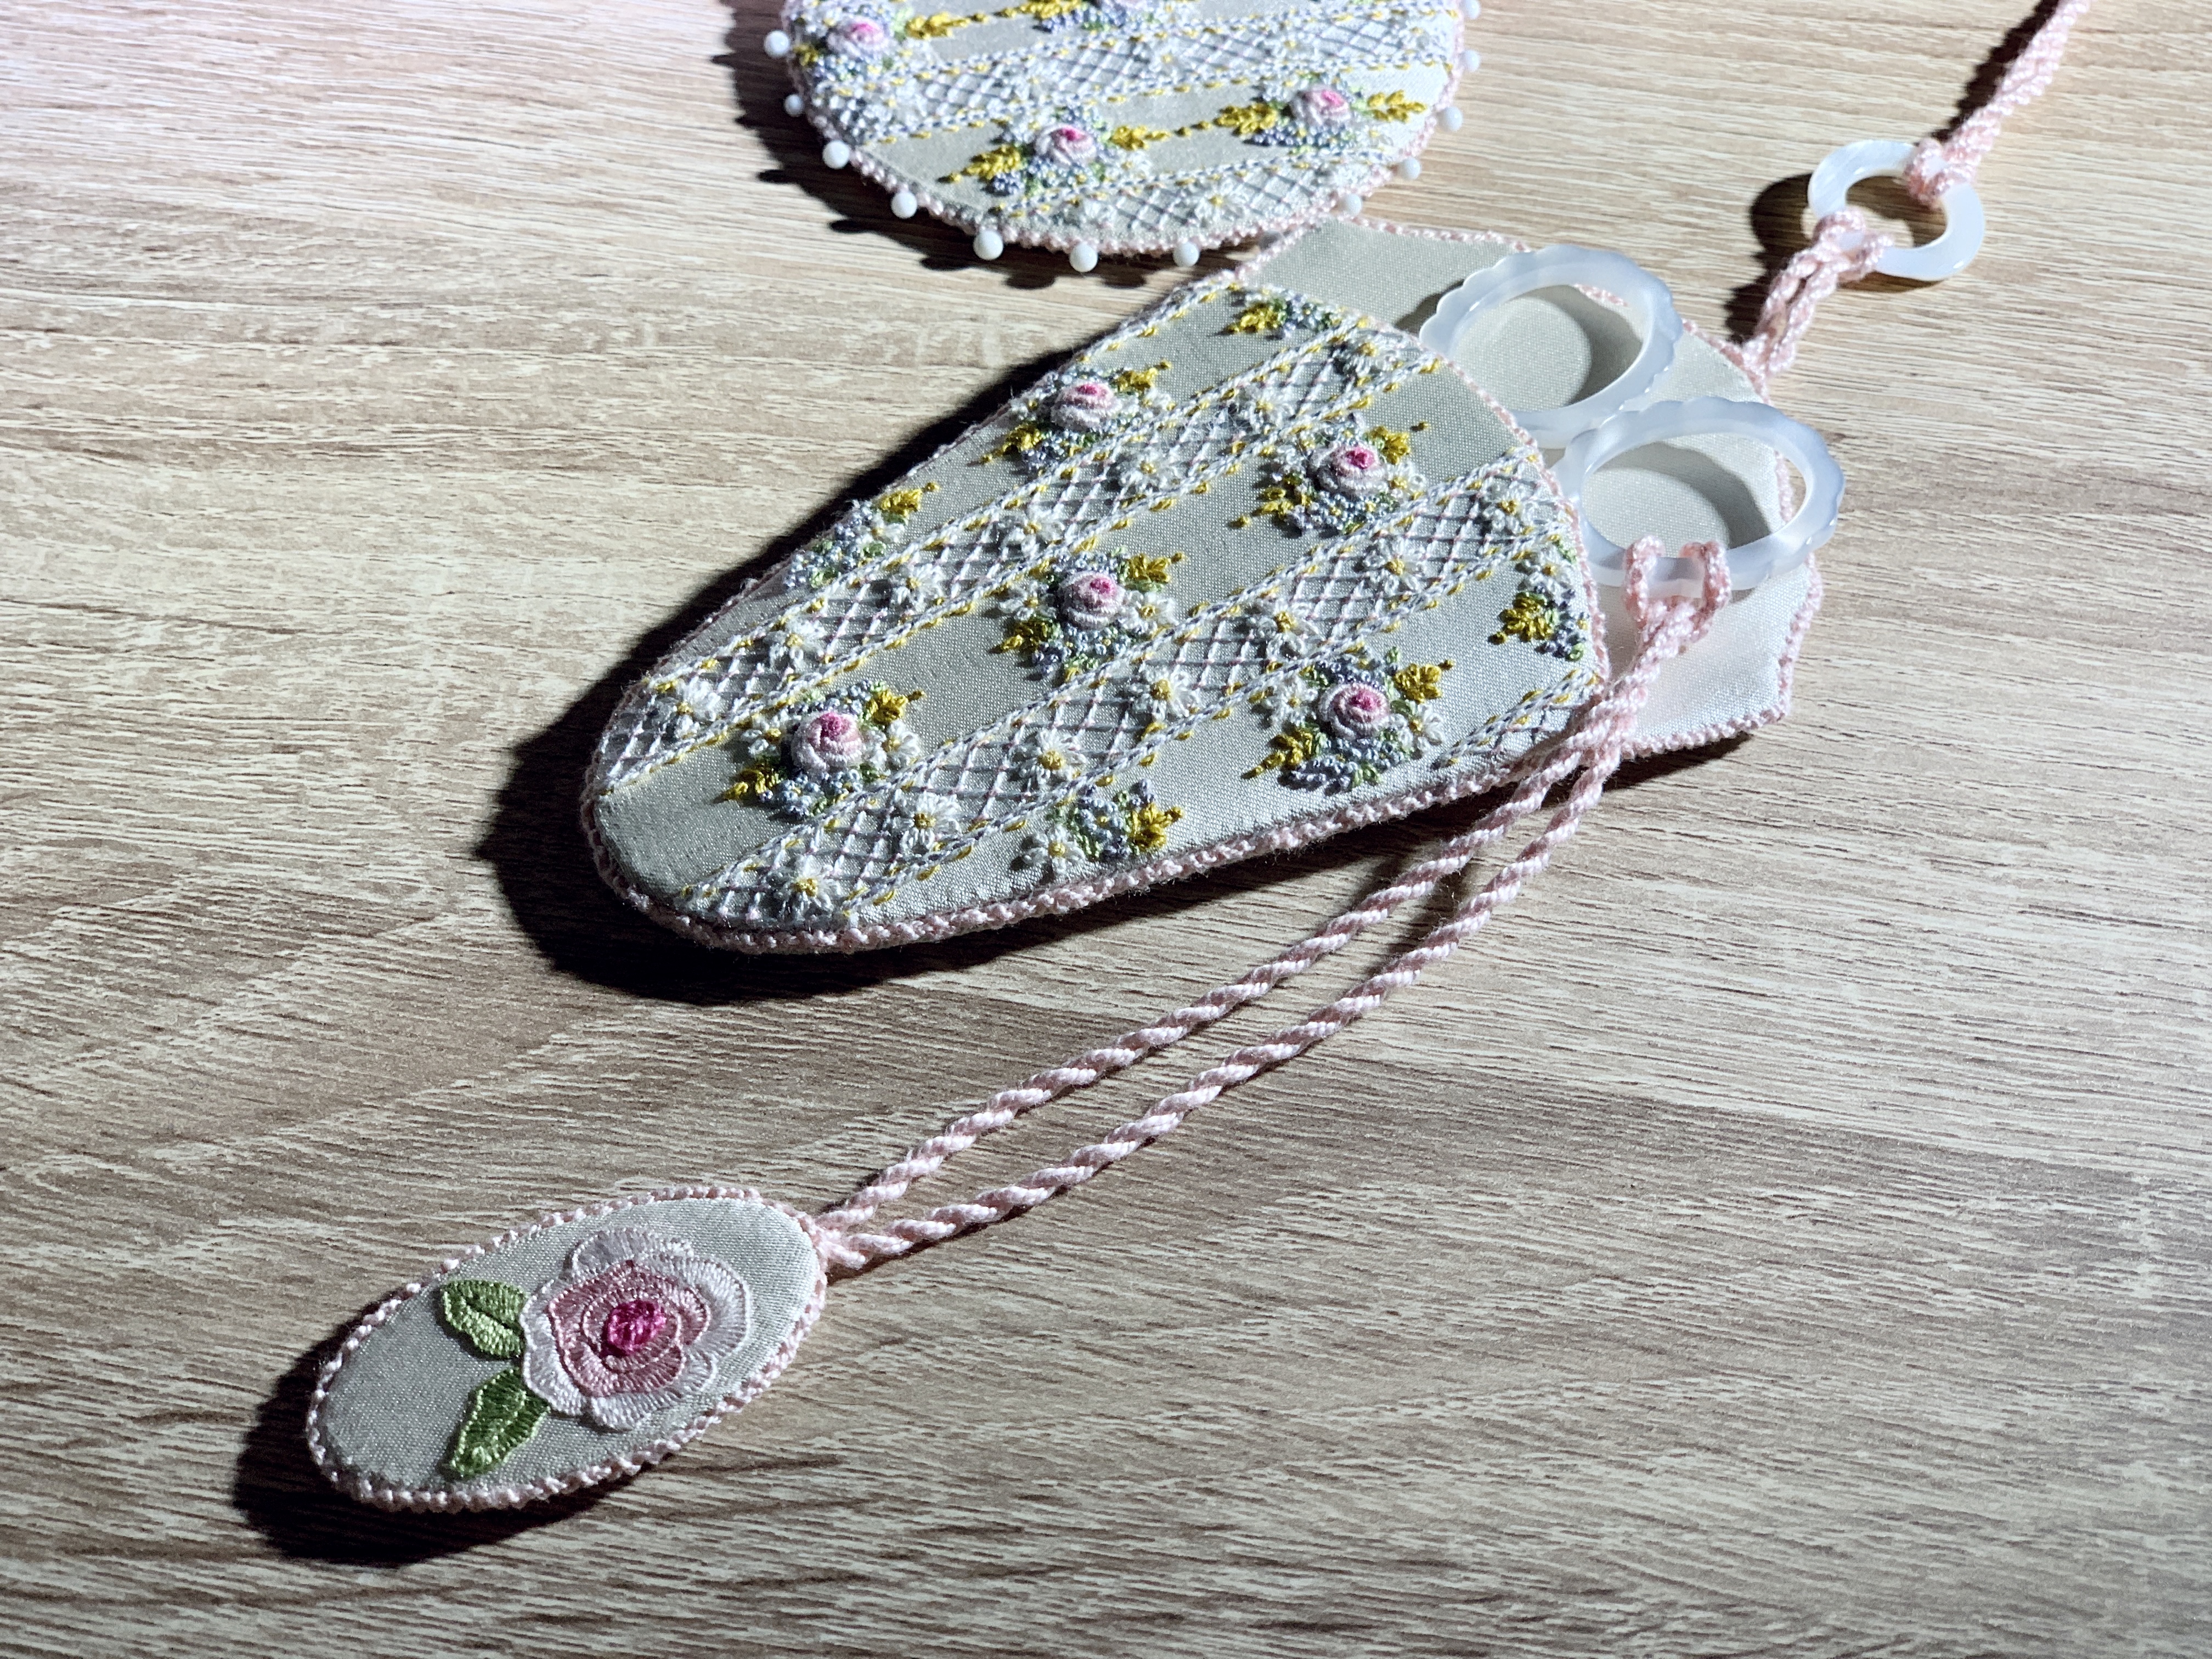
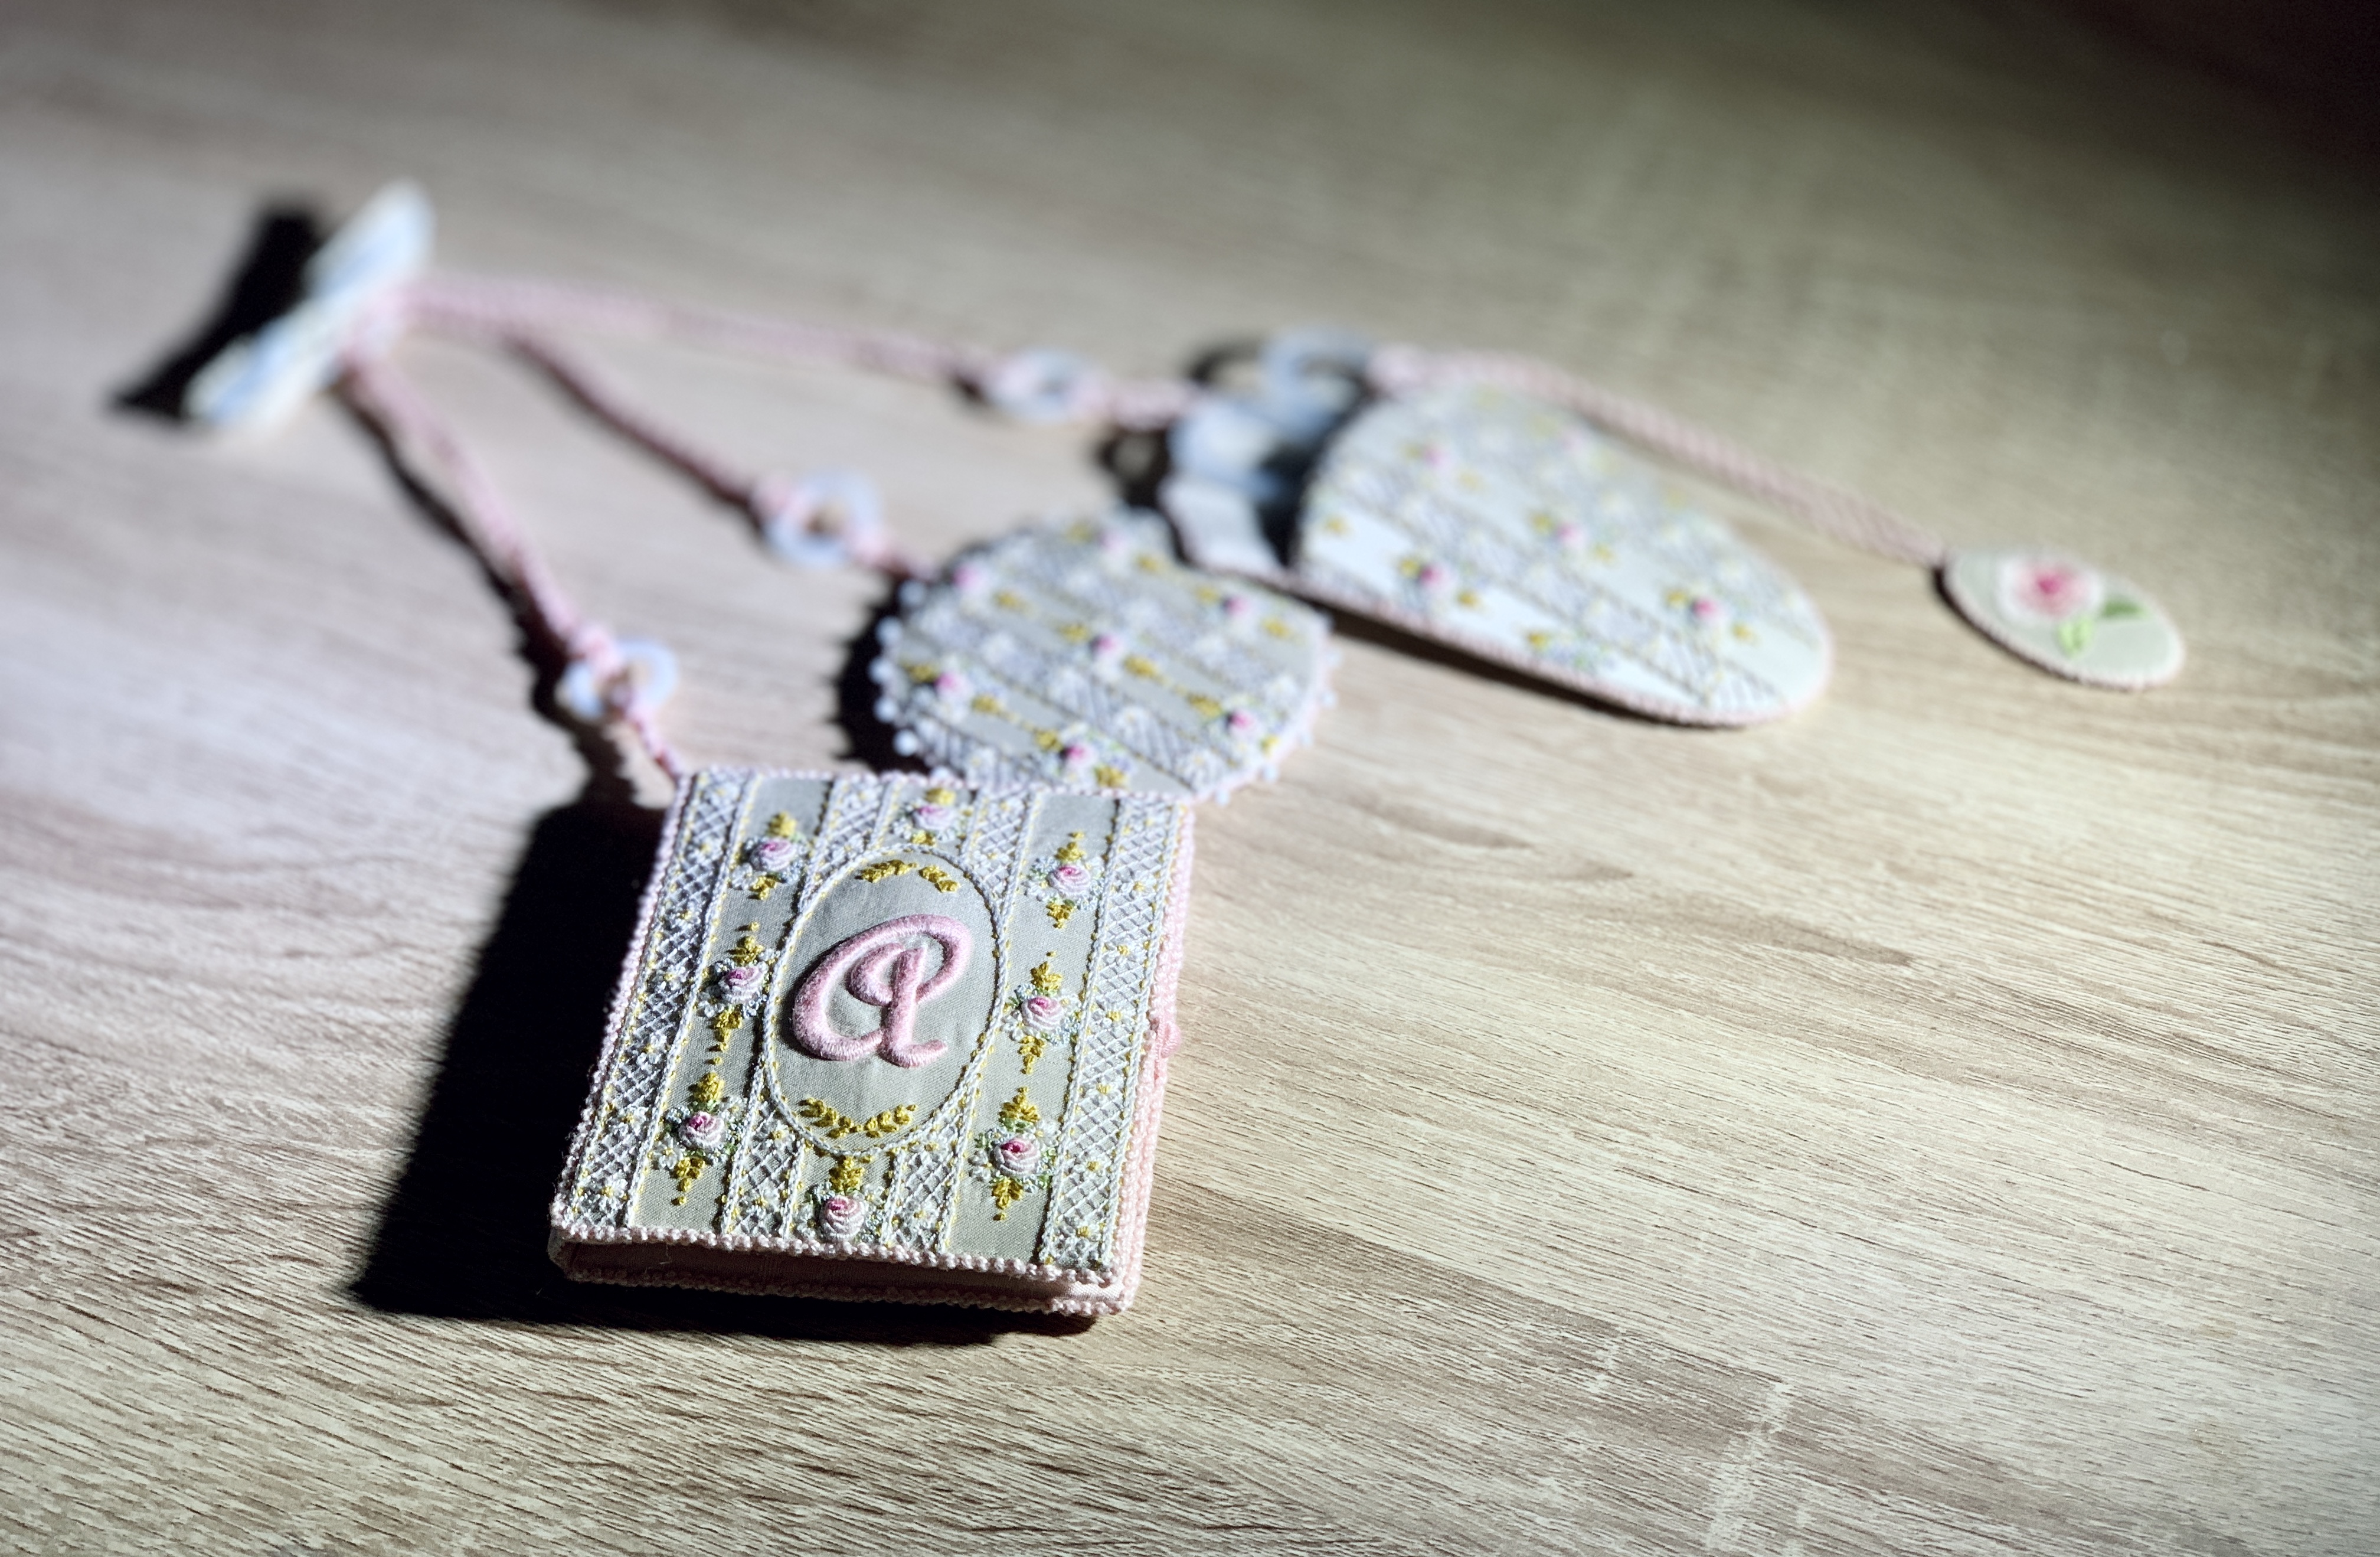
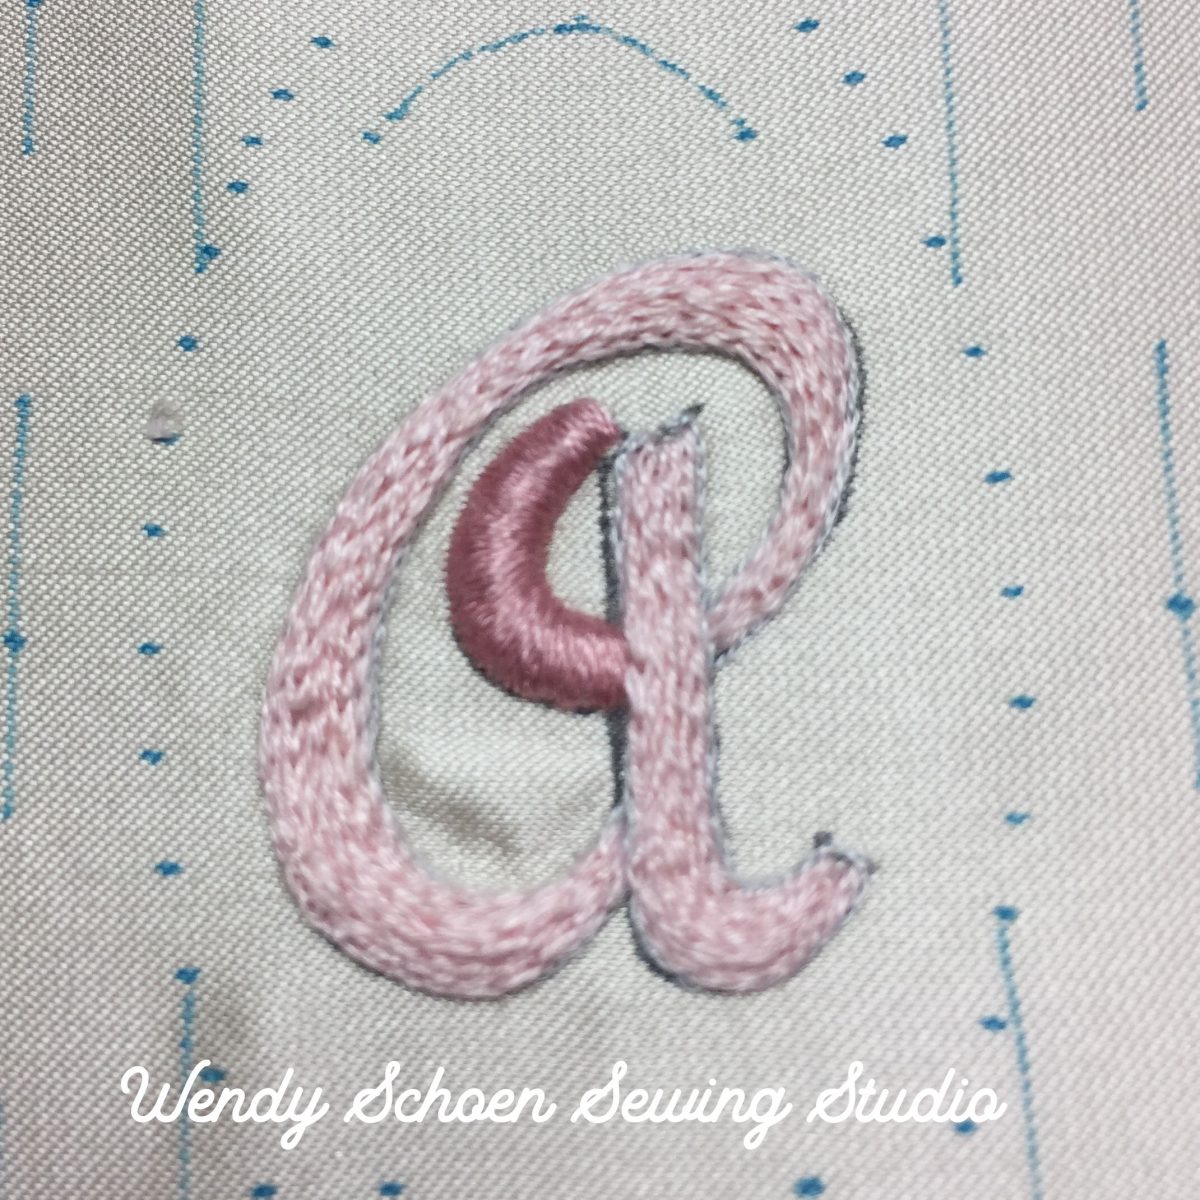
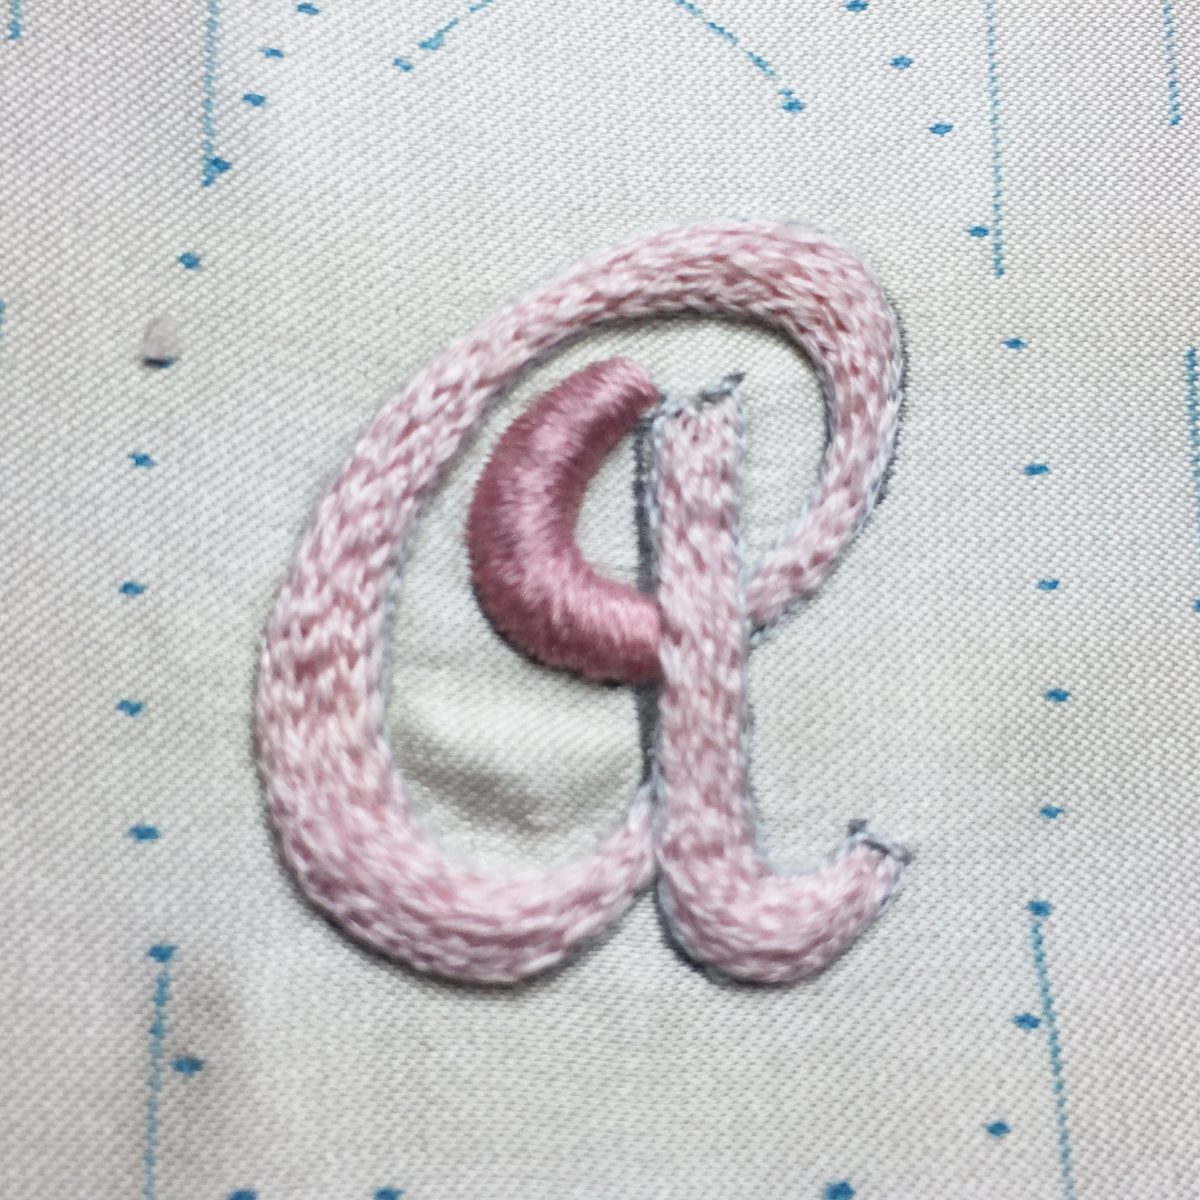
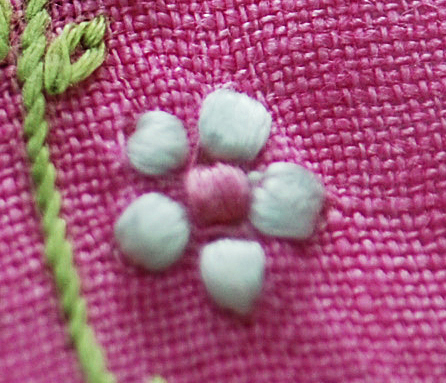
The by-product was the extra 6 days I spent taking classes. It was wonderful!! I opted to take both Susan O’Conner classes the entire week! I kept thinking to myself, please God, if I’m dreaming, please don’t wake me. The Versailles Chatelaine and the Cornflower Scissors Ball. I struggled with the later, but decided to focus on the first class, The Versailles Chatelaine. I made the decision to make it for my dear daughter-in-law, Andrea Schoen, who has been working on her own embroideries. I did change the mostly blue to mostly pink colorway. My girl is a pinky and I knew she would want it that color. Just watching her face when she opened it will stay with me for the rest of my life. Now I want to share it with you. Happy New Year and Enjoy!

Granito vs. Padded Satin Dots

At first glance, Granitos (translated Little Grain), are pearl-like dots stitched in the fabric. The stitch requires no under-padding, but instead, the working thread is mounded continuously until the desired effect is obtained. This consists of only two stitching points, A to B, repeated over and over causing the stitches to mound over until they resemble a small dot in thegranito-flower fabric. This is similar to what you may have experienced while machine stitching and the foot of the machine gets stuck in one place, so the stitches keep mounding up. Granitos can be rendered correctly up to a certain size so if a larger dot is required, another technique such as padded dots can achieve the desired effect. I prefer to make my Granitos sans-hoop while working over the finger.

granito-photo-all-steps


Padded satin dots are completely different. The area of the dot is outlined with a very secure foundation stitch such as split-stitch or stem stitch; I prefer the former. The inside of the dot is padded either with “line padding” or chain stitching. Line padding can be layered by alternating stitch directions from one layer to the next, first beginning in the centermost point of the dot and gradually getting wider as the layers are added. The final layer should lay perpendicular to the satin stitches so planning is essential.

padded-satin-dots

It is said that every embroiderer is judged by her skill in making padded satin dots so can be quite challenging to master. It’s easy to go completely wrong while stitching these tricky little round circles, but with a little practice and the correct techniques, you can achieve mastery with a few tidbits of techniques and a lot of practice. Padded dots are best worked in hoop to prevent the dots going oval.

I hope you try both techniques and before you know it, you’ll be including them in your embroidery projects regularly. The accomplishment is enormously rewarding and the effect is absolutely intriguing.

Please check back for additional stitch techniques pertaining to this design. If you would like to purchase a copy of Babes in Blue pattern, please contact me via email: wendschoen@aol.com.